Tulips have a special place in the spring garden as they herald the coming of a new growing season.
Let’s talk about Tulips.
This blog will cover Tulip blossom times, Tulip flower characteristics, the best time to plant Tulip bulbs, how to plant Tulip bulbs, spring care of Tulips, and why Tulips can be difficult to grow in zone 3 and zone 4 gardens.
Interesting Tulip Trivia
Tulips have been celebrated for centuries and have a fascinating history.
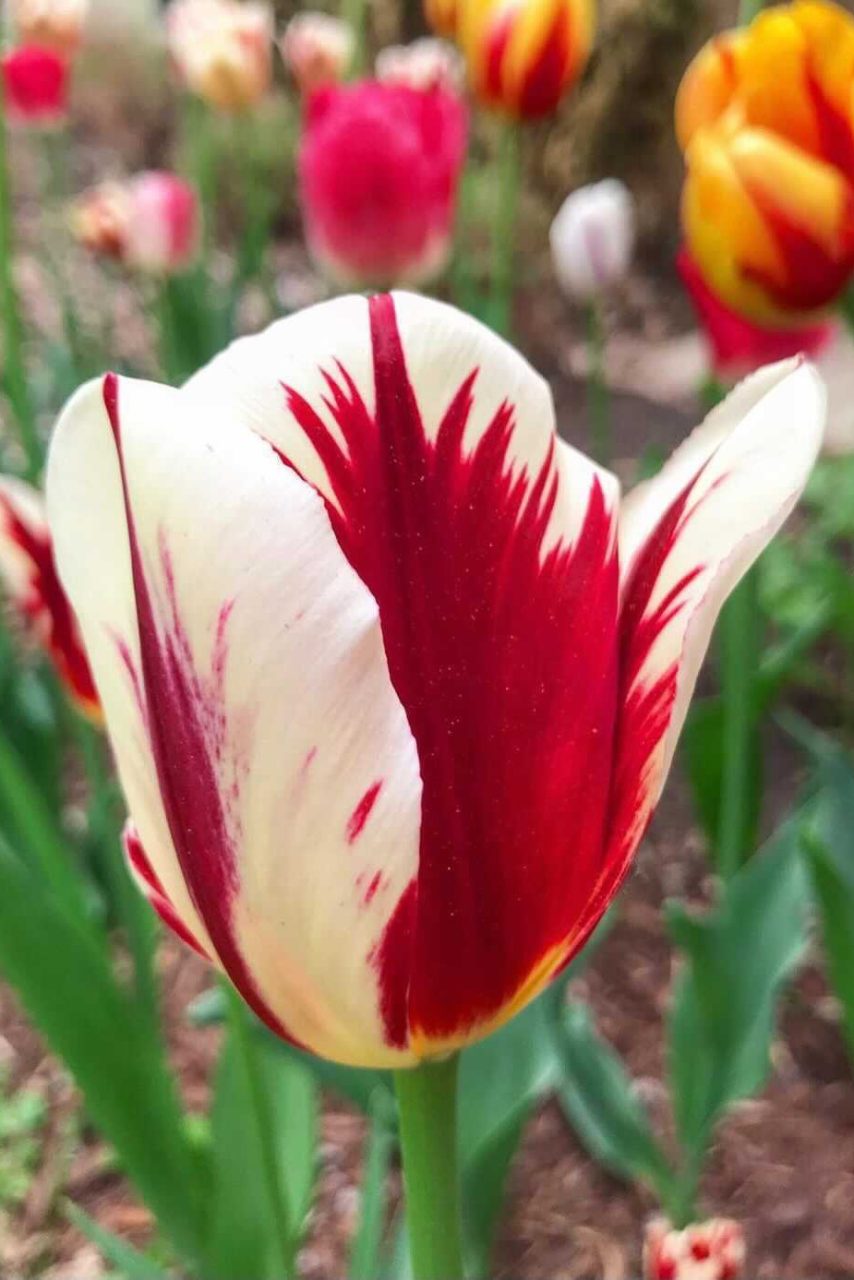
In the early 1660s, Tulips were the world’s most valuable flowers. There was a unique variety, called Semper Augustus, that sold for the same price as a home in Holland at the time. This tulip was rare and it sported dark red streaks on snow-white petals.
This period of history was known as ‘Tulipmania’, one of the world’s first economic bubbles.
Tulips are a member of the lily family and are native to dry mountainous areas of central Asia.
Tulips grew in their natural habitat as far west as Spain to as far east as China. The foothills of the Himalayas and dry grassland areas of eastern Turkey and Eastern Europe have cold winters and hot, dry summers which are a perfect scenario for Tulip growth.
Tulips are a beloved flower in many countries. This flower that closes up at night is the national flower of Holland, Turkey, Afghanistan, and Iran.
It is thought that the word ‘tulip’ originated from the word ‘turban’ because their buds resembled the shape of a turban.
Tulips can be tricky for our zone 3/4 gardens, so they require particular love and care.
So, let’s talk about Tulip growing details.
Tulip Bloom Times
Tulips are classified based on bloom time and according to flower characteristics.
All Tulips flower in the spring; some bloom in early spring while others are mid and late spring bloomers.
It’s important to know when the Tulip varieties flower when you purchase bulbs. Accompanying labels and descriptions should supply that information.When purchasing Tulip bulbs, buy Tulip bulbs with different flowering times so that you can enjoy an extended bloom for 6 or 8 weeks in your garden.
Tulip Flower Classifications
There are many kinds of Tulips and here is a quick rundown of some of the most common ones.
Always check packages or listings for zone ratings, heights, and bloom times so that you get the right ones for your garden.
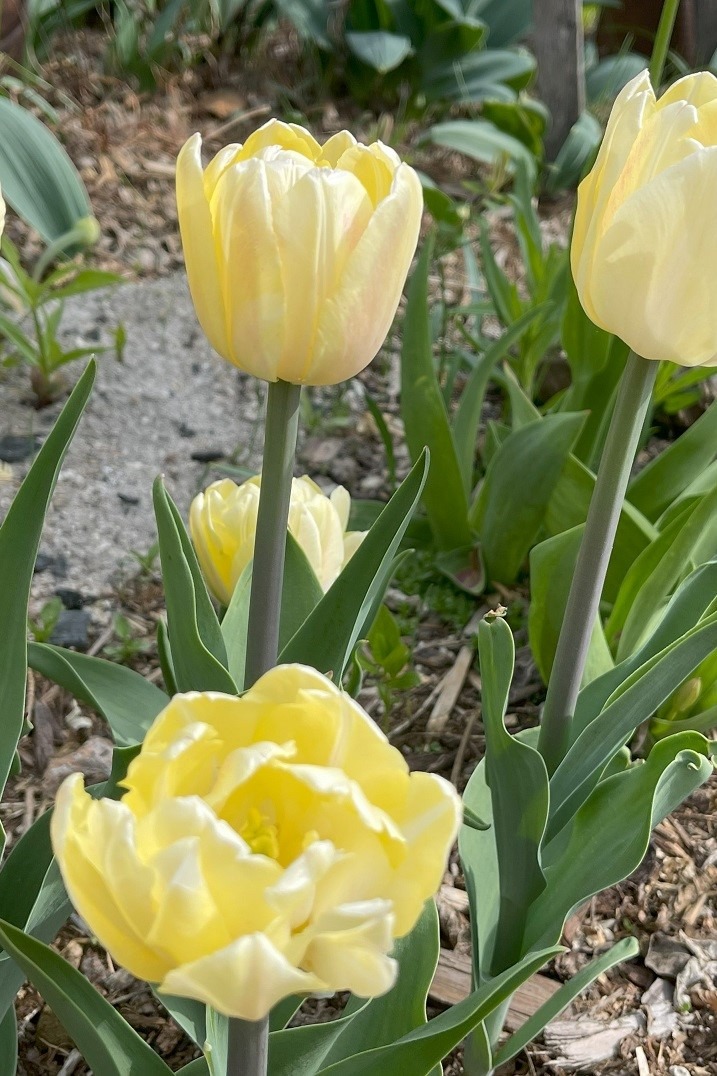
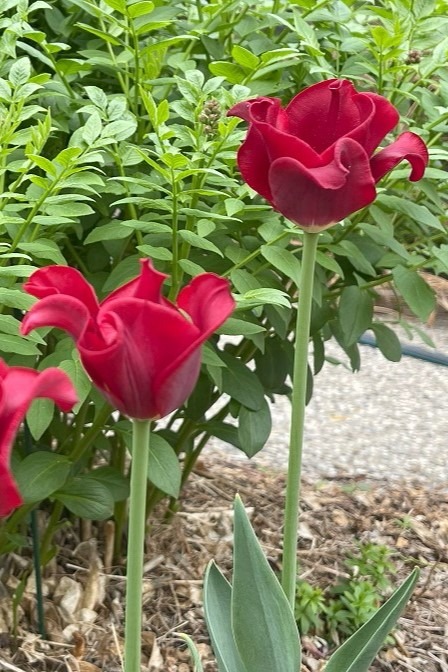
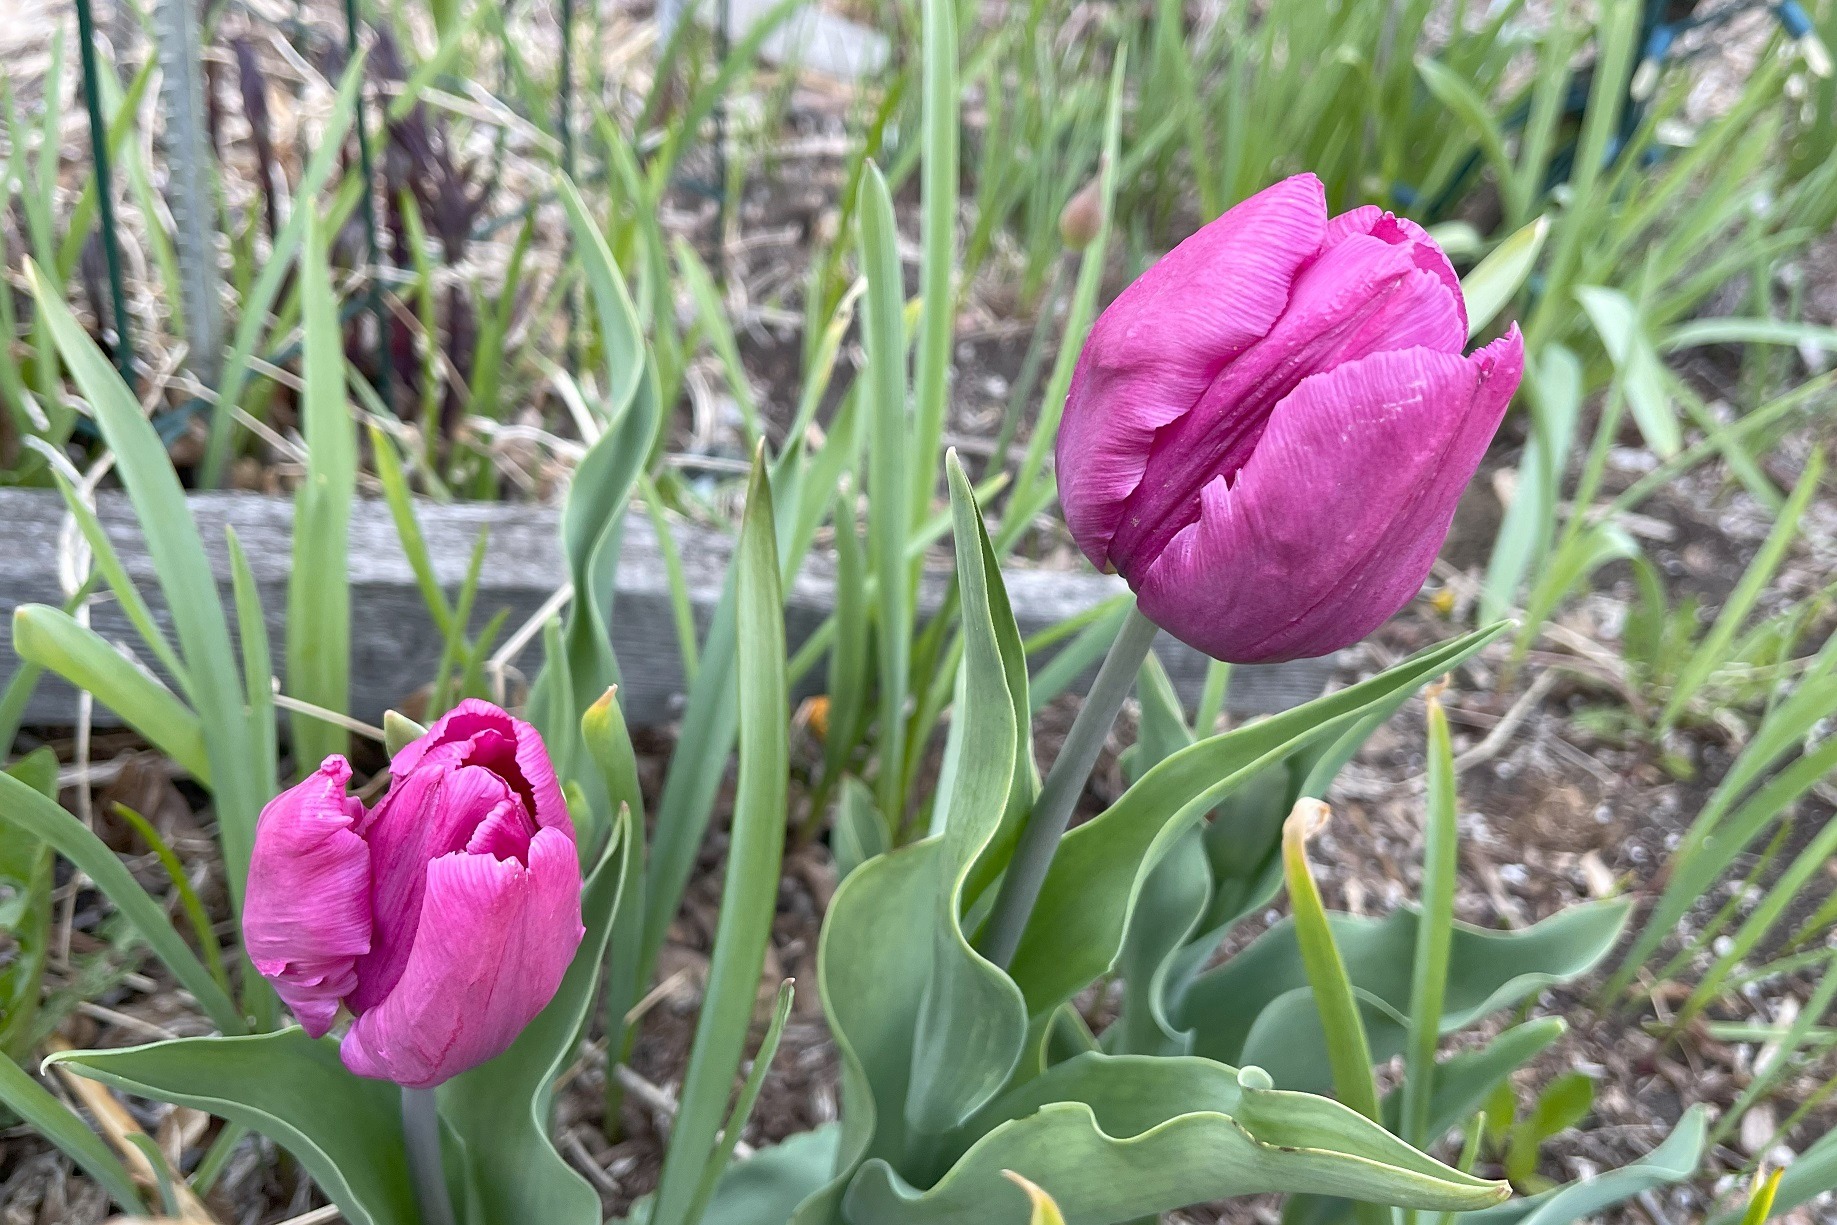
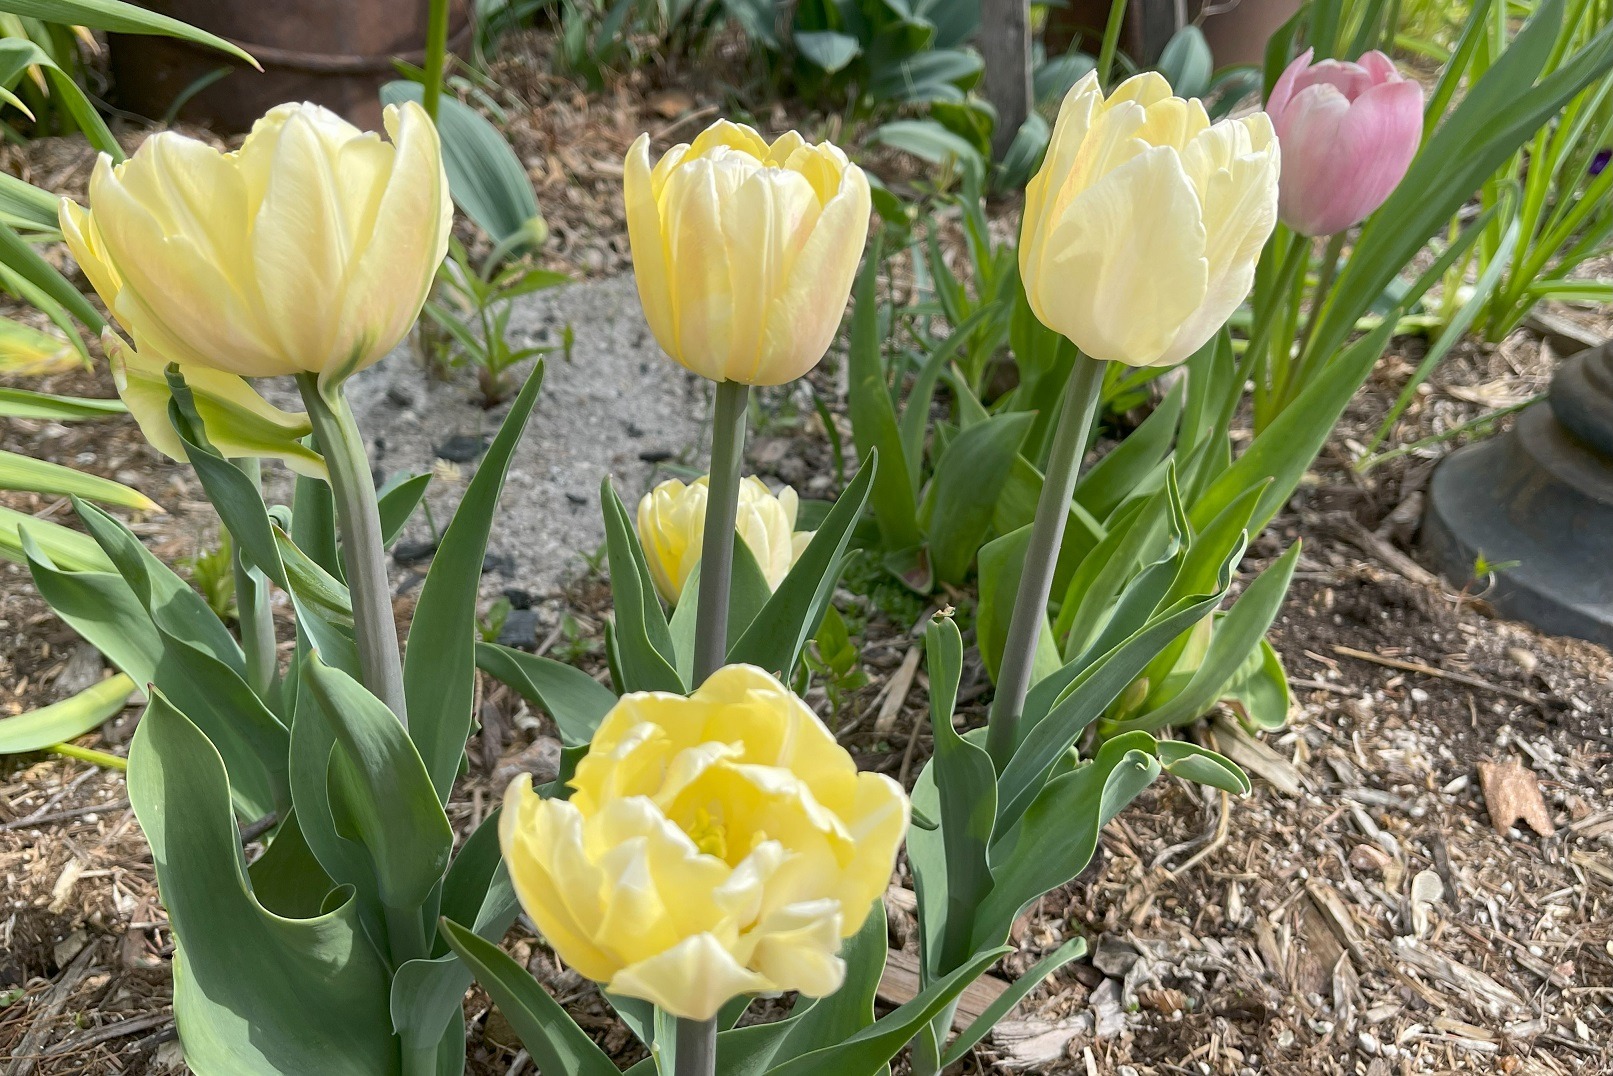
- Single Tulips (early and late bloomers) — this is the most familiar Tulip shape, having one layer of 6 petals in the classic cup-shaped flower.
- Double Tulips — also known as Peony flowered tulips, these have large multilayered blossoms, with both early and late spring blooming varieties available.
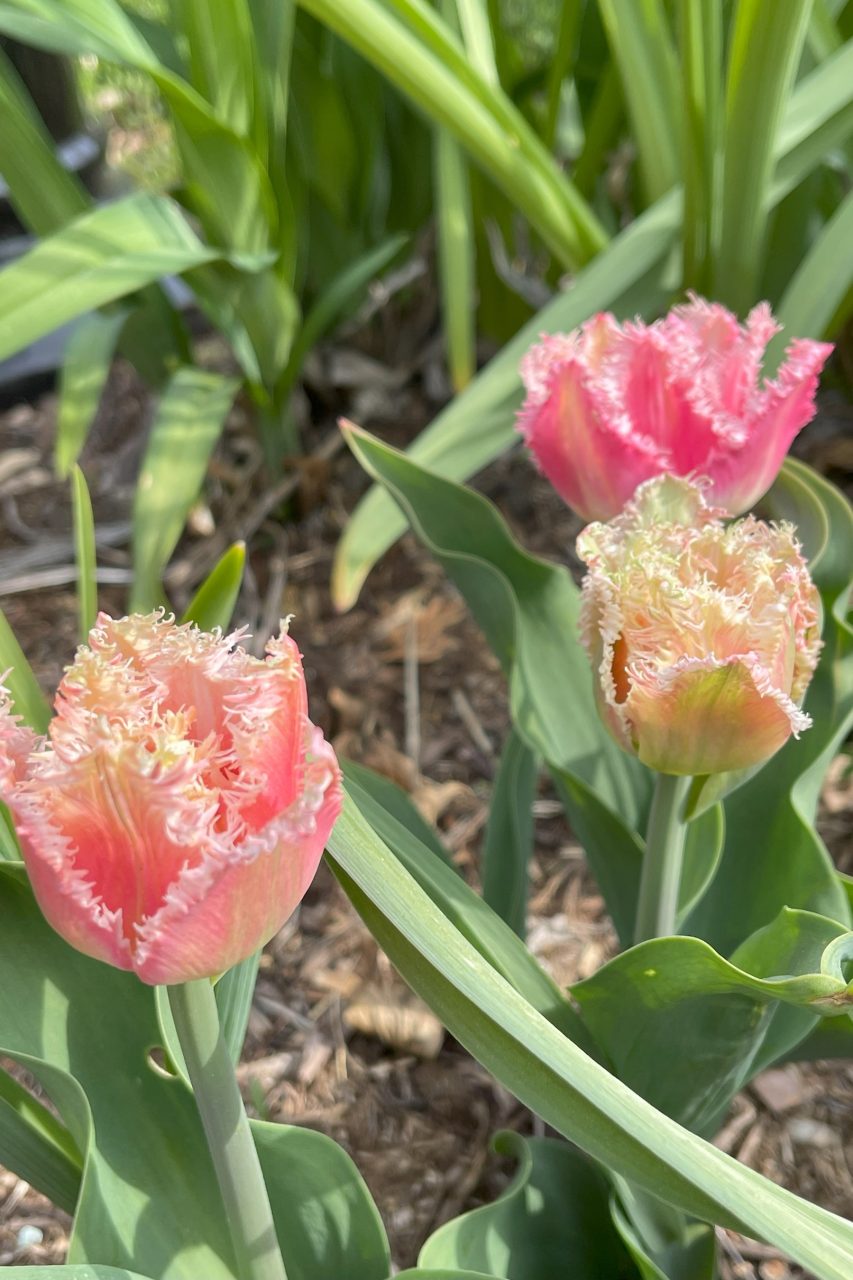
- Fringed Tulips — these are single-flowered with fringes on the edges of the petals. Another name for them is ‘Crispa’ Tulips.
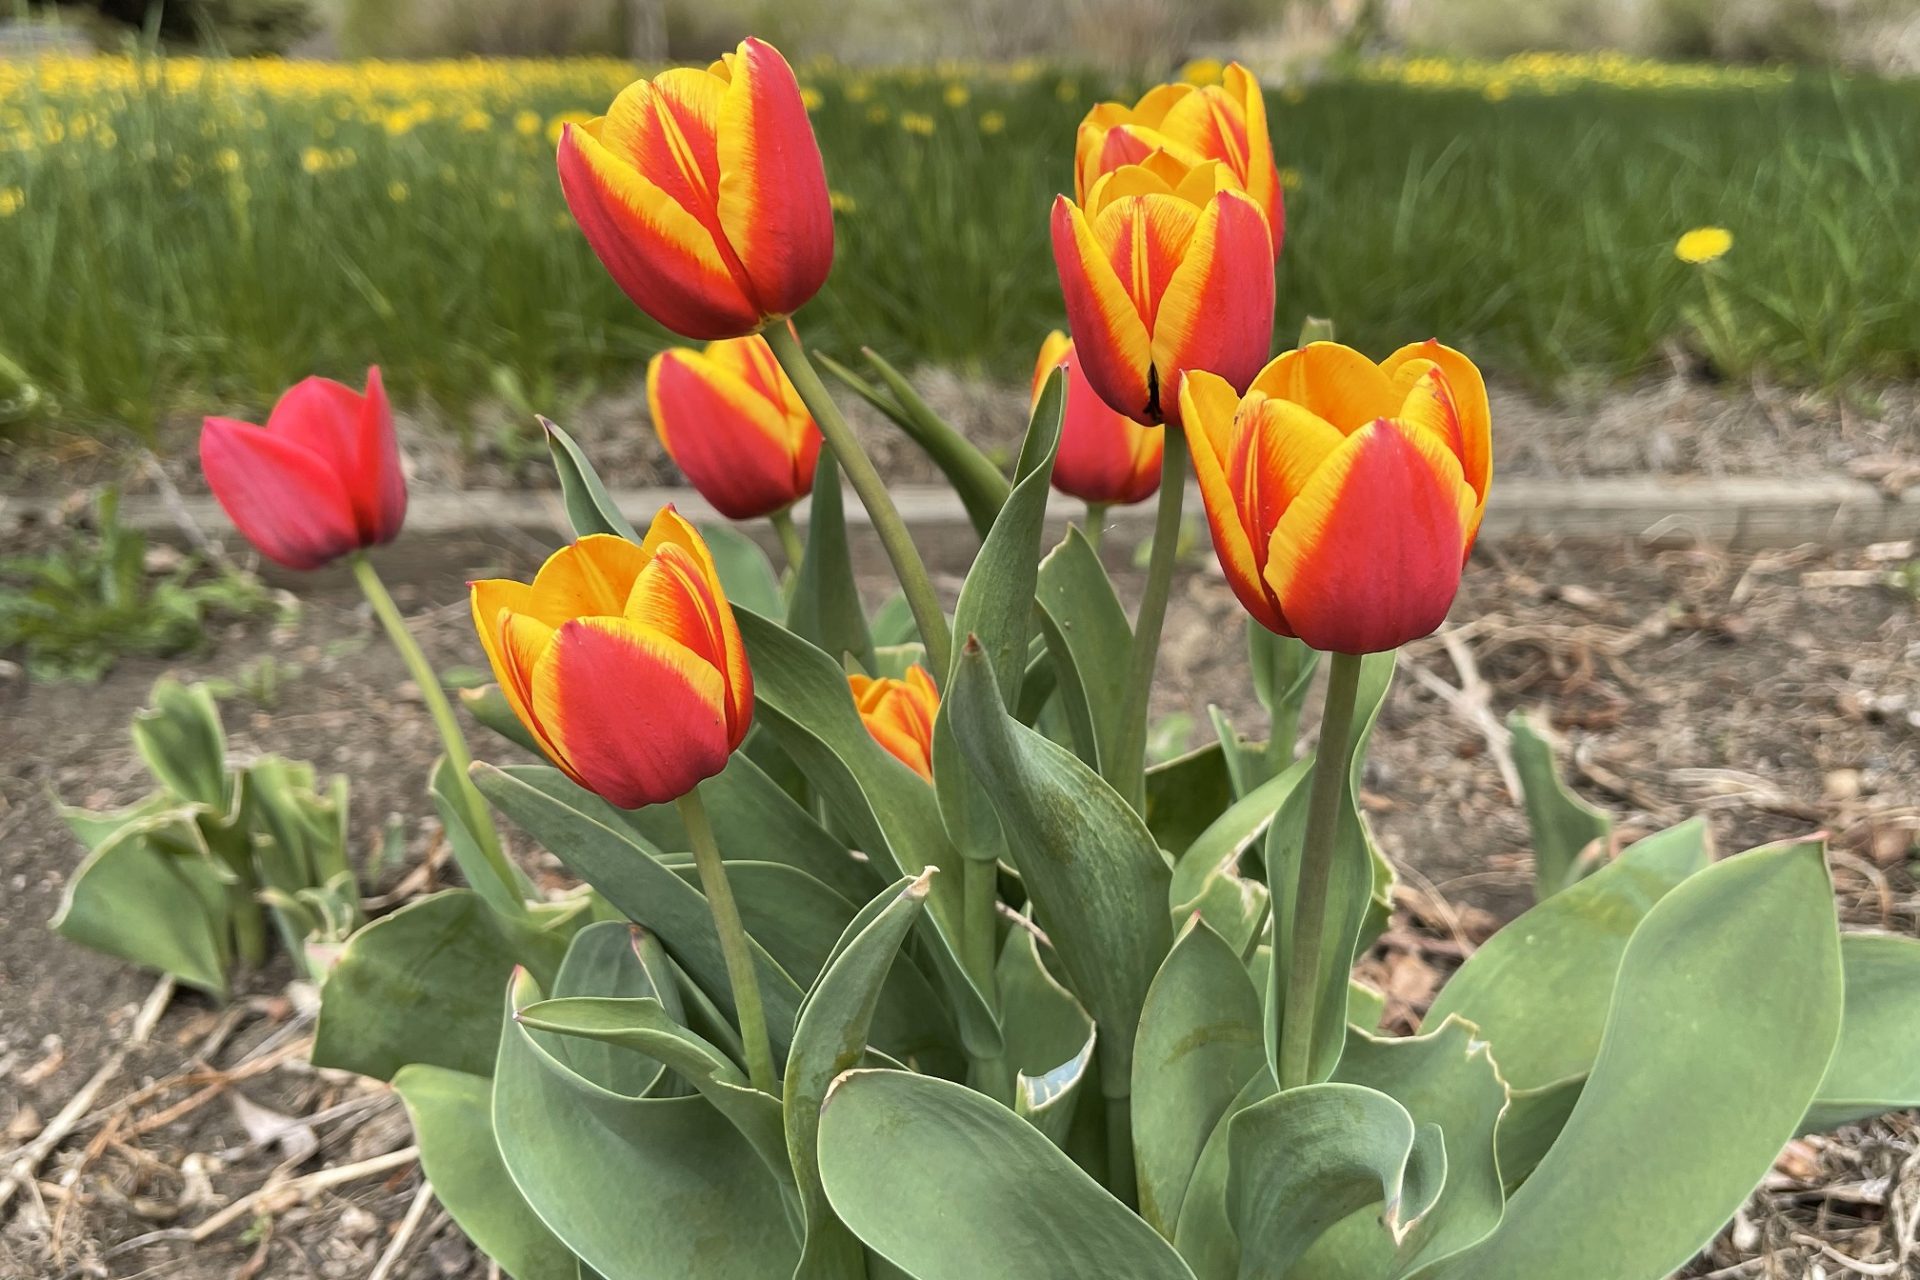
- Darwin Hybrid Tulips — these are also known as Cottage Tulips. They were developed in Holland by DW Lefeber and boast strong stems and large, long-lasting flowers. This type tends to bloom later in spring. Darwin Hybrids make good landscape Tulips and are likely the best perennial Tulip for our area because of their ability to handle the weather and come back for a few years. These also work well as cut flowers.
- Lily Flowered Tulips — this class has slender blossoms that flare out at the top. These are mid-late spring bloomers, with heights around 16-18″ (40-45 cm).
- Kaufmanniana Tulips — these single Tulips have unusual colours. When they open, they have a star-shaped pattern in the middle. They come in early and mid-spring varieties.
- Rembrandt Tulips — this class has two-toned tulips sporting coloured streaks on white petals. The Semper Augustus tulip of Tulipmania was a Rembrandt tulip.
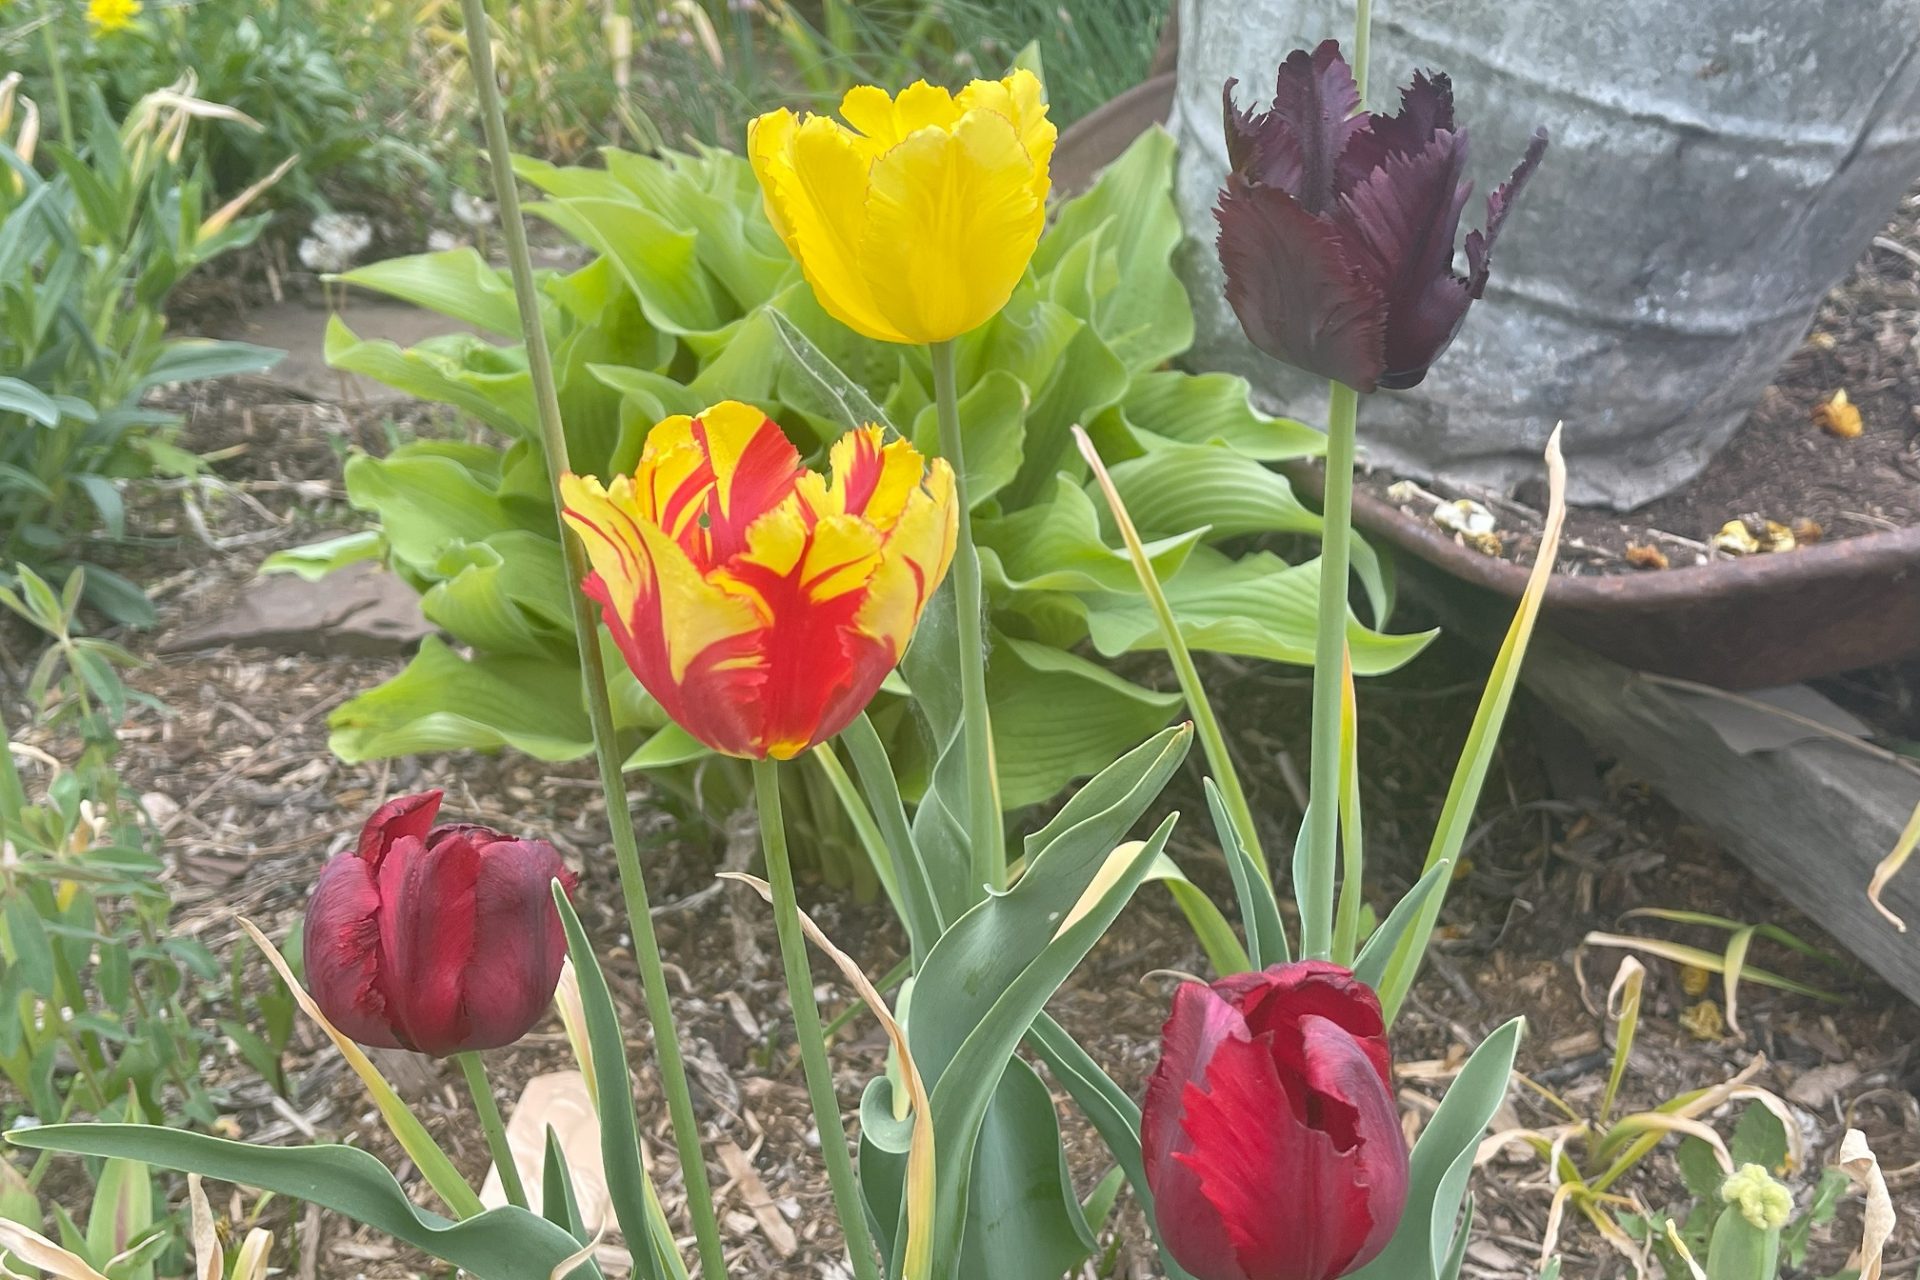
- Parrot Tulips — these Tulips have strikingly unusual blossoms consisting of single, bicoloured, and three-toned varieties. They are late spring bloomers that have fringed and scalloped edges.
- Triumph Tulips — these are the largest of all the Tulip classes. They have the most colour choices, and are slightly taller in growth habit than many of the Tulips.
- Crown Tulips – also known as Coronet tulips, are single cup tulips that are a sport of Triumph tulips. They have unique curvy petals that resemble a crown.
When is the Best Time to Plant Tulip Bulbs?
Tulips are hardy fall bulbs.
Fall bulbs need to be planted in autumn so initial rooting and flower structures can get partially established before winter.
All Tulips bulbs require of a minimum of 13-16 weeks to initiate flowering in the spring. Fortunately for us on the Zone 3 & 4 prairies, this is easy to accommodate.
It’s not a good idea for Tulips to grow so much in the fall that stems peak out of the soil, so timing is essential. If this does happen, cover them with a thick layer of mulch to cool the soil temperature down.
Plant Tulips from mid-September to mid-October in Plant Hardiness Zones 3 & 4 when the soil temperature is cool, ranging around 5-10° C (40-50 F).
Related: What are Plant Hardiness Zones and How do They Work?
What does a Healthy Tulip Bulb Look Like?
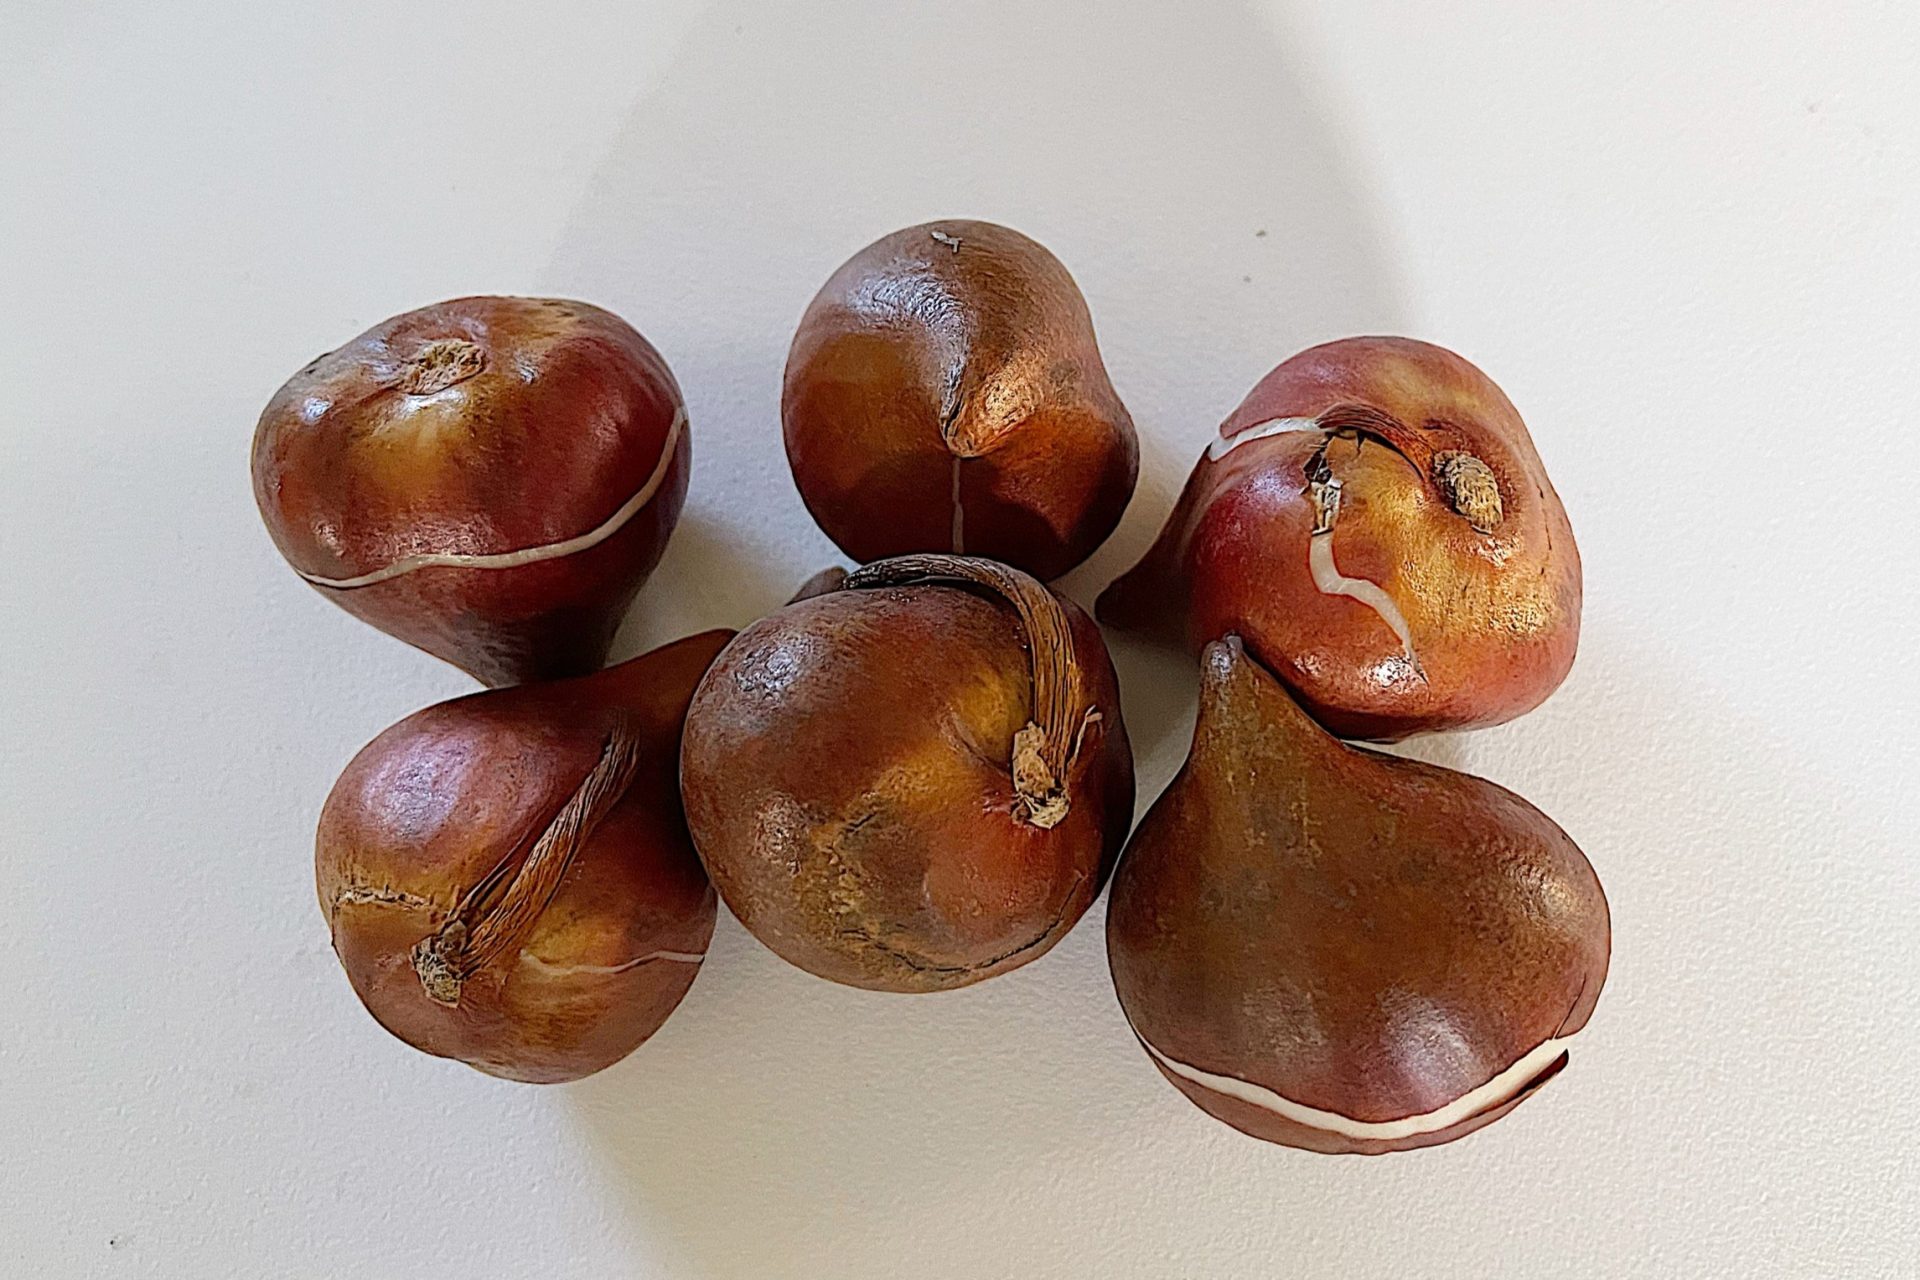
When it comes to growing fabulous Tulips, selecting the right bulbs is crucial, as healthy bulbs are the foundation for beautiful blooms and vigorous, vibrant plants.

Tulip bulbs resemble onion bulbs.
They have a pointy top from where the stem emerges and a basal plate where the roots grow.
The basal plate also holds the scales (or layers) together.
Here are some tips to help you choose the right Tulip bulbs for your garden:
- Examine the bulbs carefully before making a purchase and look for Tulip bulbs that are firm and plump like a potato.
- Don’t purchase bulbs that are soft, moldy, or have signs of damage.
- Check that the basal plate is firm.
- A healthy bulb should have an intact tunic (outer layer or skin) that is snug against the bulb and free from blemishes.
- Consider the size of the bulb as well. Larger bulbs tend to produce bigger and more robust flowers. However, keep in mind that smaller bulbs can still have lovely blooms
Store Tulip bulbs in a dry, cool place to avoid premature sprouting before planting them in the ground. It’s best to plant Tulips as soon as possible after purchase. And always handle bulbs gently.
A Step by Step Guide to Planting Tulip Bulbs
Step 1: The Best Site for Growing Tulips
Tulips need a full sun location with 8 hours or more of direct sunlight for optimal growth.
Many deciduous trees haven’t leafed out in the early spring when Tulips bloom, so you could plant the bulbs near deciduous trees as long as there isn’t too much root competition.
However, avoid evergreens because they block sunlight, and the ground below them is dry because evergreen trees use a lot of water.
Step 2: Prepare the Soil
Tulip bulbs grow best in well-draining soil rich in organic nutrients, they will rot in soil that doesn’t drain well.
Amend soils that are clay-based and hard by adding organics like compost and mixed mulch.
For sandy soils, add peat moss or compost to augment water holding capacity.
Regardless of your soil type, work the soil so that it is soft and malleable to a depth of 30 cm (1′) to make it easier for the bulbs to develop root systems.
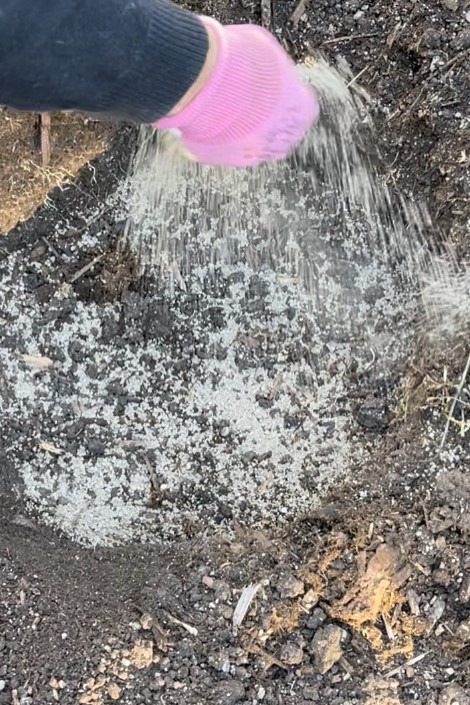
There is mixed discussion in the literature on whether or not to add fertilizer to the soil for growing Tulips.
Some sources say that bulbs do not need additional nutrients because they have adequate sources in the bulb, and other sources suggest adding a slow-release fertilizer, like 10-10-10, or a natural or organic fertilizer of your choice, or bone meal to aid in root development.
Related: How to Understand Fertilizer Labels
Step 3: Determine Proper Tulip Spacing
As you consider planting Tulips, remember that the more you have growing together, the more colour power they offer.
Tulips can be arranged several ways. They can be planted singly, in doubles or triples, or in larger clusters.
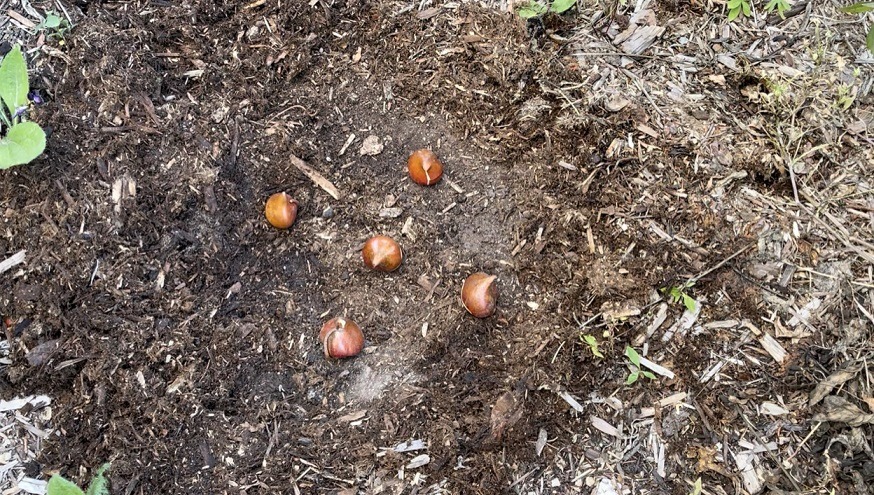
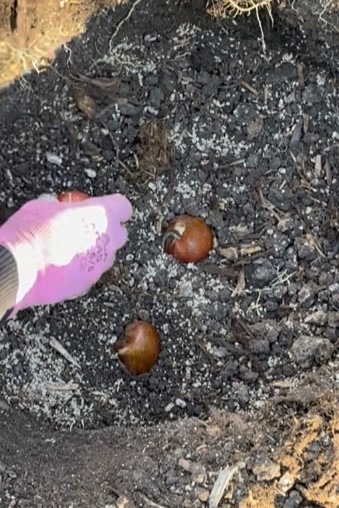
When planting Tulips in groups, space the bulbs 10-15 cm (4-6″) apart.
To save time, organize the Tulip bulbs on the top of the soil to get an idea of how wide of a hole is needed. If you are doing more than four bulbs, consider planting a bulb in the center. Place one in the middle and three or four surrounding the central bulb.
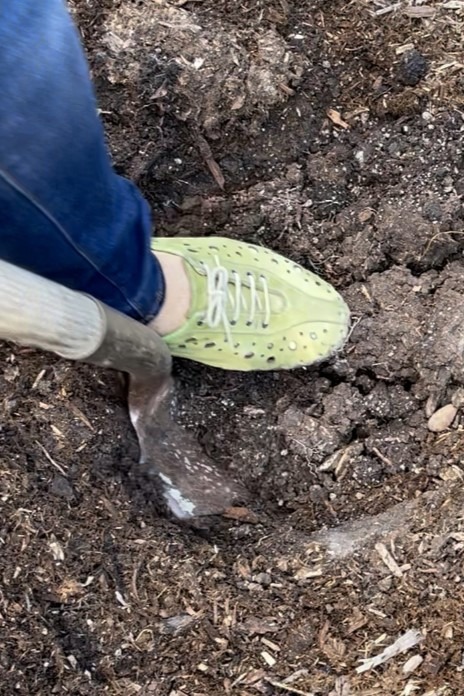
Step 4: Tulip Bulb Planting Depth
The general rule of thumb with bulbs is to plant them at a depth roughly twice the bulb’s width.
To translate that into a measurement, Tulips are generally planted 10-15 cm (4-6″) deep.
The bigger the bulb, the deeper it needs to be planted.
Soil characteristics also play a role in planting depth.
In harder soils, place the bulbs a little shallower, and in soft soils, plant just a little deeper.
Arrange the Tulip bulbs in the hole, stem or pointed side up, basal plate down.Step 5. Bulb Positioning, Backfilling, and Watering
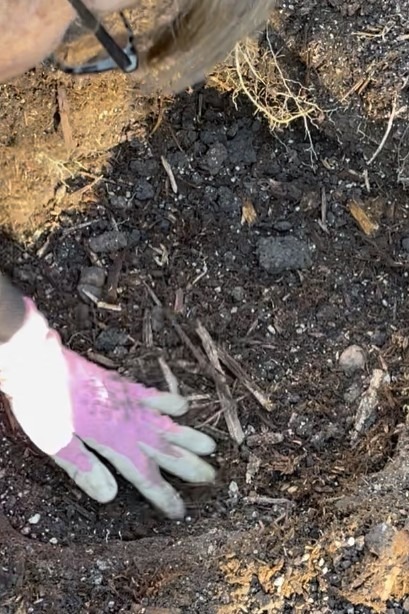
Once the bulbs are in place with the basal plate in direct contact with the soil at the bottom of the hole, cover the bulbs with a mix of fresh potting soil and garden soil, lightly firming the soil in to eliminate air pockets.
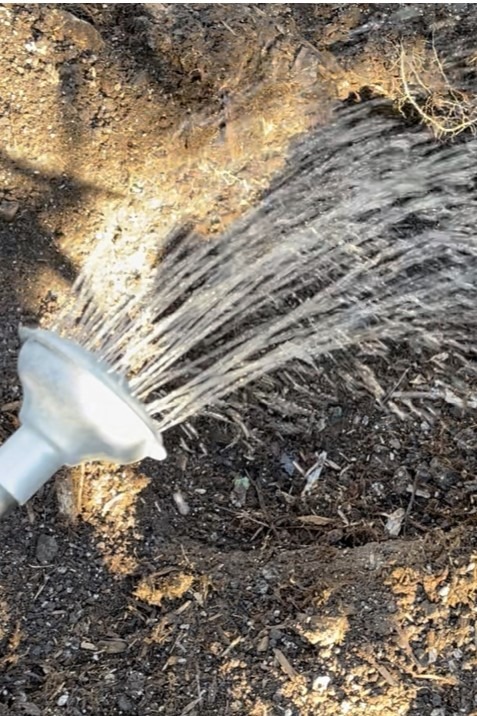
Then saturate the soil with water until it penetrates to the bottom of the hole.

Fill the remainder of the hole with soil until it is even with the surrounding ground. Do not add more water to this.
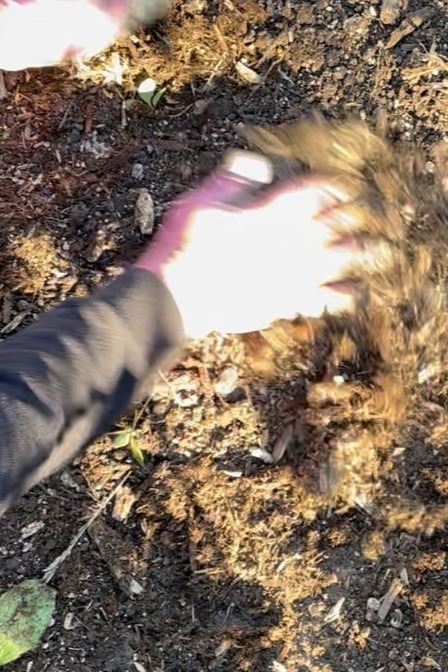
When the weather gets cool in zone 3-4, cover with a 4-6″ (10-15 cm) layer of mulch for insulation through the winter.
Remember to label your Tulip clusters to know what you have planted. If you’re anything like me, you won’t remember these details with the same accuracy 7 or 8 months later!
Caring for Tulips in the Spring
Tulips are an easy-care plant in spring – they usually show up before we even notice them.
Here are a few things that you can do to promote the best health for your Tulips once they have emerged:
- As the weather warms, check for green shoots or stem development.
- When the stems are at 1-2″, remove the mulch to make it easier for the stems to grow.
- You could add bulb fertilizer at this time.
- Deadhead, or remove the old Tulip blossoms as they die so energy goes into bulb growth, but let the Tulip leaves die back naturally. The leaves continue to photosynthesize, which strengthens the bulb and flower structures. Cutting the leaves back will result in smaller bulbs and flowers.
- For cut flowers, cut the Tulips while they are in the bud stage, see The Best Secrets to Making Cut Flowers Last.
Why do Tulips Stop Flowering Over Time?
Here’s where Tulips get tricky for zone 3 & 4 gardeners. Tulips ARE by all sense of the word perennial bulbs. The vast majority of Tulips are rated for horticultural zones 3 to 8.
So why don’t Tulip clumps get more extensive and more vigorous in our gardens as the years wear on?
The reason is that Tulips have precise requirements for the bulb to bulk up.
Simply stated, most gardens of North America can’t provide the right conditions to get the bulbs to reproduce like they do in their native environments.
Eventually they can’t store enough nutrients to get the flower structures initiated in the fall, which results in no spring blooms.
So why do they reproduce so well in Holland? It’s hardly known for hot and dry summers like in Central Asia.
Well, the Dutch have been at it for 400 years and have developed methods to treat the bulbs.
Many gardeners make it a tradition to plant more Tulip bulbs each fall, knowing that they eventually fade.
Which Tulip Bulbs are you Going to Plant this Fall?
I’m going to look for Darwin and Parrot Tulips this autumn because the Darwin bulbs should last more than one year, and I simply love the unique color combos and petal shapes of Parrot Tulips .
Which ones will you try this fall?
A special thank you to Kathy Lawther from petalandpollen.com for the use of her tulip photo as the main feature photo for this blog. Thank you, Kathy!
©Sharon Wallish Murphy ©Gardening with Sharon