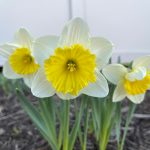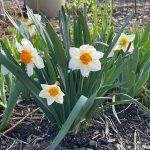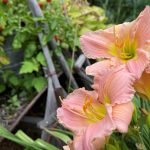
Fall is a Great Time to Move Perennials
Perennials can be moved anytime during the growing season, but the advantage of moving perennials during the Fall is a reduction in plant metabolic requirements with the cooler weather and the chance of them surviving the move is better.
For zone 3 and 4 gardens, September is a prime time to move perennials.

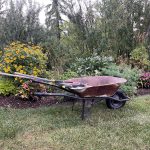
Here are some quick tips to decrease the stress about moving perennials, for both you and the plants.
The first thing to know is that plants don’t like being moved because of the resulting root damage, so here’s what you can do to soften the blow for them.
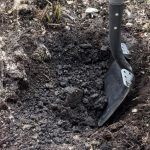
Prepare the Perennial Planting Hole
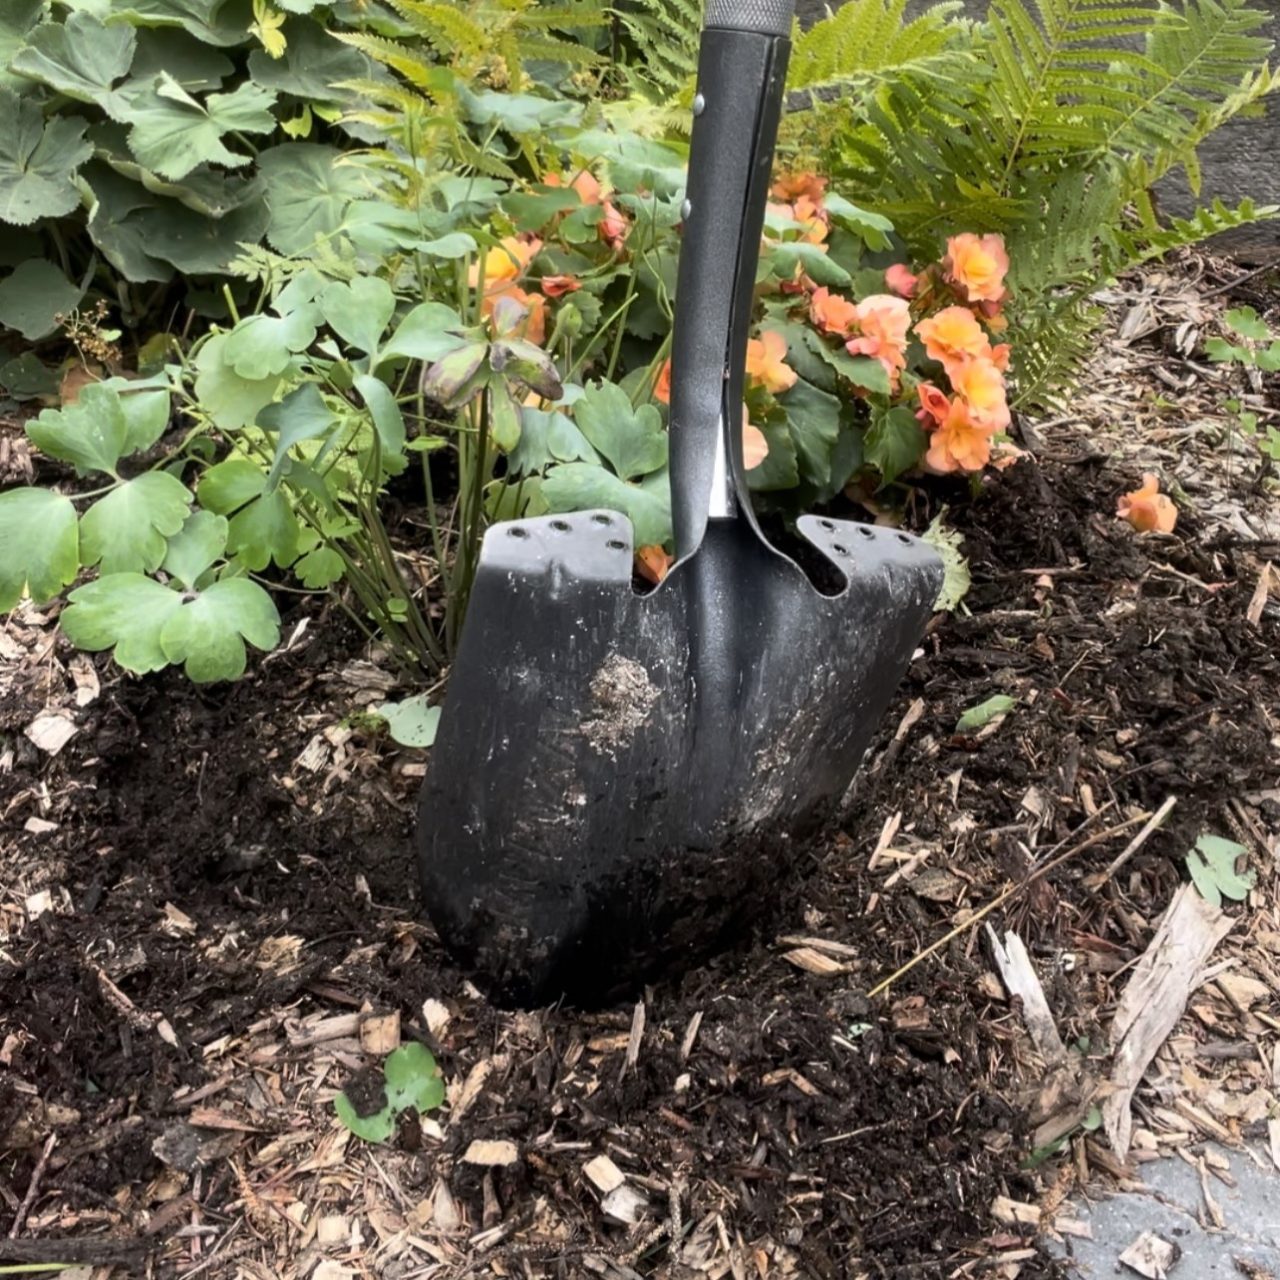
Before digging out the target perennial, establish where to reposition it and prepare the hole.
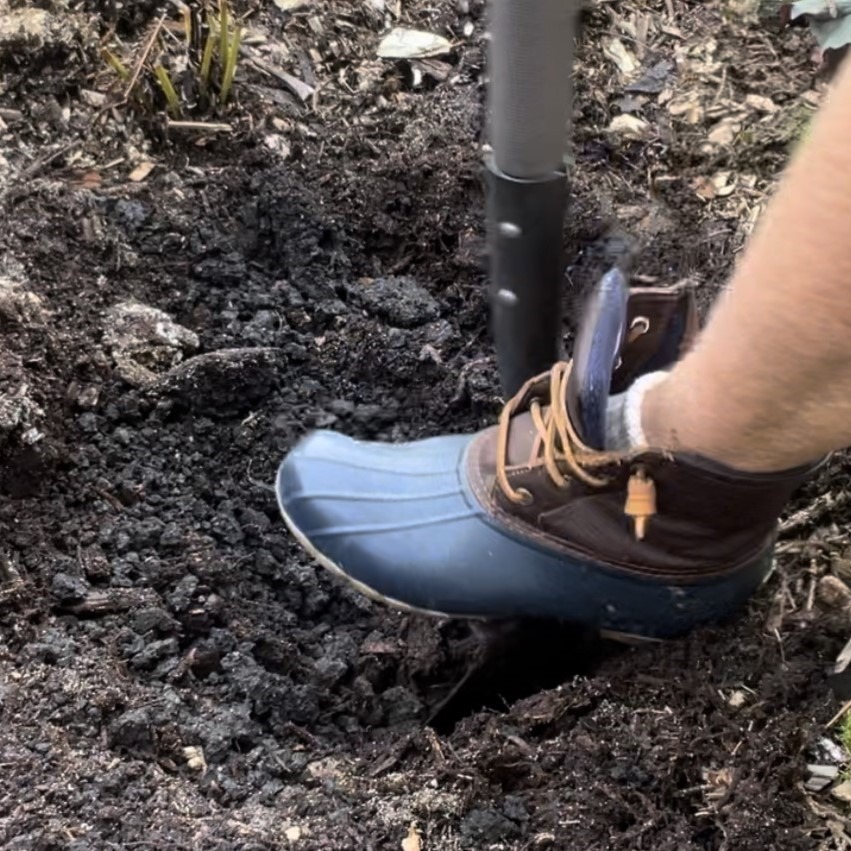
I dig a space that is roughly twice as wide and at least 10-15 cm (4-6″) deeper than the root ball to give the perennial the best transplanting experience possible.
Soften the soil at the bottom of the hole so the roots can grow easily.
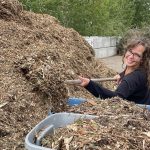
I like to mix in a little compost and bone meal, which is rich in phosphorous to give the roots a bit of a head start.
Other possible soil supplements include worm castings and mycorrhizae. Never mix bone meal with mycorrhizae as the phosphorous renders the mycorrhizae ineffective.
Preparing the Perennial

I cut back the foliage a little (no more than 30-50%) to reduce metabolic demands.
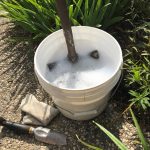
Then I dig a ring around the perennial’s perimeter approximately 15 cm (6″) from base of the plant with a freshly washed spade using hot soapy water.
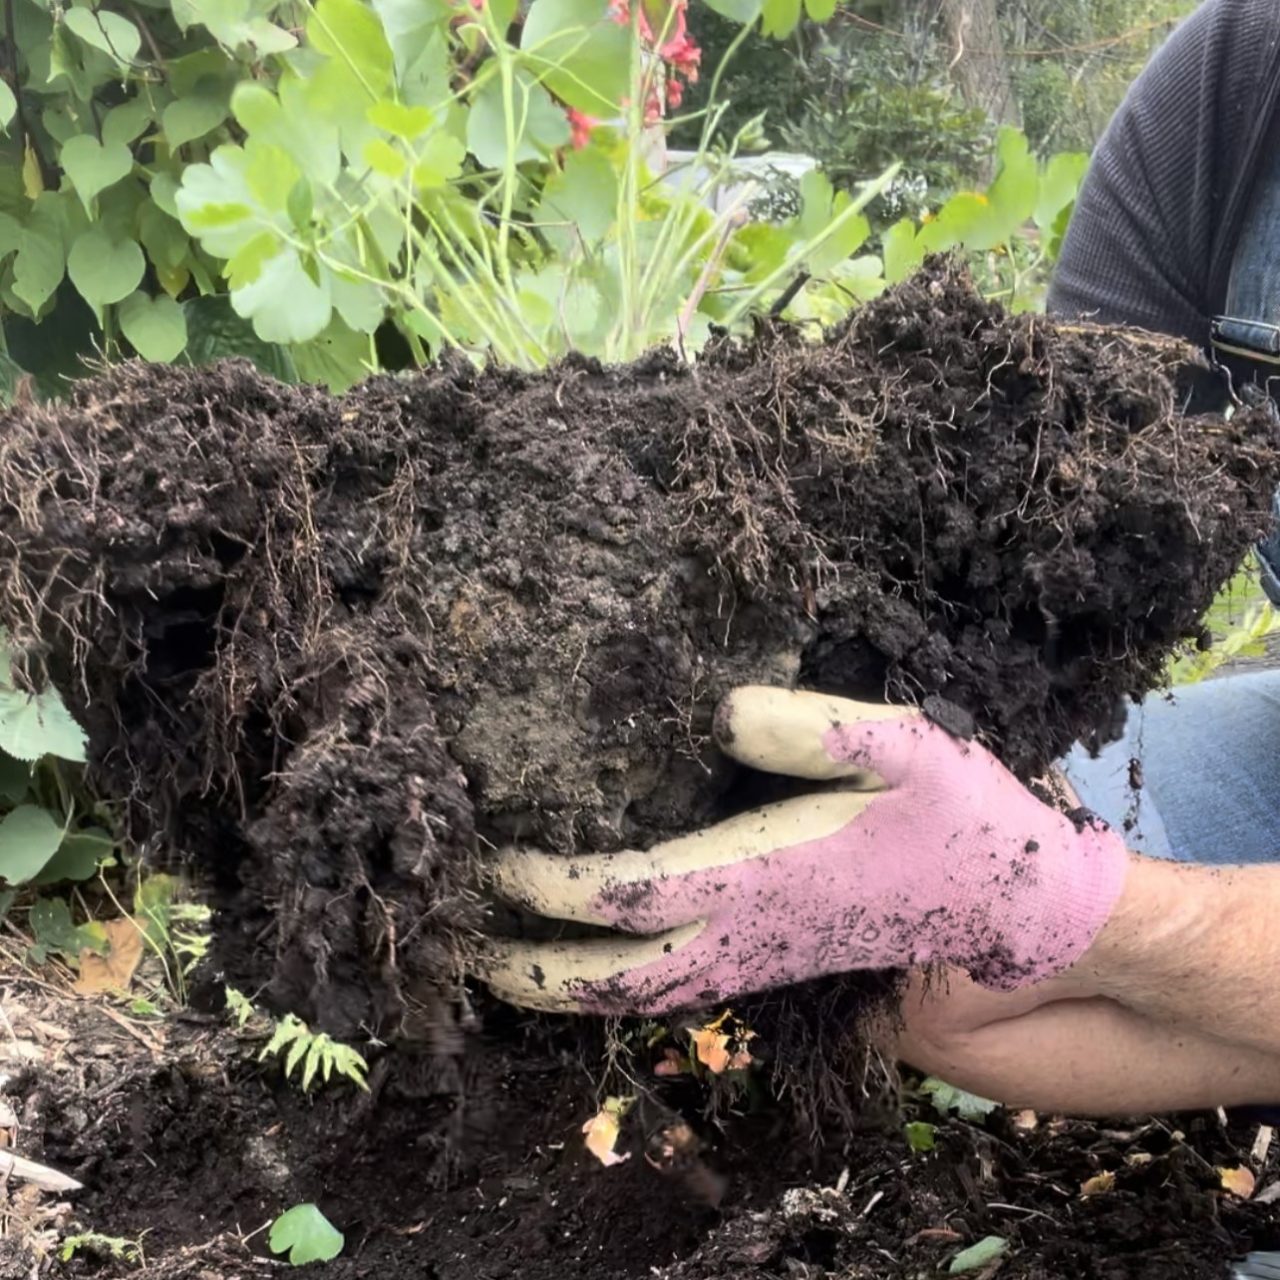
I dig down with straight cuts to maximize the root ball and minimize root trauma.
As I complete the circle, I try to loosen the roots doing my best to minimize any root damage, there will be some snapping and ripping.


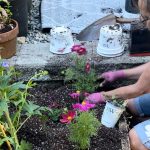
Moving and Replanting the Perennial
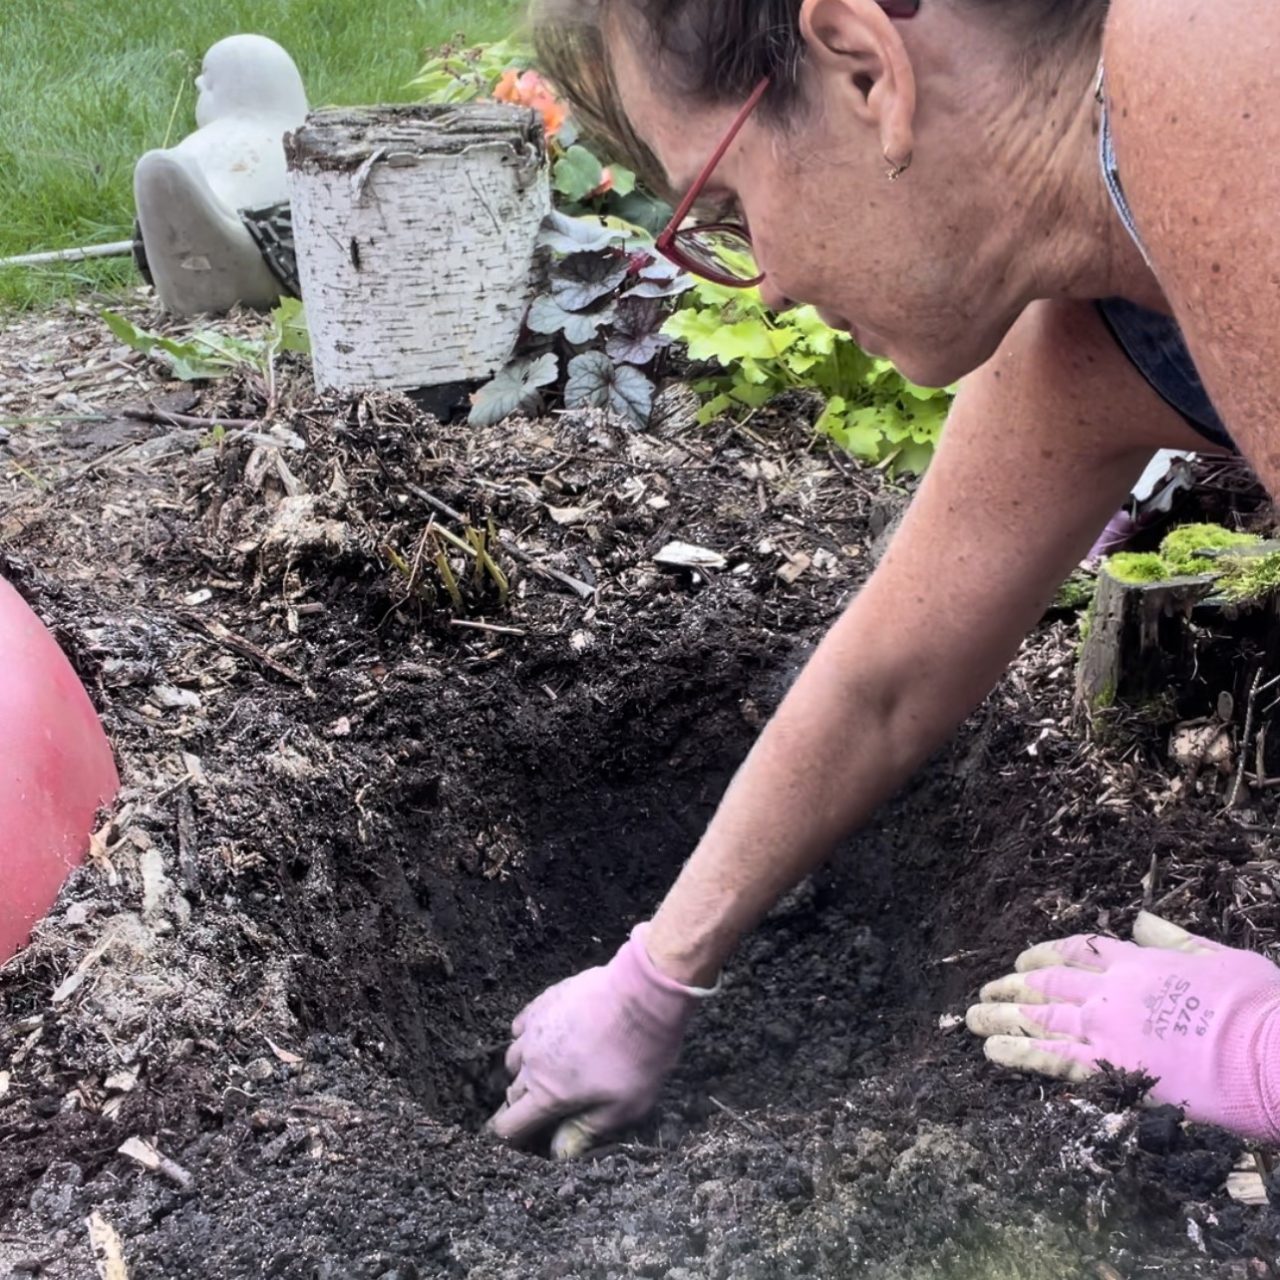
Then, I lift it and carry the perennial to its new home and make any dimensional adjustments to the hole so that there is enough space for the roots and so the soil around the plant’s base is even with the ground at the new location.
Sometimes the hole will need to be dug a little deeper, other times it will to be filled a bit.
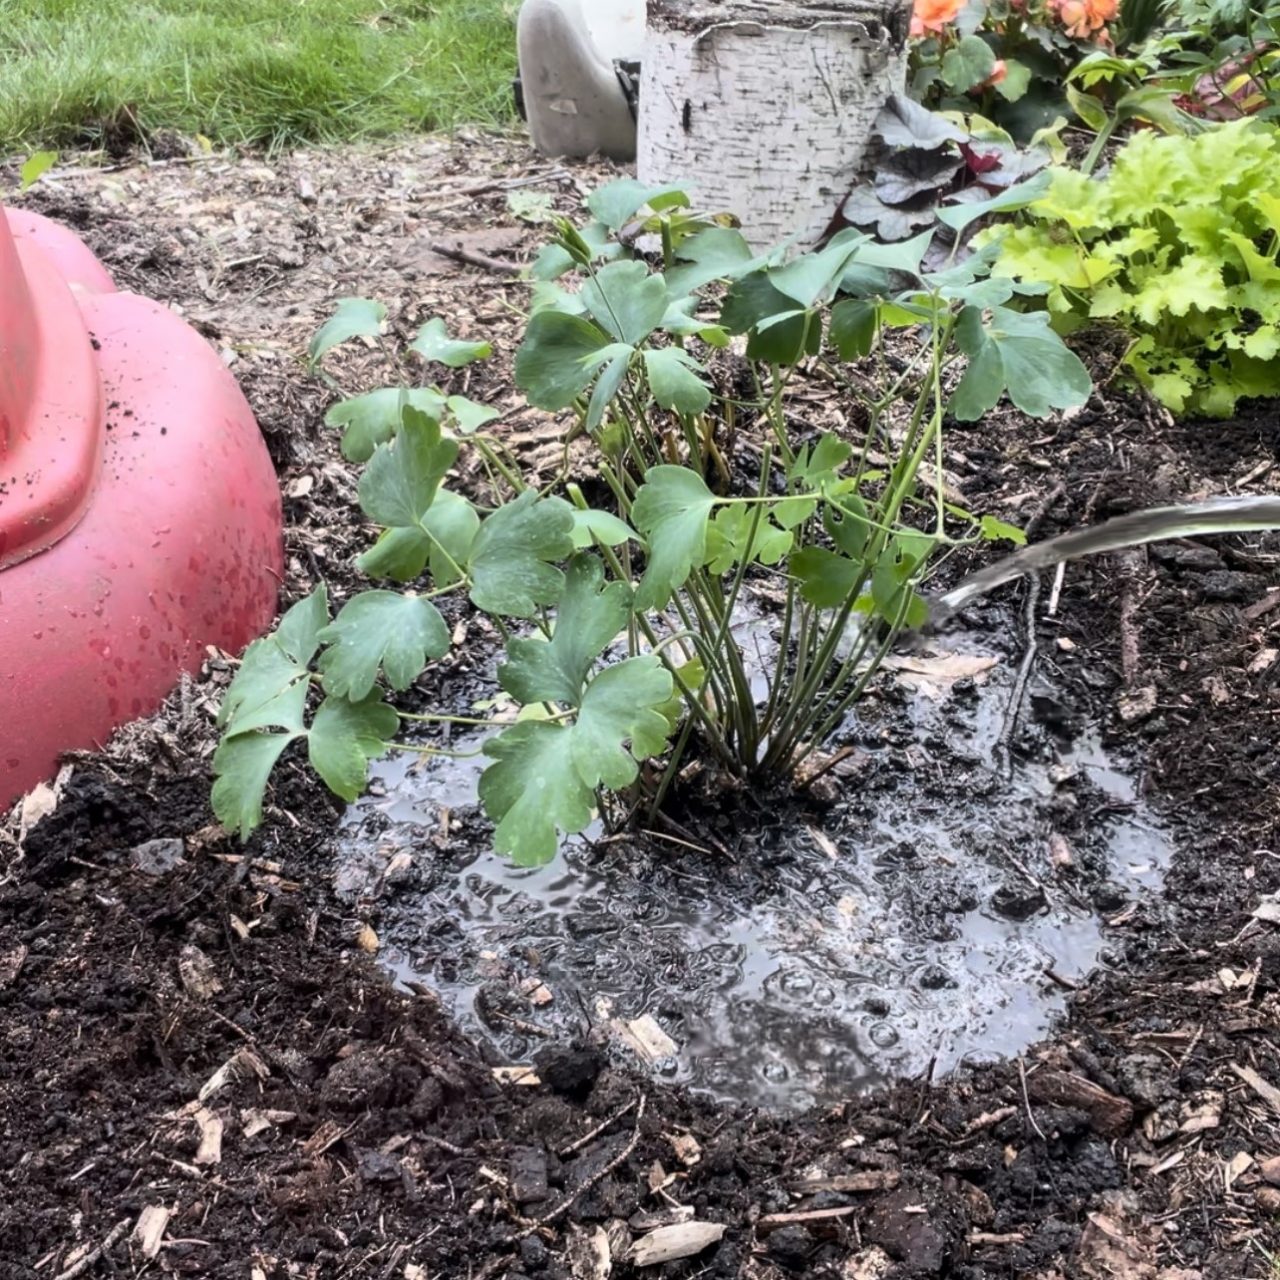
I gently put the perennial in place and backfill the hole with soil I previously removed. There is no need to pack the soil because that can restrict root growth.
Water the perennial in well, being sure to soak the roots to the very bottom of the hole.
And lastly, I top up the base with a 5.0-7.5 cm (2-3″) layer of mulch.
Related: For even more detail on moving perennials, check out A Step by Step Guide to Successfully Moving Perennials
Happy planting!
© Sharon Wallish Murphy, Gardening with Sharon