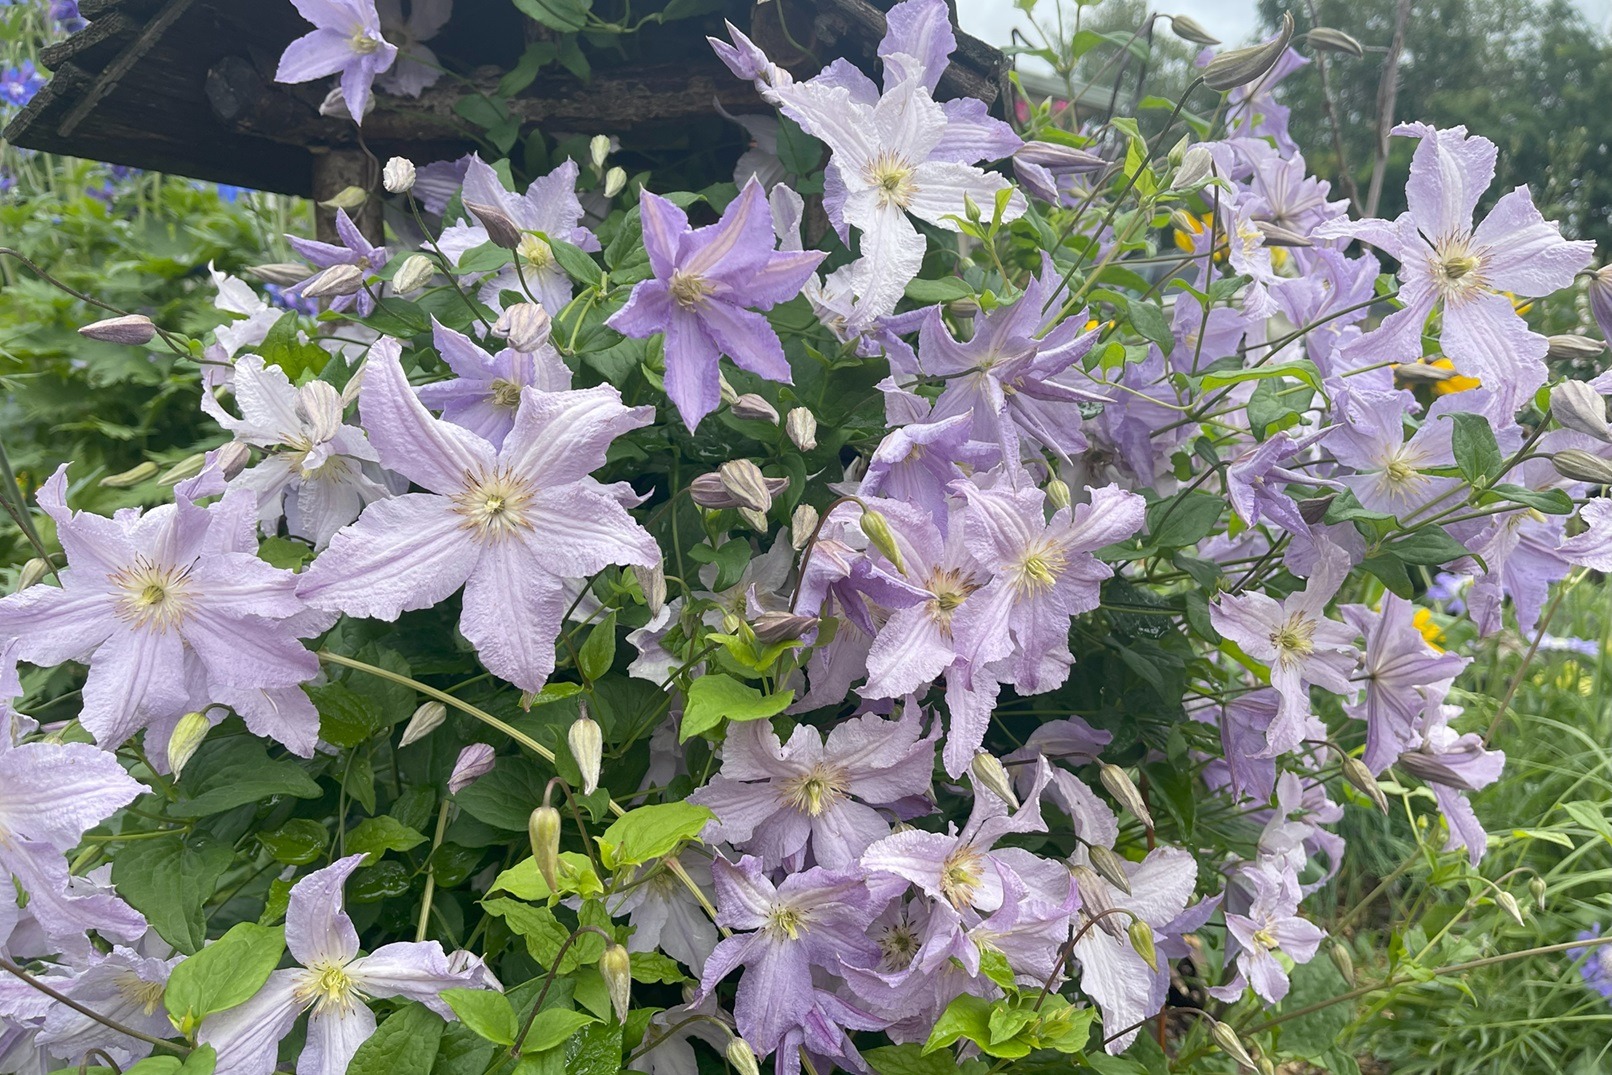
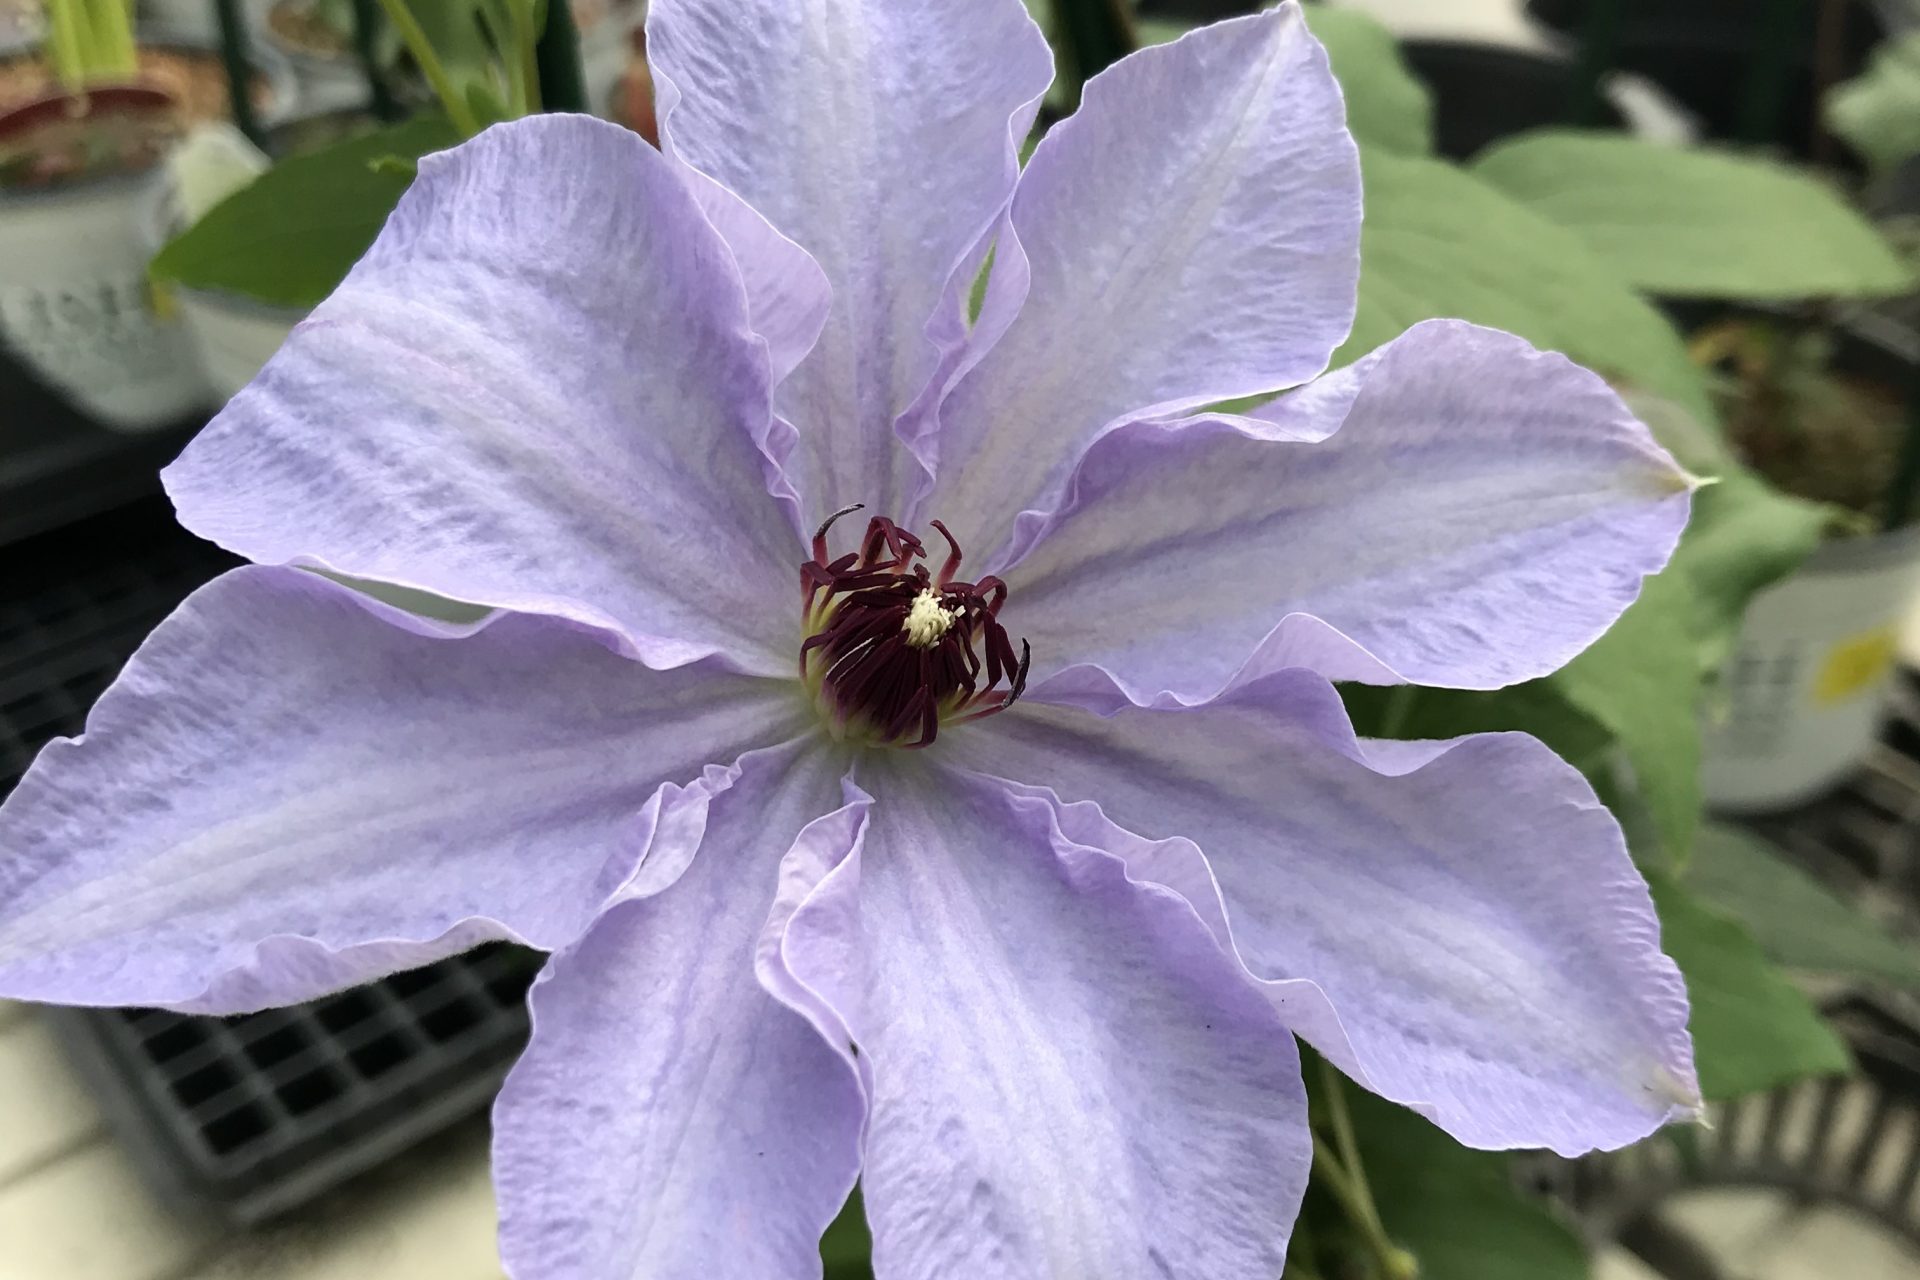
Clematis are beautiful perennial vines but they can be a little tricky to grow here in Alberta.
Knowing how to plant Clematis so they will thrive is a science as well as an artform.
Today, we’re talking about how to choose the right spot for your Clematis and how to plant it properly!
This blog will cover:
- The Best Place to Plant a Clematis in your own Yard
- How to Plant a Clematis Step by Step
The Best Place to Plant a Clematis in Your Yard
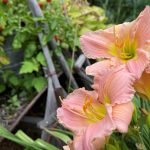
Clematis is native to areas like Spain and Japan, loving a warm and more humid climate than we have here in Alberta, but the good news is that there are some Clematis varieties that will work well for us here.
Check out my blog: 5+ Clematis Varieties that Work Well in Alberta.
Picking a hardy variety is one of the keys to grow Clematis successfully, another key is to find the right spot in your garden for it.
Clematis’ Three Basic Needs:
- Warmth and sunlight for the top of the plant
- Cool roots
- Support for Climbing

Let’s talk about each of those needs in detail:
1. Clematis need to grow in a sunny place with a minimum exposure of 6 hours of sunshine each day.
The perfect spot for a Clematis vine is one that has morning and afternoon sunshine with a break from the sun in the late afternoon. This also helps with flower fading when the flowers begin to age.
For most gardens, that would be an east, south, or west facing exposure. When scoping out a spot with the right amount of sunlight, remember to look for unsuspecting things that may shade the spot you thought was sunny. For example, a neighbour’s house or garage or other buildings, nearby fences, house eves, or tree and shrub.
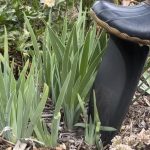
2. Clematis need to grow in an area where their feet stay cool.
When soil temperatures reach and exceed 25 C (77 F), Clematis roots will stop growing. Remember that healthy roots mean healthy plants.
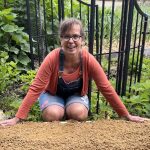
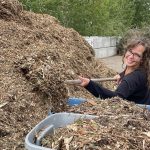
Provide shade for their roots with things such as:
- Mulch – but keep the mulch about 6″ (15 cm) from the stem to avoid stem rot. Avoid large rocks or rock mulches because they heat up with the sunshine.
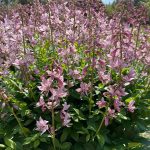
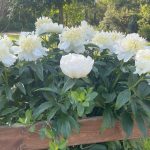
- Other Perennials — a robust perennial like a fall blooming Sedum or a summer blooming Salvia will work well here.
- A Small Shrub — a small Spirea or other globe shaped shrub would work well.
The Right Soil for Clematis: Clematis need soil that is rich, moist, and well draining. Clematis HATE to have their roots growing in soggy, wet soil. Their roots will rot if the soil is too wet. (Pull Quote)
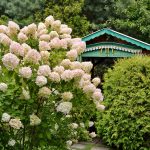
3. Clematis need vertical supports for climbing
Clematis are climbing vines that have an uncanny ability to wrap its long leaf stems around narrow supports, kind of like they’re hugging it.
Clematis have difficulty climbing up smooth surfaces, so if you would like it to climb a vinyl fence or a fence that has wide boards, or a smooth sided house, they will need a mesh or netting to wrap around.
Providing Clematis with support is important and there are a number of creative ways to do this:
- Arbors
- Fences & walls with a fine mesh
- Trellises – metal, plastic, wood, bamboo
- Obelisks
How to Plant Clematis Step by Step
Clematis are one of those garden characters that teach us patience as they are not fast growers, taking about 3 years to establish.
Steps to Planting Clematis Successfully:
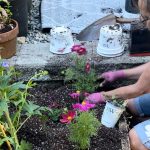
1. Plant Clematis Deep
Clematis like to be planted deep. It may feel a little crazy to dig a hole this deep, but this is one of the secrets to success.
Take a good look at the pot the Clematis came in and then dig a hole that is 6″ (15 cm) wider and 6″ (15 cm) deeper than the root ball in the pot.
The resulting hole that you dig may end up being 12″ (30 cm) or more deep, but don’t worry, that is just fine.
Place a couple of handfuls of moistened good quality soil at the bottom of the hole — it’s always a good idea to moisten new potting soil. Add water to the potting soil so that when you squeeze the soil it loosely holds together. You don’t want it to be so wet that you squeeze moisture out of it.
2. Do Your Best to Keep the Clematis Root Ball Intact
Healthy roots mean healthy plants, so handle the root gingerly and gently to reduce transplant stress.
Once the hole is dug, and before taking it out of the pot, check to see how moist the soil is in the pot. If it is dry, water it so that water drips out of the bottom of the pot. If the root ball is very dry, it may get stuck to the pot and cause damage to the root as you try to remove it.
Carefully tip over the pot the Clematis is in, give the pot a little shake and the root ball should slide out of the pot.
If the root doesn’t come out, give it a harder shake or you may need to slip a thin stick up along the side of the pot and the root ball and loosen it a bit.
3. Gently place the Clematis root ball at the bottom of the hole.
There is no need to scratch the roots, loosen the roots, or otherwise mess with the Clematis roots, just simply place the root ball at the bottom of the hole on top of that newly moistened potting soil you placed there.
4. Backfill the Clematis root ball with good quality potting soil.
While holding the root ball steady with one hand, backfill the hole with the moistened potting soil. Press the soil in, but don’t pack it. Packing soil around roots destroys the water holding and draining capacity because it destroys the air pockets where this work is done. Keep filling in with soil until it is even with the ground around the hole.
5. Give the newly planted Clematis a good drink of water.
As with all transplanted plants, the roots have been disturbed. Give the Clematis a nice deep drink of clear water. No need to fertilize this first time. It is fine to fertilize the freshly planted Clematis in a week.
In Conclusion
If you are wondering what to do with your Clematis after you have planted it, check out my blog called How to Care for and Prune Clematis for more details on the day to day maintenance of Clematis through the summer.
© Sharon Wallish Murphy, Gardening with Sharon