How do you start plants from seed? I am in awe of how plants unfold from seed to maturity. I like to say it’s magical, but it’s incredibly complex.
How a plant starts its life impacts the following stages of growth, so let’s talk about how to give plants the best start possible.
This blog will discuss 11 practical tips for starting plants from seed, so roll up your sleeves!
Tip #1: Always Use Clean Materials for Seeding
Even though plants grow in soil, working surfaces, tools, and growing mediums must be clean to control unwanted bacteria, fungus, and mold growth.
Dirty equipment can pass on or encourage the growth of disease-causing organisms, resulting in competition for nutrients intended for the new seedlings or causing infections that compromise the plant’s development.
Clean materials decrease this risk, so wash trays, pots, and anything else you will use in the seeding process with hot soapy water before seeding. Bleach is unnecessary in most circumstances.
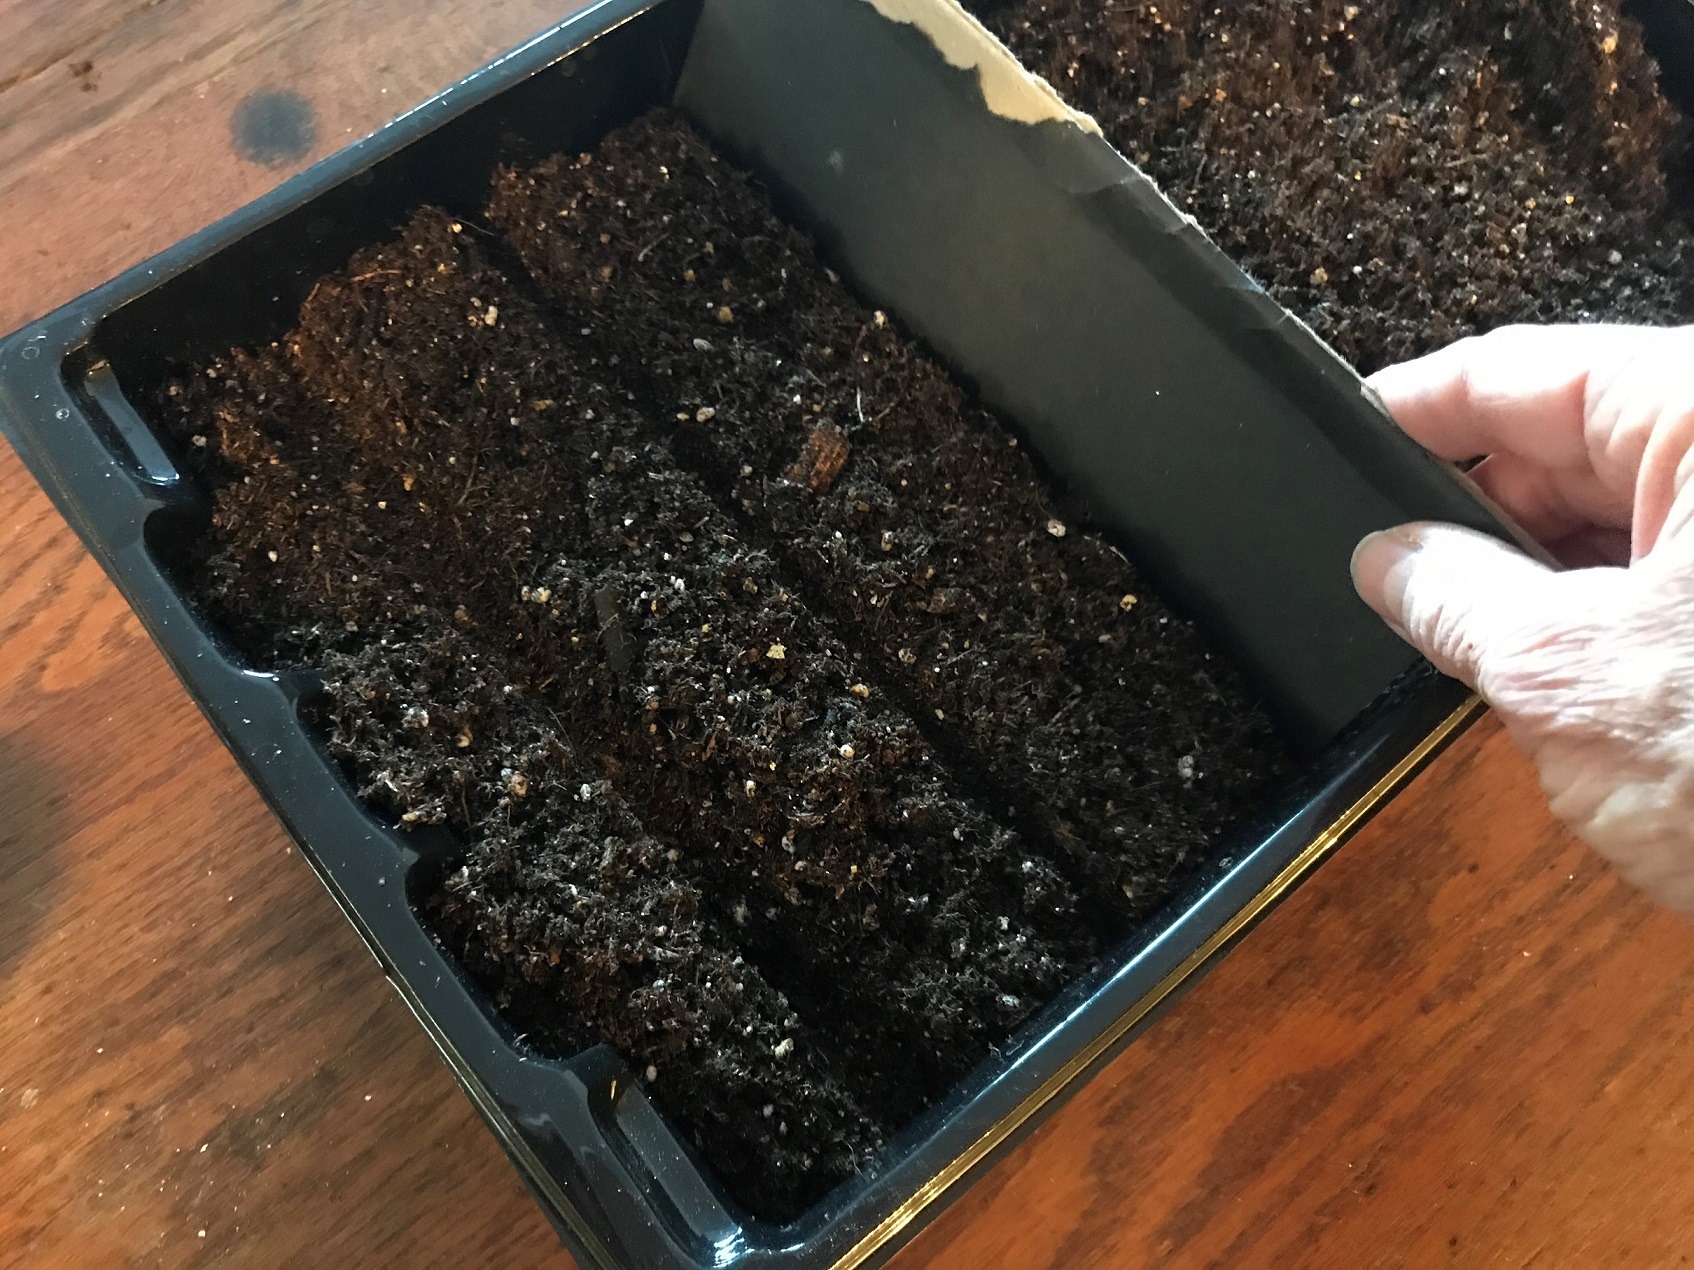
Tip #2: Use Seeding Mix
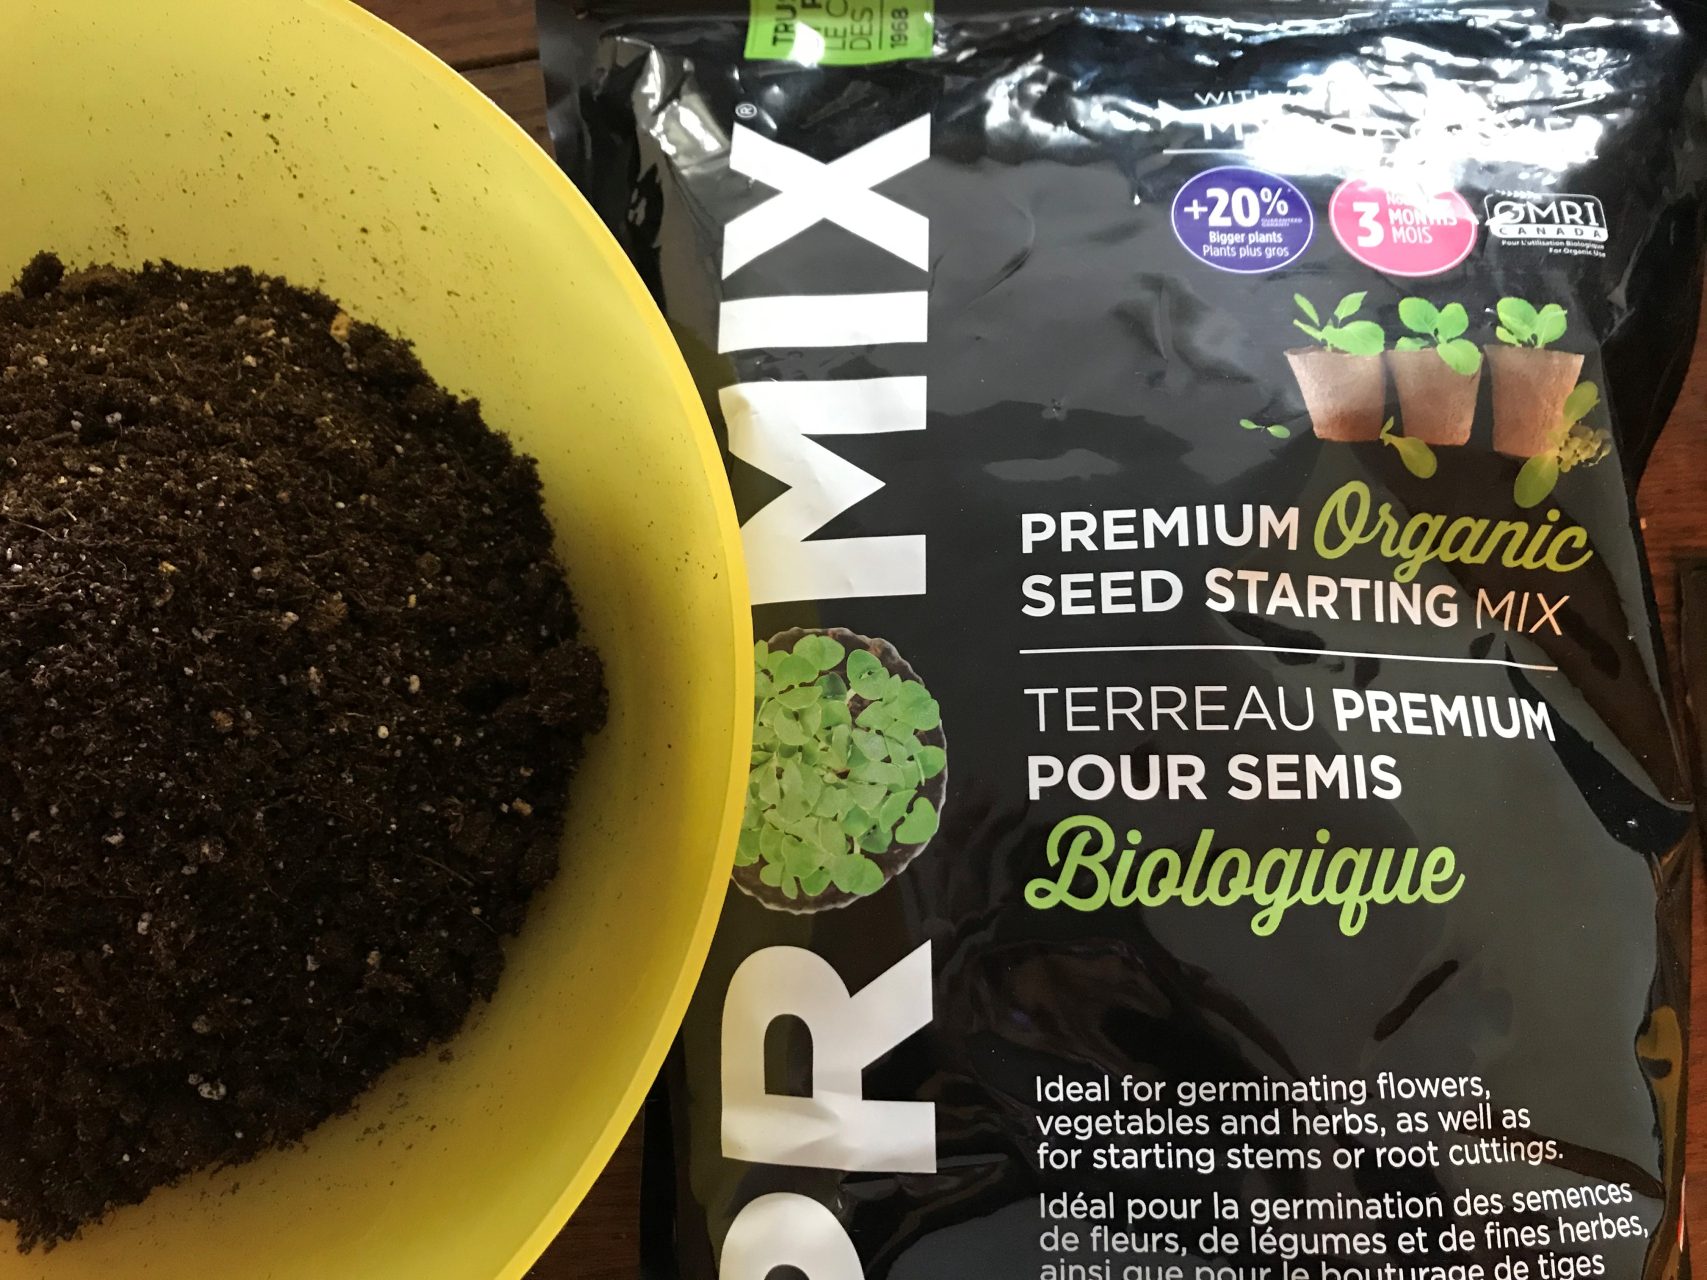
Seeding mix is designed explicitly for germinating seeds.
Seeding soil differs from regular soil as it has a finer texture to allow the microscopic root hairs to grow unobstructed.
It also has added surfactants to break water surface tension, making water more accessible to the developing seeds.
Always use fresh, clean seeding soil. Do not reuse seeding soil.
I prefer to avoid seeding soils that have added fertilizer for a couple of reasons. First, fertilizer can burn tiny root fibres if it is incorporated too soon. The other reason is that it’s hard to know the exact dose of fertilizer you’re dealing with and how it will affect the seedlings.
It’s better to add fertilizer later in the growing process, as described below in this blog.
Seeds only need about 4 cm (1.5”) of soil to germinate. It’s better for them to grow in a shallow tray that drains well and stays moderately moist rather than in a deep layer of soil that stays soaked.
Make sure that the seeding tray has drainage holes to drip off excess water. If it doesn’t, add some with a drill or a nail.
Moisten the seeding soil before sowing, and mix in the water by hand, adding just enough water so the soil stays together when you squeeze it lightly in your hand. There shouldn’t be any water dripping out when you gently press it.
If it does, then it’s too wet. Add more dry soil to decrease the moisture content.
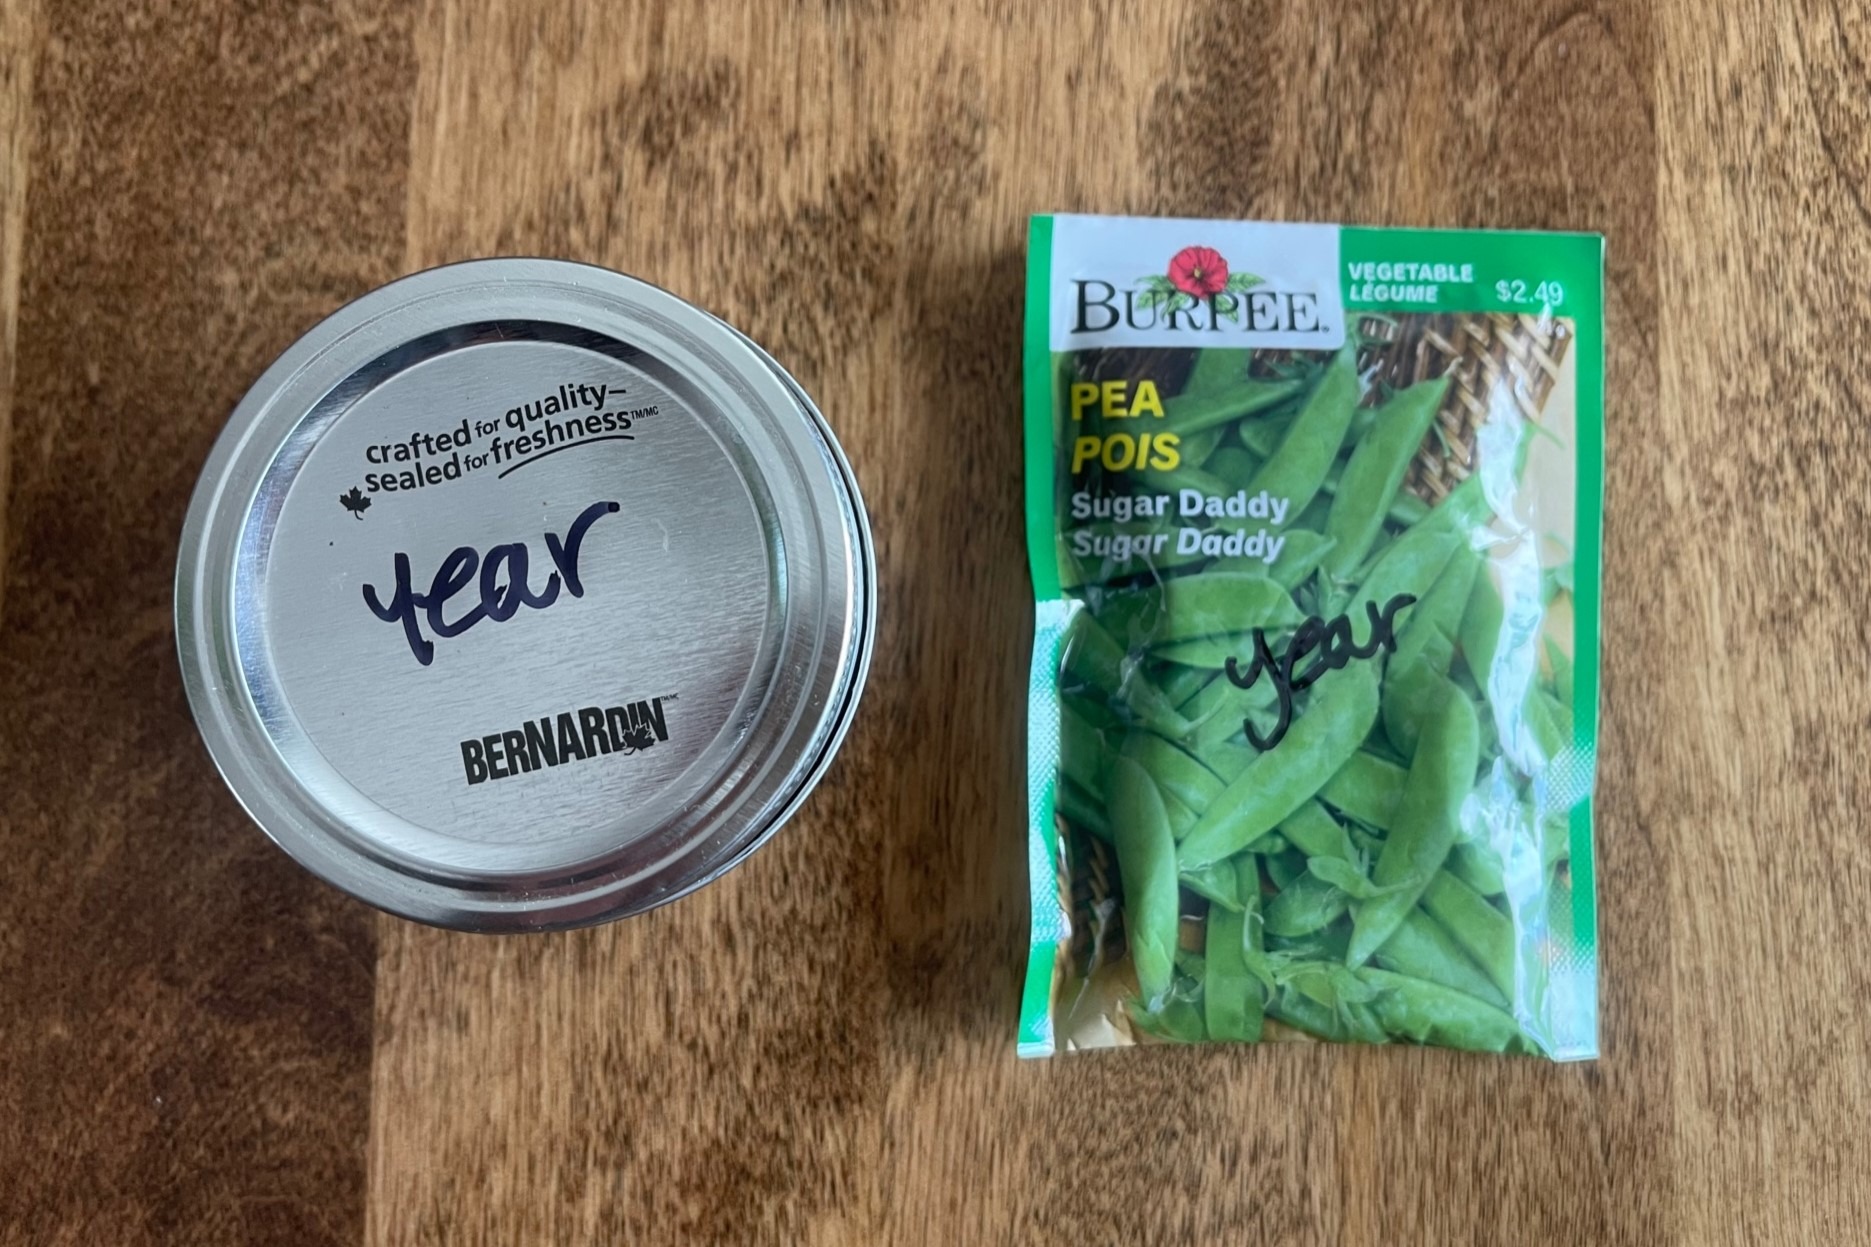
Tip #3: Use Good Quality Seed
Seeds are started ahead of time to get a jump start on the limited number of growing days here on the Canadian prairies.
Bad seeds mean a bad time and waste precious time, so use fresh seeds each year with germination rates of over 75%. The germination rate, or percentage, should be indicated on the back of each seed package.
Mark the year on the seed packages when they arrive or when you harvest your seeds so you can keep track of their age.
When using older seeds, do a germination test to determine what you can expect as you sow them. If the percentage is low, sow extra seeds to compensate.
Store seeds in a cool, dark, dry place protected from physical damage and sealed in airtight packaging. Most refrigerators are suitable for storing seeds. Place the seed container at the back of the fridge where the temperature stays more constant than in the door.
Tips #4: Start Seeds on Time
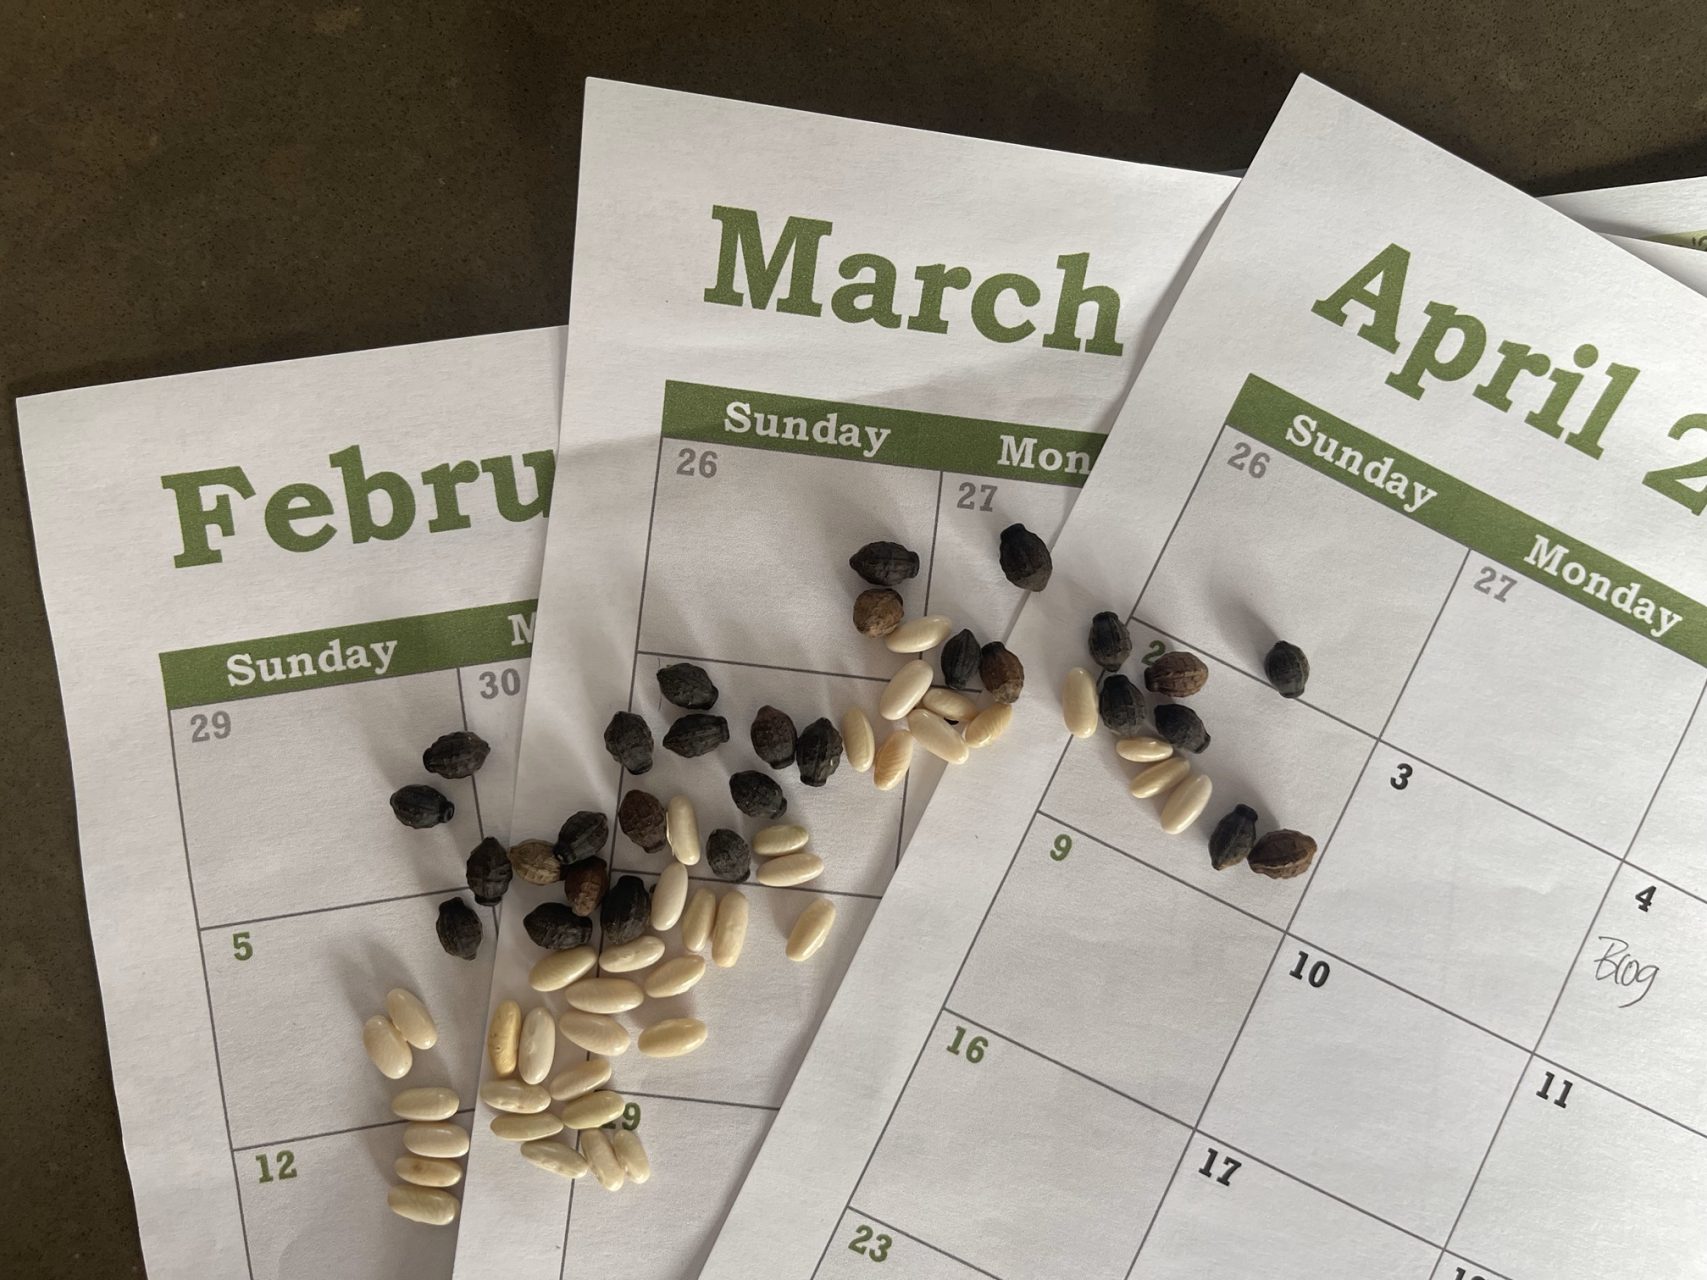
A critical factor in sowing seeds indoors is to start them at the right time.
Sowing crops too late results in slower-maturing flowers or produce. But, on the other hand, getting seeds in too soon can turn your home into a real-life Jumanji movie with stretched, overgrown plants.
Seeding dates are flexible within a 2-week window. As you gain experience starting plants from seed, you will fine-tune seed dates to work best for your garden.
How to Calculate Seed Dates
Seed dates vary as different types of annuals, vegetables, herbs, and perennials have different growth patterns.
Before you select any dates, pin down:
1. Your target date for transplanting outdoors.
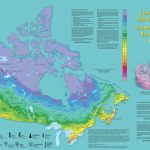
Reasonable dates for planting transplants out in the garden largely depend on which plant hardiness zone you live in.
For plant hardiness zones 3-4, late May to early June is a reasonable time to plant outdoors. However, I am always cautious about recommending early outdoor transplant dates because frost is a real and present danger through the month of May in our area.
Related: What are Plant Hardiness Zones and How do They Work?
2. Determine how long it takes a variety to develop to the transplanting stage.
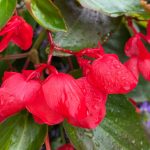
Many vegetables amd herbs are ready for transplanting in 4-6 weeks, but annuals vary quite a bit. Some take a long time, like Begonias, which need 12-16 weeks; others, like Marigolds, grow quickly and are ready in 4-6 weeks.
Related: Wondering how to figure out the number of weeks an annual seedling requires to be ready to plant outdoors? Use this handy Seed Germination Guide by Iowa State University.
Doing the Math for Seed Dates:
To figure out seed dates:
- Grab a calendar
- Identify your target transplanting date
- Count back the number of weeks it will take for the plants to be ready
Where you land in this process is your projected seed date.
If you’re feeling nervous about it, remember that seeding dates are flexible within a 2-week window and you can always fine tune it for your next growing season.
Here’s the formula for determining seed dates:
Date to transplant outdoors – # weeks for the seedlings to be ready = approx. seed date
Give it a go, see how it works, and take good notes so you can make any adjustments the next growing season.
Remember that whenever you use seeding or germination charts that these are approximate dates to serve as a springboard for your individual situation.
In addition, seedling performance and growth rates depend on plant hardiness zones and growing conditions like light, heat, and moisture, which are discussed below.
Related: I have a Comprehensive Guide to Planting and Seeding Vegetables in Zone 3 and 4 Gardens available for purchase. Take a peek at the sample page to see if this may work for you!
Tip #5: Sow Seeds at the Correct Depth
Correct seed depth is another component of seeding success. If seeds are sown too deep or too shallow, germination can be stalled or halted.
A simple rule of thumb for calculating seed depth is to sow seed at a depth that is twice its width. Most seed packages include instructions for seed depth.
A little seeding hack I learned as a grower is adding a little white sugar to tiny seeds, like raw Begonia or raw Petunia seeds (seeds without coatings), helps to sow more evenly.
Tip #6: Which Seeds Need to be Covered After They are Sown
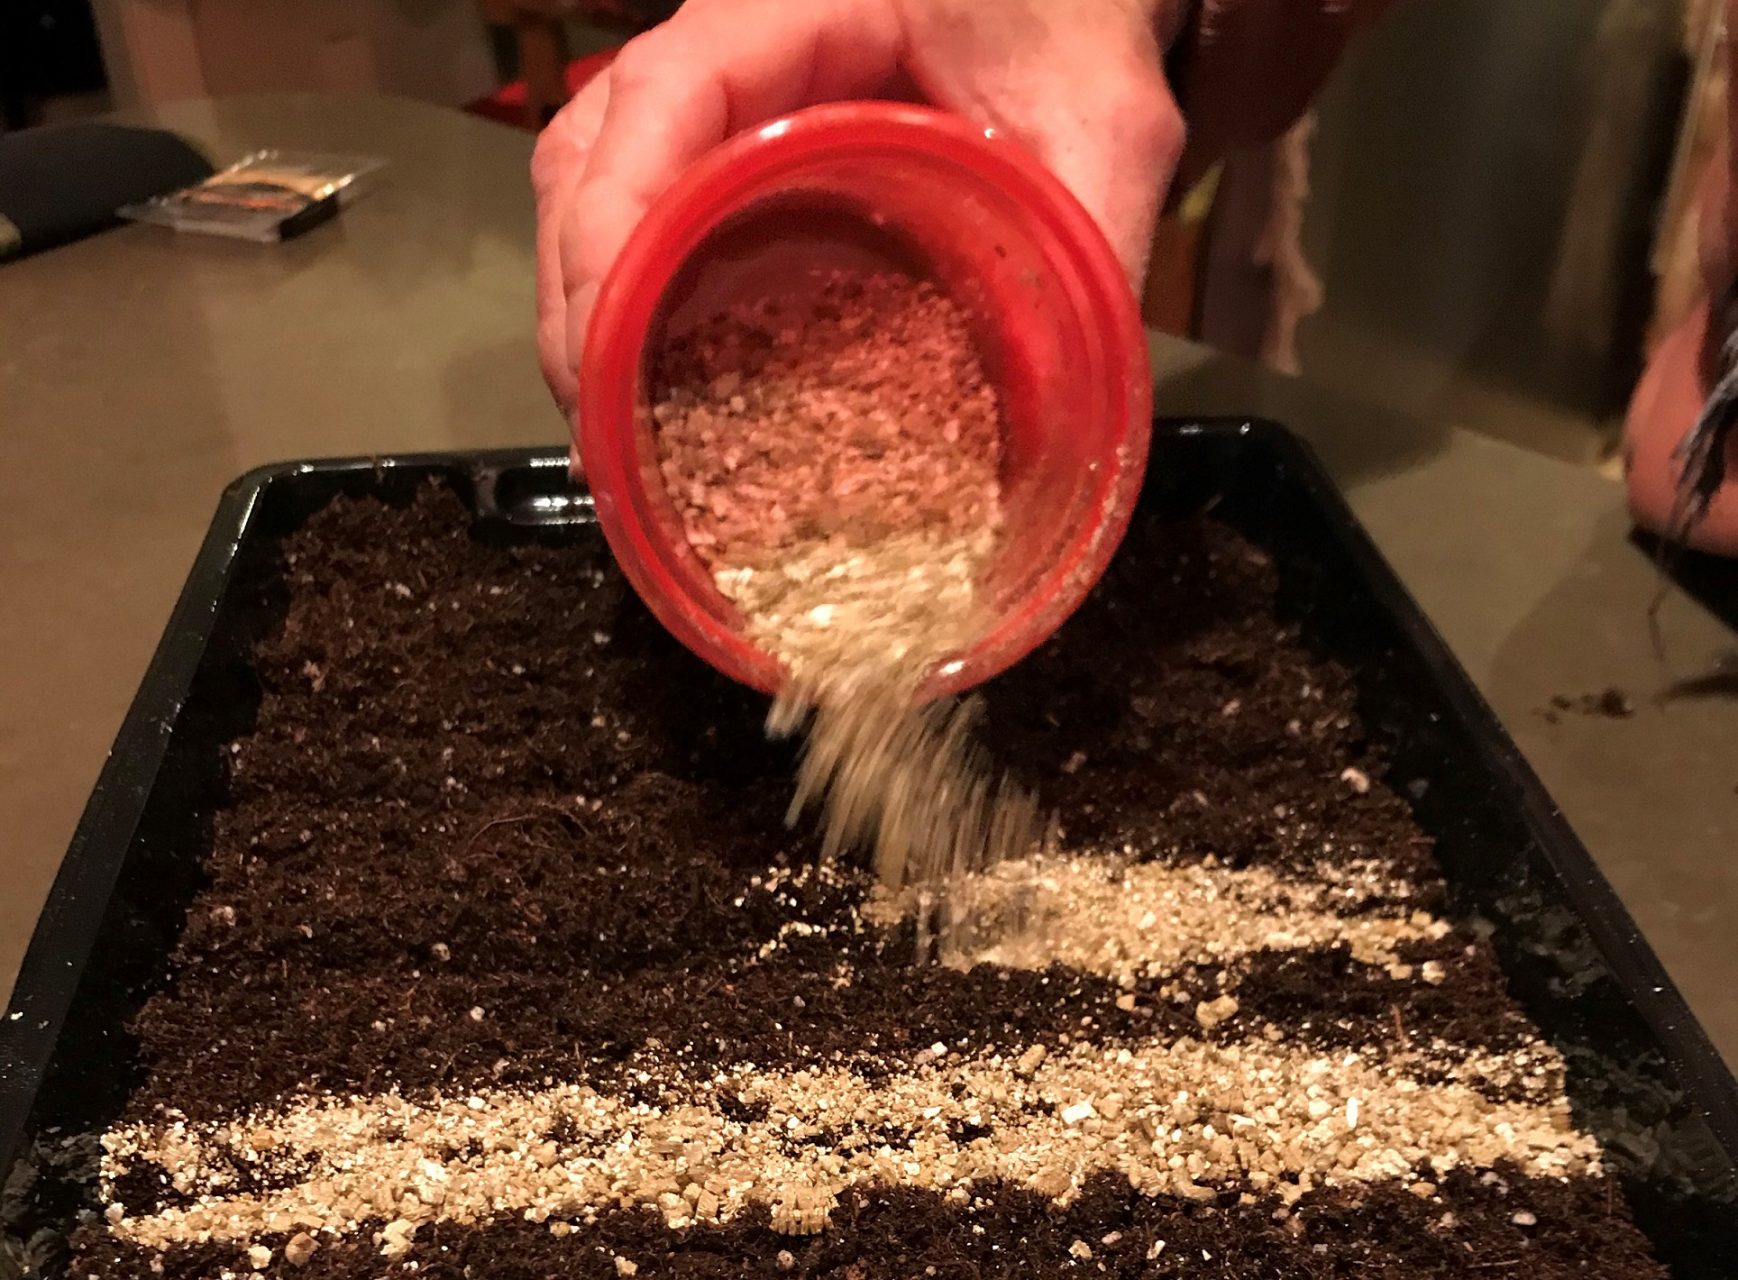
Seeds imbibe water to activate germination hormones. For this to happen, they need to stay evenly hydrated. Dehydrated seeds will germinate poorly (or not at all), and the seedlings will struggle.
Whether or not seeds need to be covered depends on seed size and light requirements.
As a veteran greenhouse seeder, my rule of thumb is anything the size of a Pansy or Salvia seed needs covering. I used to have one of each taped to my seeder.
Interestingly, most seeds that need some light to germinate are also relatively small. Because of their size, they wouldn’t need it anyways.
Pansy seeds are smaller than Salvia seeds, so the Pansies got a whiff of topping, whereas the Salvias got a thicker layer.
Large seeds, like Lupines, Swiss Chard, Cosmos, Marigolds, Asters, and Zinnias, must be covered.
Don’t cover seeds tiny seeds like Coleus, Lobelia, Petunias, Begonias, Snapdragons, Nicotiana, Portulaca, Oregano, Mint, & Thyme with anything, but use a plastic dome over the seed tray to maintain moisture and humidity.
What is a Good Seed Covering Material?
My favourite seed covering is Vermiculite, a type of clay belonging to the mica family that doesn’t rot, mold, or take moisture from seeds.
Vermiculite is very absorbent, holds a lot of water and acts as a sponge next to the seed, releasing water as the seeds require.
Tip #7: Seeds Need Warmth
All seeds have minimum, maximum, and optimal temperatures for germination.
The optimal soil temperature range for *most* annual and perennial seed germination is 20-23 C (68-74 F). However, some plants germinate in cooler temperatures.
Related: Iowa State University’s Seed Germination Guide includes information on germination temperatures for many annuals.
You can use an instant-read thermometer to insert into the soil or can always lay an old-school mercury thermometer on top to measure soil temperature. Don’t get crazy about this; monitor the temperature once in the morning and again in the evening. If the temperature is a little cooler, it will take a little longer for the seeds to germinate.
Seeds and plants love bottom heat, so the top of the refrigerator is an excellent spot to keep them.
Heat mats will work too, but be careful to monitor the soil temperature; sometimes they get pretty hot.
Tip #8: Seedlings Need Light
Seedlings need light to grow.
Light quality and quantity impact plant growth, and northern locations don’t get enough of either during winter.
Inadequate light can cause:
- Poor germination after the initial radical stage
- Poor rooting
- Stem and leaf stretching
- Slowed growth due to decreased photosynthesis
- Weak roots
Supply as much light as possible during the day near a sunny window, but avoid overexposure to direct sun, as the seedlings could burn.
If you are considering using auxiliary lighting, LED lights are a good solution because they provide light in the photosynthetic active region (PAR) in both the ultraviolet and infrared zones. Ultraviolet, or blue light, results in darker green leaves and stockier growth, and hyper-red light triggers flower initiation.
LED lights are expensive, but they are worth the investment because of their light spectrum, and they operate more energy efficiently.
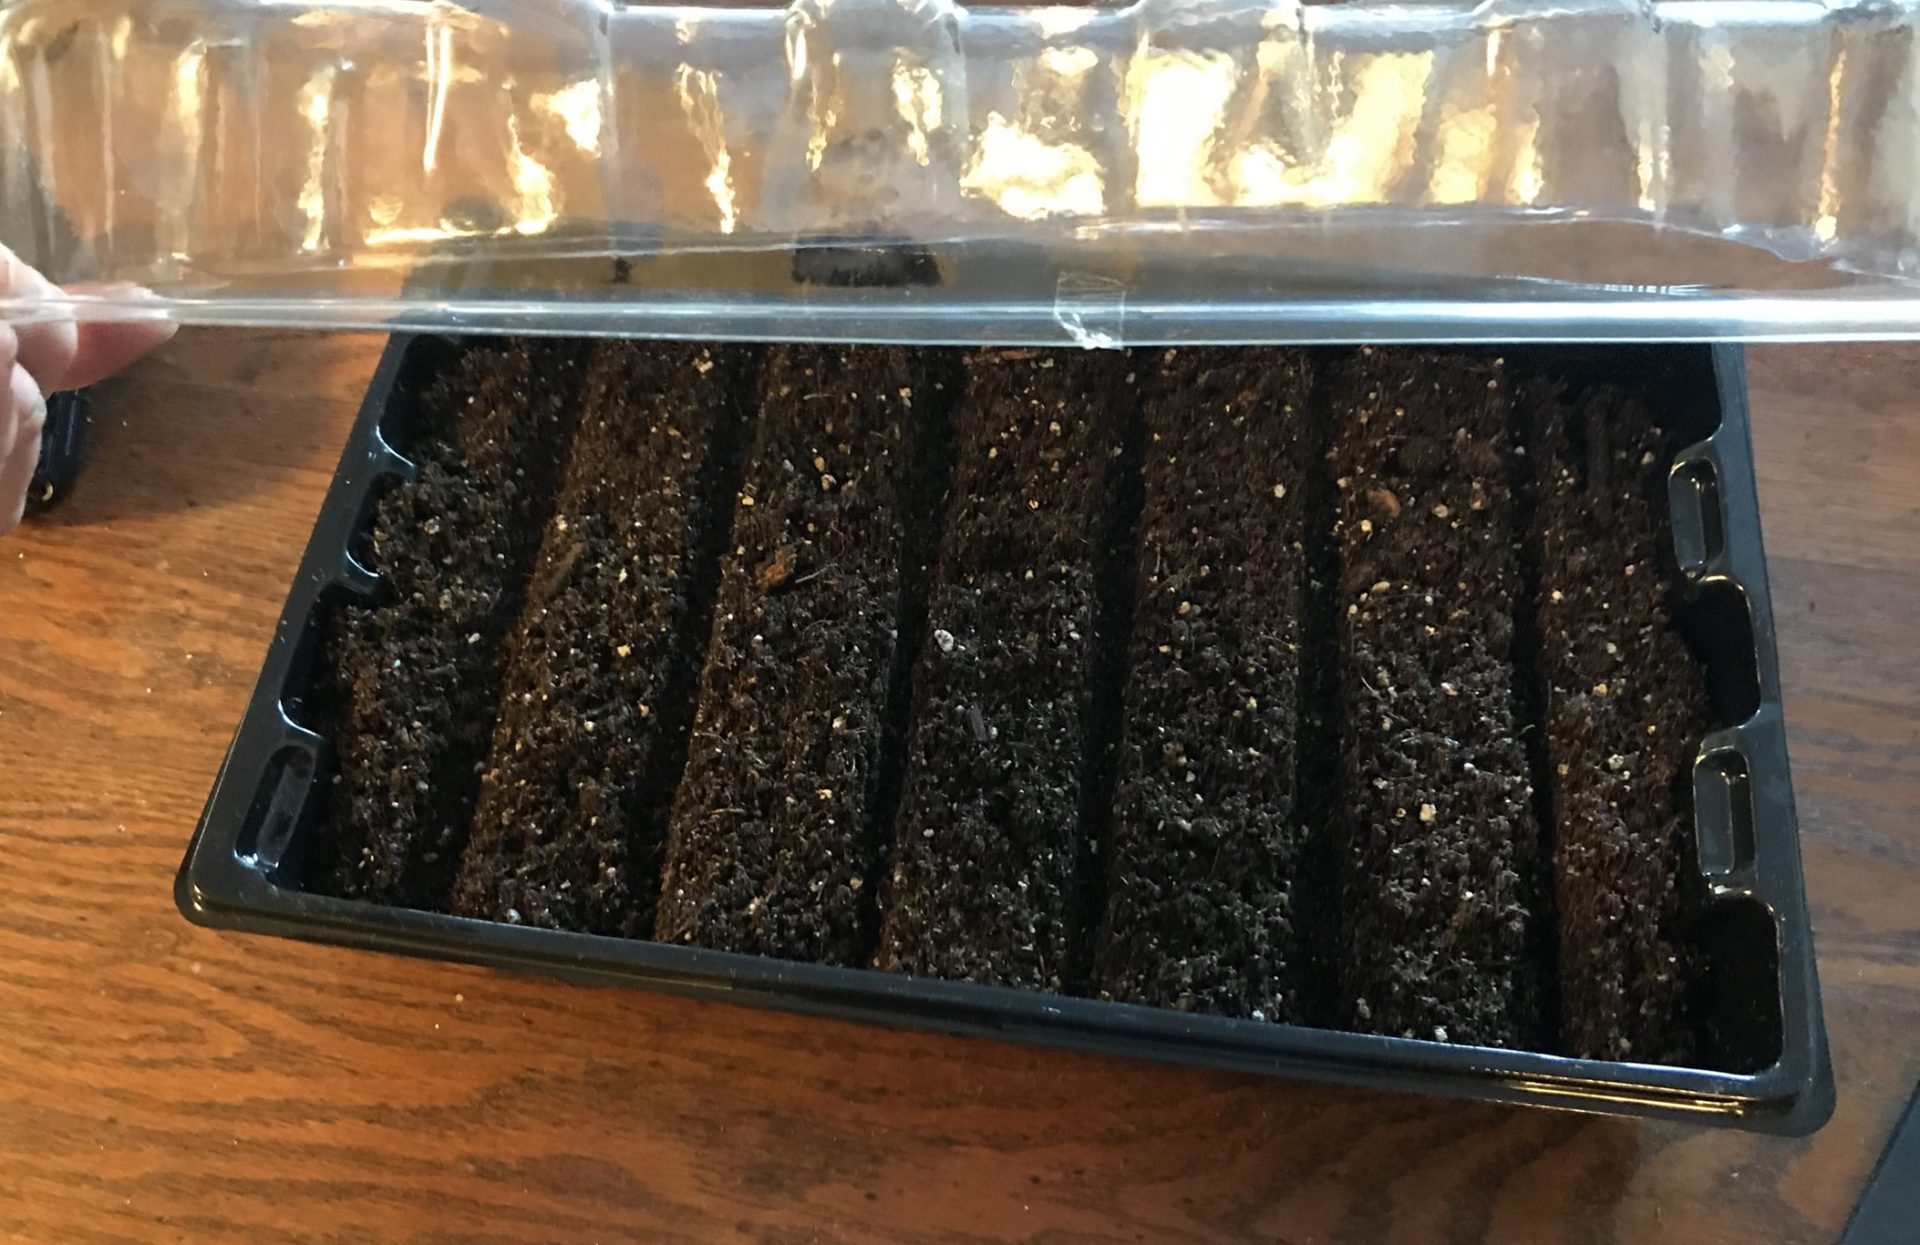
Tip #9: Seeds & Seedlings Need Consistent Soil Moisture
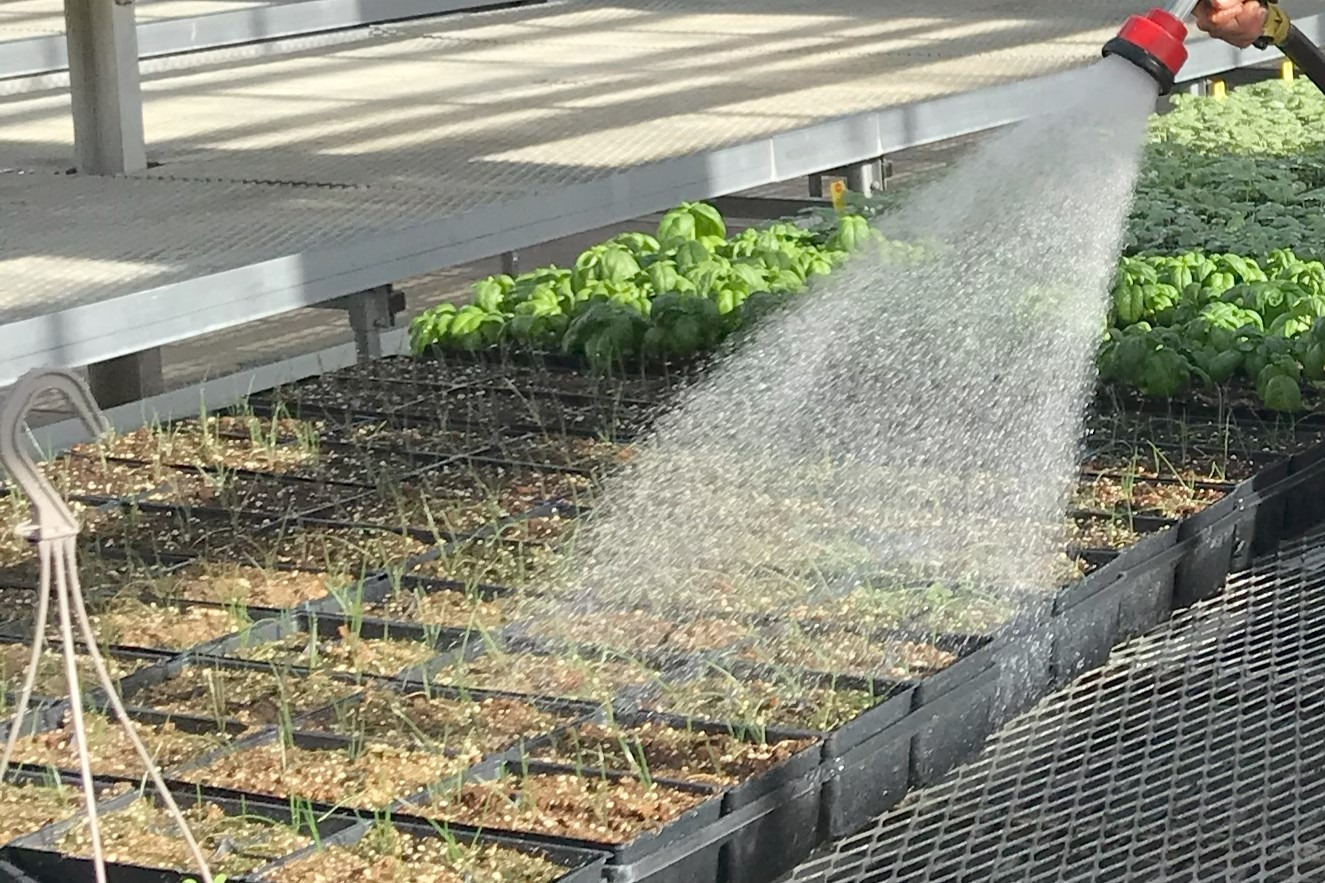
Seeds need 90% humidity and consistent soil moisture to germinate, grow well, and avoid water stress.
Dehydrated seeds will germinate poorly or not at all, and the seedlings will struggle.
Use a clear plastic dome, or plastic wrap, that fits lightly over the seeding tray to maintain soil moisture by keeping the humidity up for new seeds.
The clear plastic covering can be removed when 50% of the seeds have germinated. Keep seeds and seedlings evenly hydrated with a fine mist using clear water from a spray bottle. The rest of the seeds will continue to germinate.
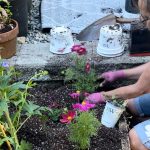
Tip #10: When to Fertilize
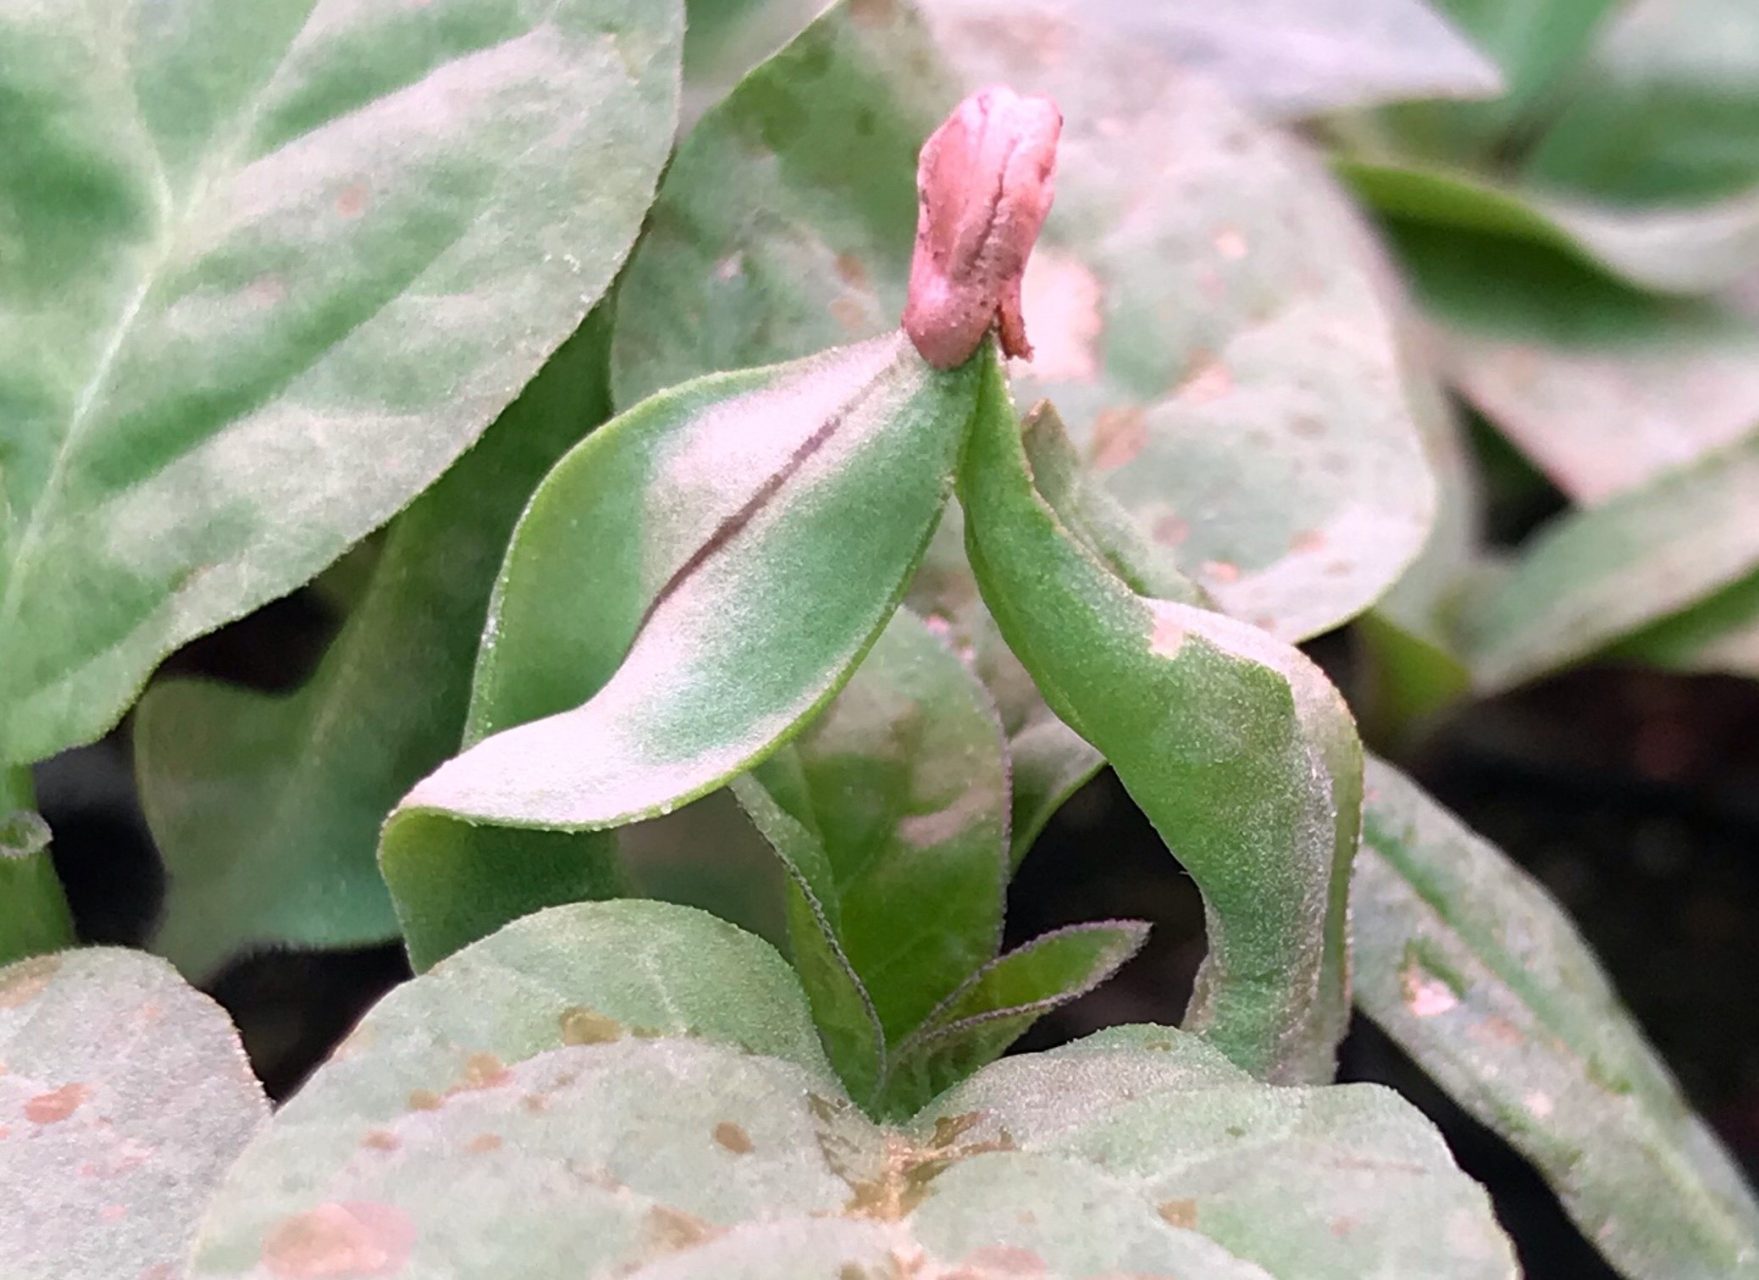
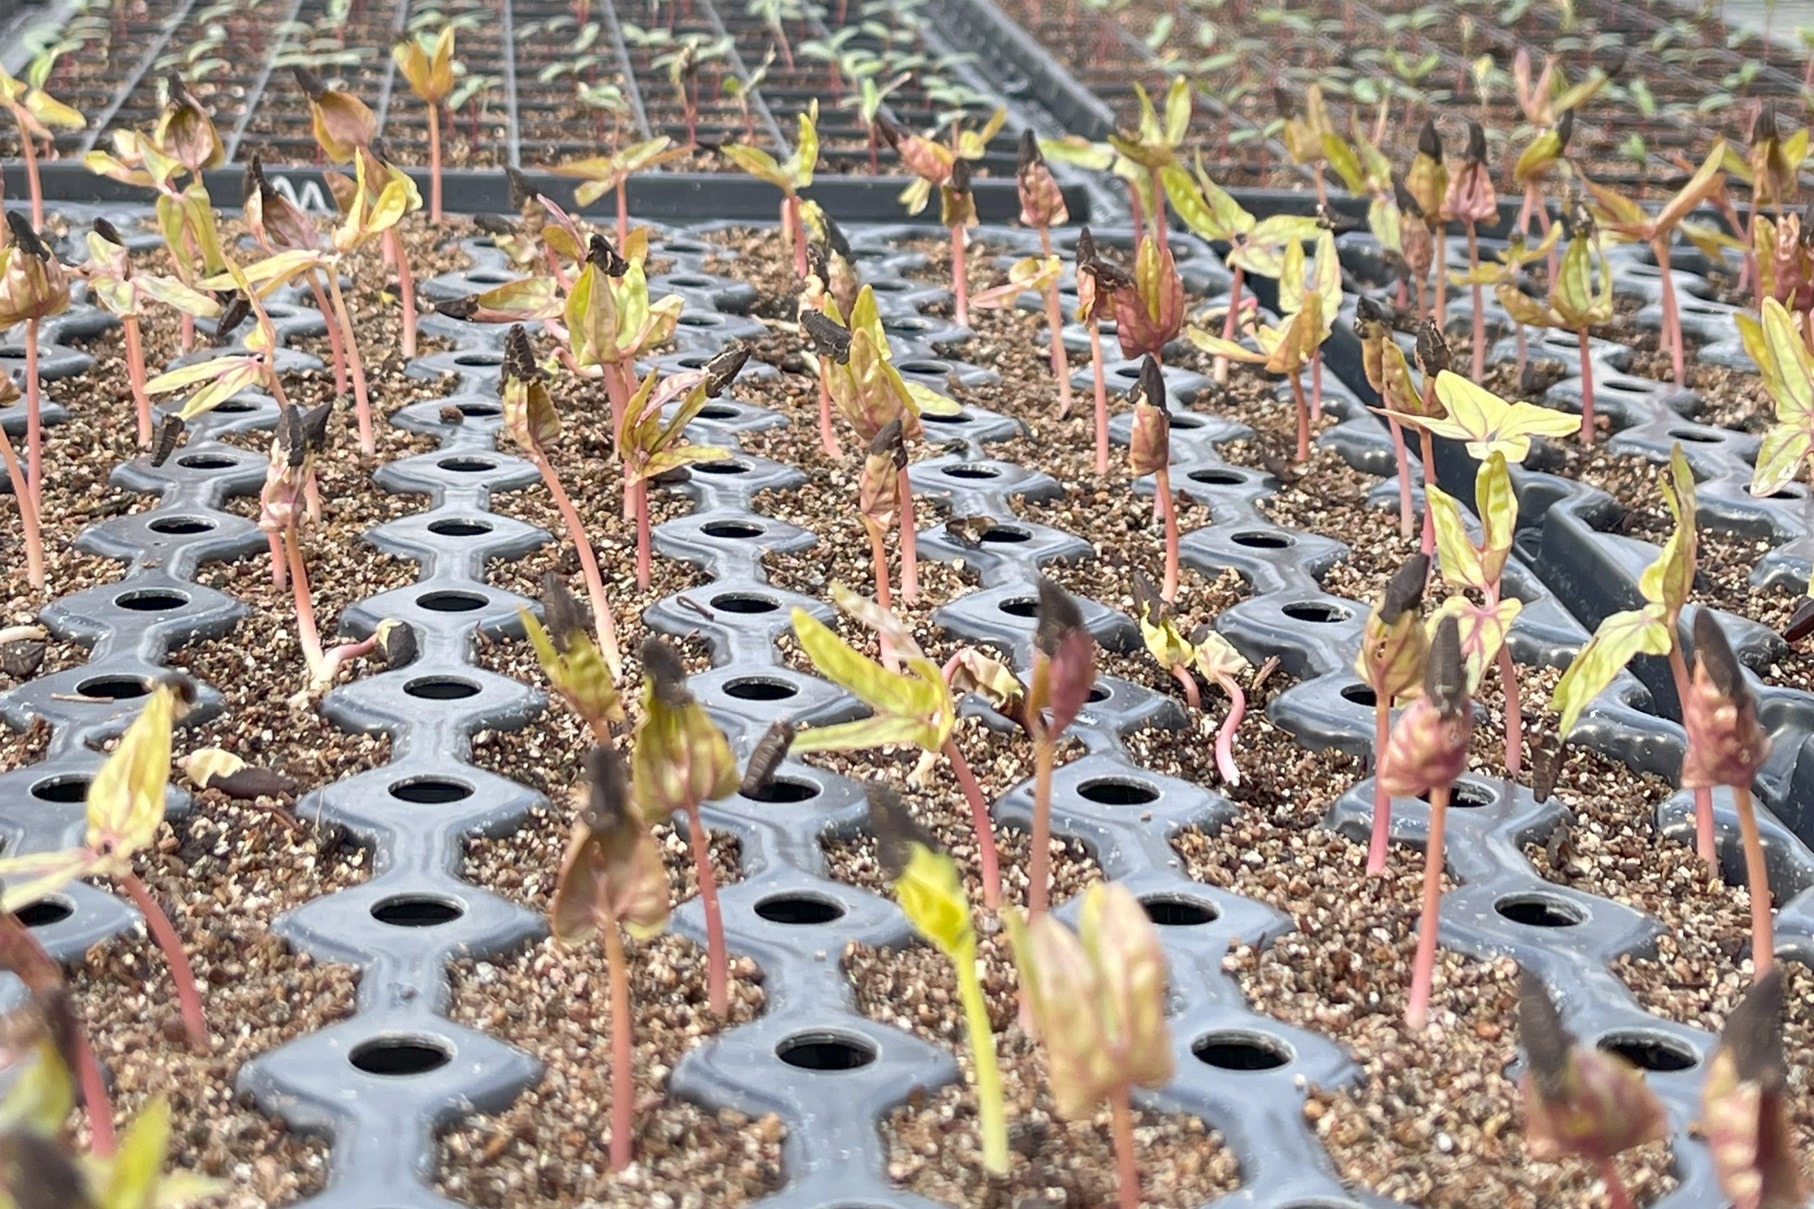
Seedlings don’t need any fertilizer at the initial stages of growth because seeds carry enough nutrients to give them a good start.
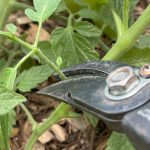
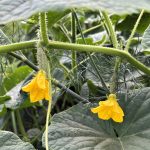
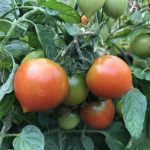
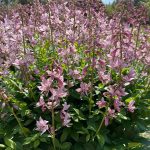
A fertilizer routine can begin when the true leaves emerge (see photo). The first rounded cotyledons are not true leaves, but the true leaves are the next set and look like the characteristic leaves of the mature plant.
Start with dilute fertilizer to avoid burning; adding fertilizer is always simpler than taking it away.
Start with 1/4 strength 10-52-10, 20-20-20, or Nature’s Source 10-4-3.
The middle number of the macronutrient fertilizer sequence, Phosphorous, encourages root development, but be careful not to overdo it.
Related: Confused about fertilizers and what all the numbers mean? How to Understand Fertilizer Labels unravels the mystery.
Fertilize new seedlings weekly or biweekly. If the seedlings look pale, you may give them an additional fertilizer top-up by increasing the concentration to 1/2 strength or by giving an extra dose of 1/4 strength fertilizer.
As seedlings mature, they will tolerate higher fertilizer concentrations. Increase slowly, step by step, increasing the concentration to 1/2 strength, 3/4 strength, and then full strength.
Tip #11: Take Good Notes About Your Seeding Progress
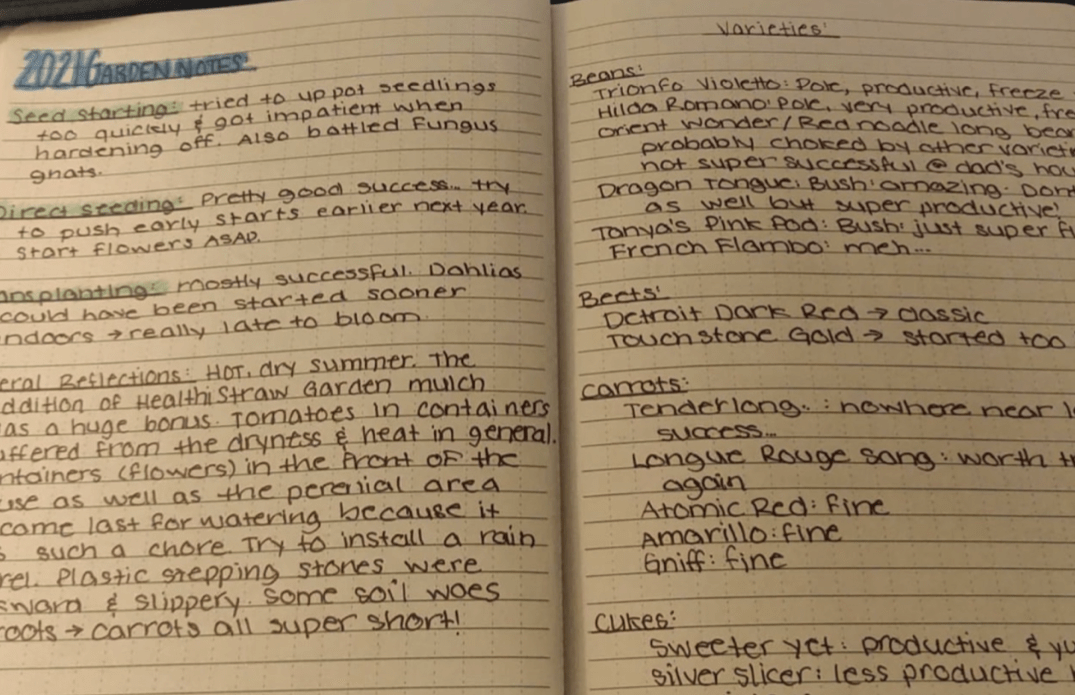
Your growing notes are gold, and this is where the real learning as a grower happens.
Take notes in a format that works best for you. Some people prefer long-form notes on paper, others prefer electronic ones, and others like to use charts.
Here’s a list of ideas of what to include in your notes:
- Variety name
- Date sown
- Package Germination rate (usually expressed as a percentage)
- Soil temperature
- Date germinated
- Date the dome was removed
- Date true leaves emerged
- Dates fertilized
- Notes on seedling health
- Date the seedlings were transplanted into bigger pots
- Date the plants were transplanted outdoors
- First blossom
- First mature fruit
- The weather: outdoor temperatures, cloudy or sunny conditions, rain frequency
- General comments on growth, process, and adjustments you would like to make the next growing season
Let it Grow!
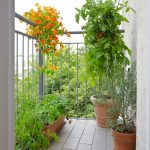
There are advantages to growing your own seedlings.
You get to control the quality and quantity; more importantly, it expands your selection of plant varieties.
So let it grow and let me know how it goes!