Garlic is a fragrant and delicious addition to most savoury dishes, and growing garlic has its nuances.
If you are looking for a complete guide for how to grow garlic, look no further!
My adventures with garlic began a couple of years ago when my neighbour shared a garlic head with me early one fall to plant in my garden and I knew nothing about it.
Are you new to garlic? Let’s explore all the facets of garlic!
This guide will cover:
- Fun Facts about Garlic
- The Differences Between Hardneck and Softneck Garlic
- When and How to Plant Garlic
- How to Care for Garlic as it Grows
- When and How to Harvest Garlic
- How to Store Garlic

Fun Facts About Garlic
Garlic’s unmistakable poignant scent and flavour is known worldwide.
This culinary staple is thought to have originated from areas of Central Asia, moved its way to southern Europe, and from there spread across the globe.
Garlic is a member of the allium, or onion, family.
Other members of this family are leeks, chives, and ornamental allium.
Alliums are known for producing naturally occurring sulphur compounds. These sulphur compounds evaporate into the air, particularly when onion leaves are cut, and they blend with the moisture in our eyes to create sulphuric acid. This intensely irritating acid can initiate a cascade of eye watering.
The Latin name for garlic is allium sativum, and it is estimated that there are over 600 varieties.
How Garlic and Onions are Different:
- Garlic has flat leaves, and onions have hollow, round leaves.
- Garlic rarely starts from seed, but onions often do.
- Garlic has bulbs composed of 8-12 separately wrapped cloves, which are essentially mini-bulbs, each of which can start its own plant, and onions are one solitary bulb.
- Garlic is different from many other garden vegetables in that it can be planted in the spring and fall — more on that below.
Nutritionally, garlic provides minerals like calcium, phosphorus, selenium, and manganese, and on the vitamin side, it brings vitamin C and B to the table.
Garlic is a Good Garden Companion Plant:
- Because of its pungent odour, it wards off pests like white flies, root maggots, Japanese beetles, and of course, vampires.
- Garlic’s garden buddies are beets, celery, cole crops (brassicas) like broccoli, Brussels sprouts, cabbage, cauliflower, kale, and kohlrabi; lettuce, potatoes, strawberries, and tomatoes.
- Don’t plant garlic near any peas or beans because they hate each other.
Related: The Ultimate Vegetable Companion Planting Guide from A-Z
What’s the Difference Between Hardneck and Softneck Garlic?
Garlic is divided into two primary groups: hardneck and softneck. Let’s look at each now.
Characteristics of Hardneck Garlic
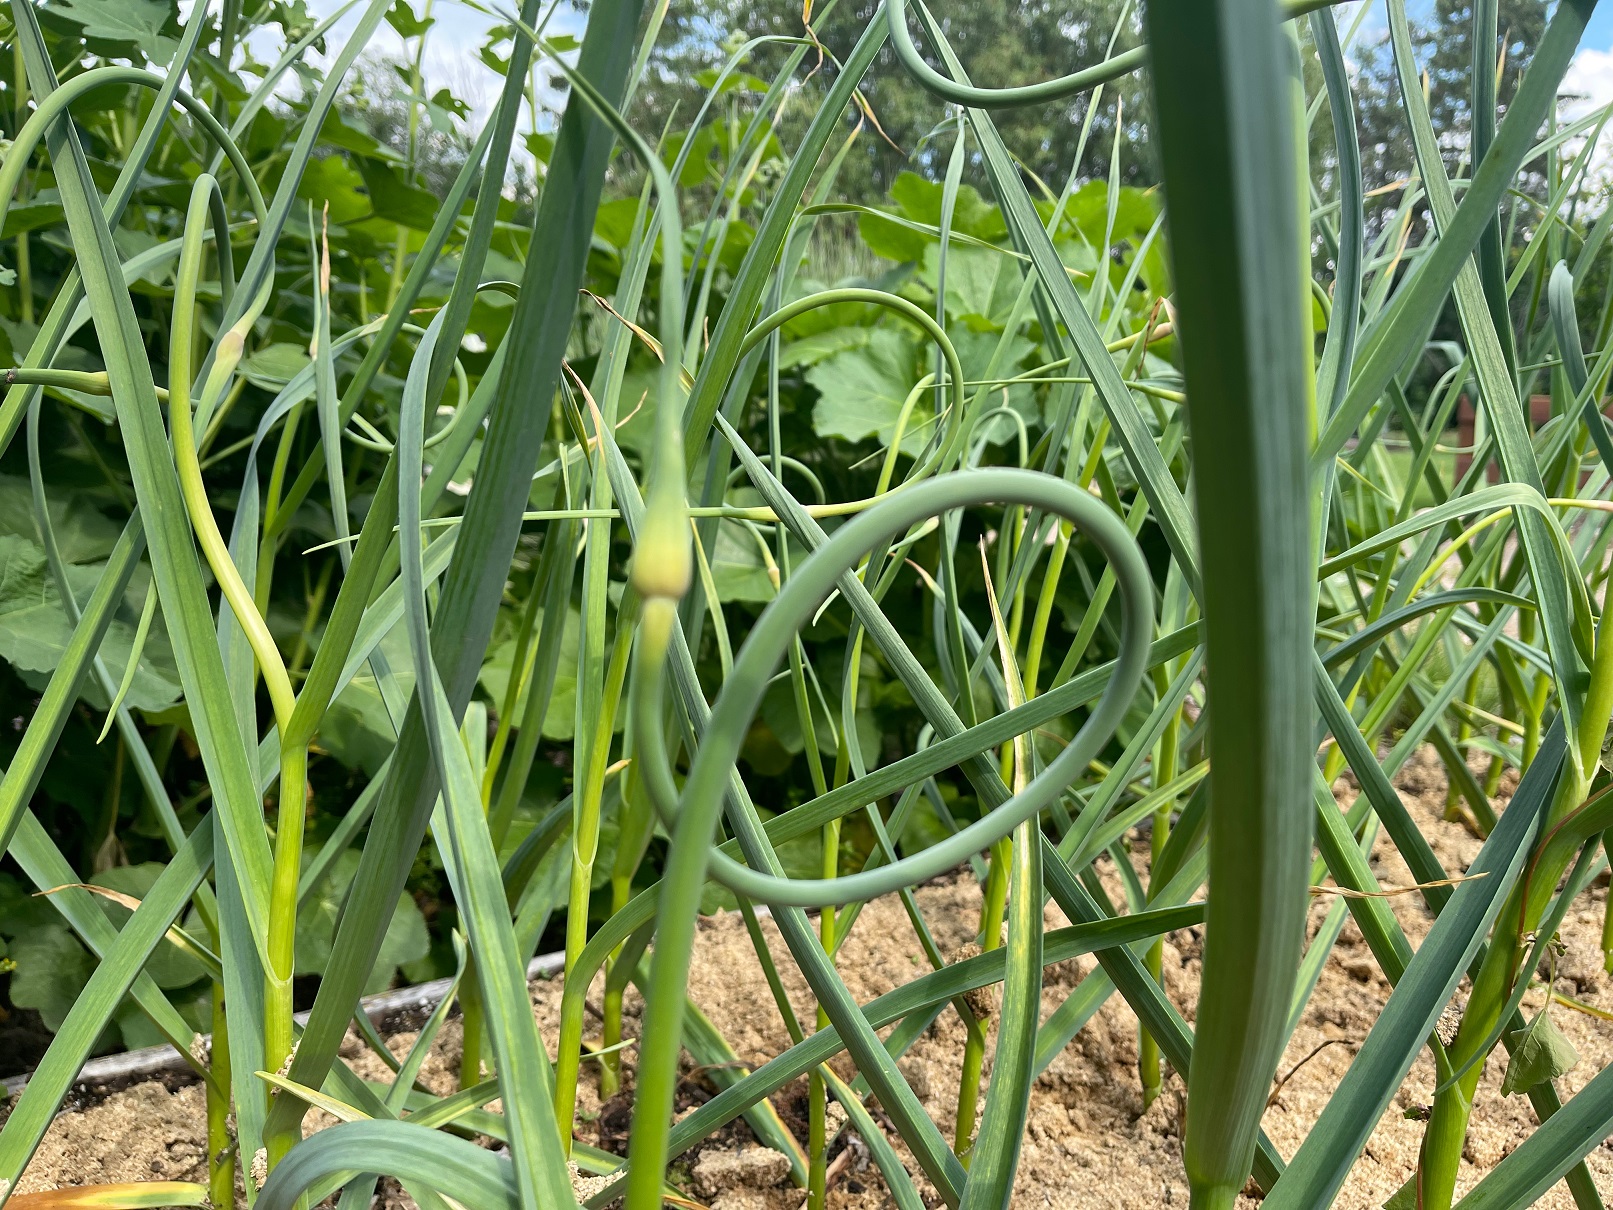
The Latin name for hardneck garlic is Allium sativum var. ophiocorodon. It’s sometimes called orphio garlic for short, and it’s also called serpent garlic because it produces growth above the ground that sometimes twists and curls to resemble a snake.
Hardneck garlic varieties are better adapted to northern climates, like our zone 3 or 4 plant hardiness zone, than softneck garlic varieties.
Hardneck garlic grows stiff, long necks that develop curly scapes, which are stalks that produce bulbils, small cloves that grow in the air.
All parts of the scapes are edible; remove them when they just begin to curl to keep the garlic plant focused on developing its bulb.
Varieties that grow well in Alberta include Russian Red Hardneck, Purple Stripe, Marbled Purple Stripe, and Porcelain.
Characteristics of Softneck Garlic
Softneck garlic is known as Allium sativum var. Sativum in Latin.
Softneck garlic varieties grow best in southern climates.
Softneck garlic is the kind we see in grocery stores, and you may see it braided together for sale. They have flexible necks or stems and don’t often grow scapes like hardneck garlic.
Softnecks yield smaller cloves but have a long shelf life, which makes them ideal for selling commercially.
Two varieties that work well in Alberta include Artichoke and Silverskin.
When is the Best Time to Plant Garlic?
Garlic is easy to grow, having few demands or growing problems. Garlic is not grown from seed, but it is planted from individual cloves that develop into garlic bulbs. Garlic can be planted in the spring or the fall.
Here’s a rundown on both options:
Planting Garlic in the Fall
As mentioned earlier, a garlic bulb consists of individually wrapped cloves. Each clove contains a plant bud, like tulip and daffodil bulbs, but garlic cloves are significantly smaller.
Garlic is a crop that takes a long time to mature, so planting garlic in the fall allows the time it needs to develop.
Plant garlic anytime between the beginning of September and the beginning of October, with the goal of getting in the ground 2-3 weeks before it freezes up.
When garlic is planted in autumn, it has time to establish a root system, and usually stems don’t develop. This early root system is essential to support the rapid growth that occurs in spring.
The garlic then goes dormant as temperatures drop and winter sets in. Garlic needs a minimum of 6 to 8 weeks of vernalization (a cold period). Exposure to cold winter temperatures encourages clove development in the spring.
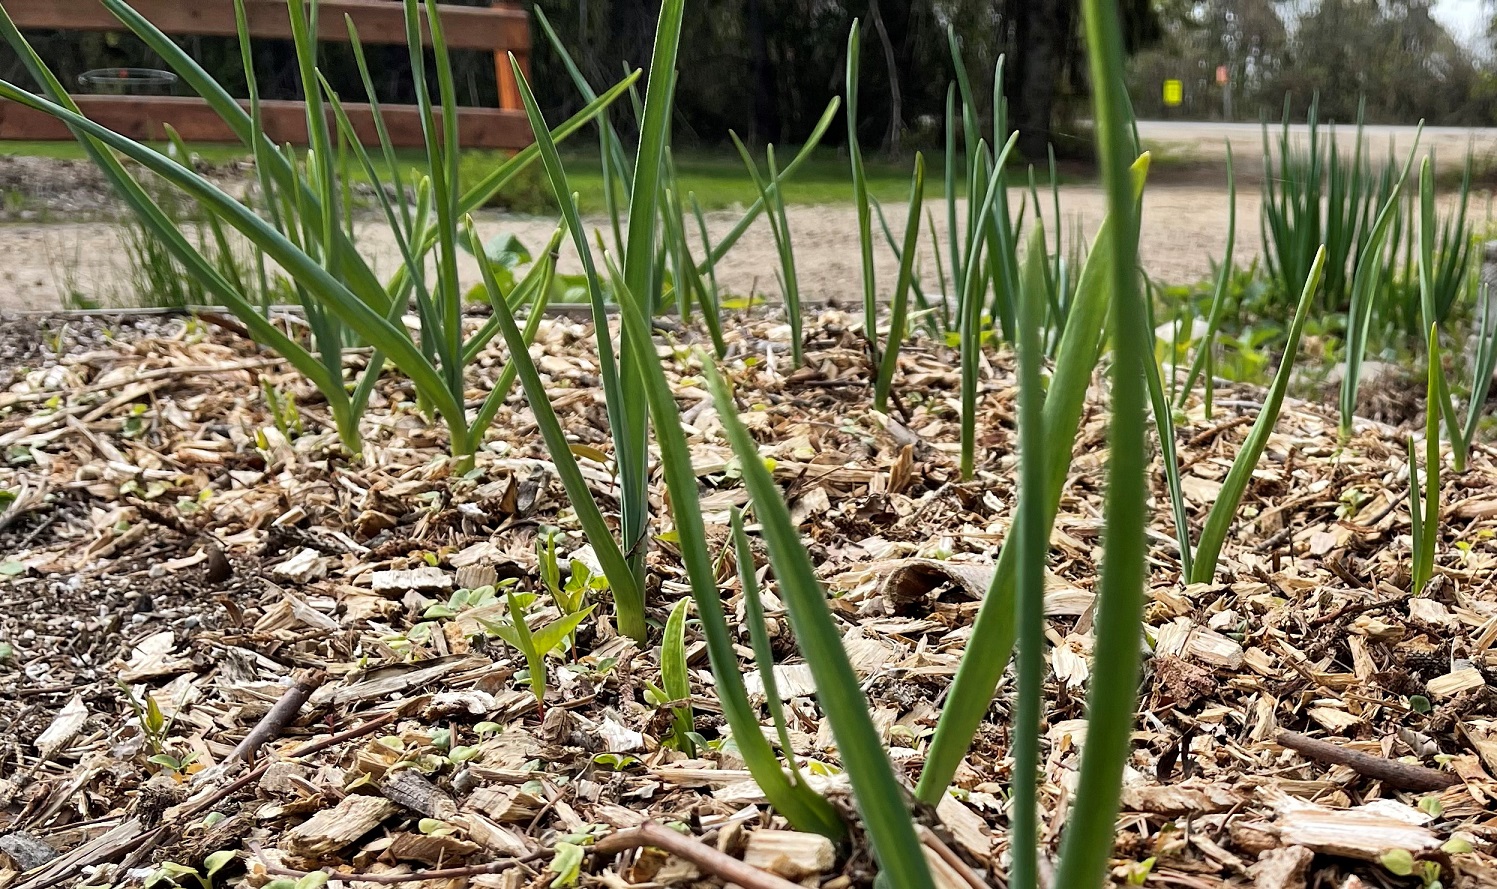
Green scapes emerge from the soil when spring arrives and the weather warms up. Warm temperatures and longer day length encourage bulb formation, too.
Plant garlic in the ground in the fall to maximize insulation and protection against cold temperatures during the winter. Raised bed planters and containers aren’t recommended for fall planting because they are above ground level and don’t offer the insulating features that in-ground plantings do.
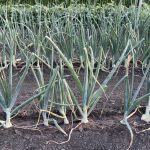
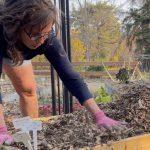
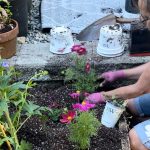
All that being said, I must be transparent with you. As you can tell by my photos, I have planted fall garlic in my raised bed planters in my zone 3 garden with success. I must say that I was nervous about them working that first year and, to my surprise, the garlic emerged the next spring! Please be cautious about growing garlic in raised beds over the winter because the likelihood of them freezing out is high.
Planting Garlic in the Spring
Garlic can also be planted in the spring. Spring-planted garlic doesn’t clove as well as garlic planted in the fall because of its limited growing time.
The University of Saskatchewan recommends planting garlic 2-3 weeks before the last frost. For growing zone 3 and 4 gardeners, that looks like early to mid-May.
Spring-grown garlic may develop ’rounds’, which are round heads of garlic that haven’t cloved.
Garlic can be planted anywhere in the spring — in the ground, raised beds, and in pots and containers because insulation isn’t an issue.
Should the spring-planted garlic develop cloves, they may be used for fall planting.
What is a Good Garden Site for Garlic?
Like any other vegetable, garlic grows best in a full sun garden. It needs a minimum of 6 to 8 hours of direct sun, thriving more as sun exposure increases.
Choose a location with well-draining, rich, loamy, or sandy soil that has a good water holding capacity and doesn’t dry out quickly. Hard, clay-based soils can make it difficult for bulbs to develop, resulting in odd-shaped bulbs.
Garlic is a long and heavy-feeding crop, so give the site a good start by amending the soil’s organic content with compost before you plant.
Avoid sites where other allium plants have been growing and rotate your crops yearly because of the potential for garlic to get onion maggots or other allium diseases. It is recommended that these sites are separated by 4 years.
How to Plant Garlic Step by Step
Once your site is ready, it’s time to get the garlic in the ground. Let’s talk about how to plant garlic.
1. Choose Healthy Garlic Cloves
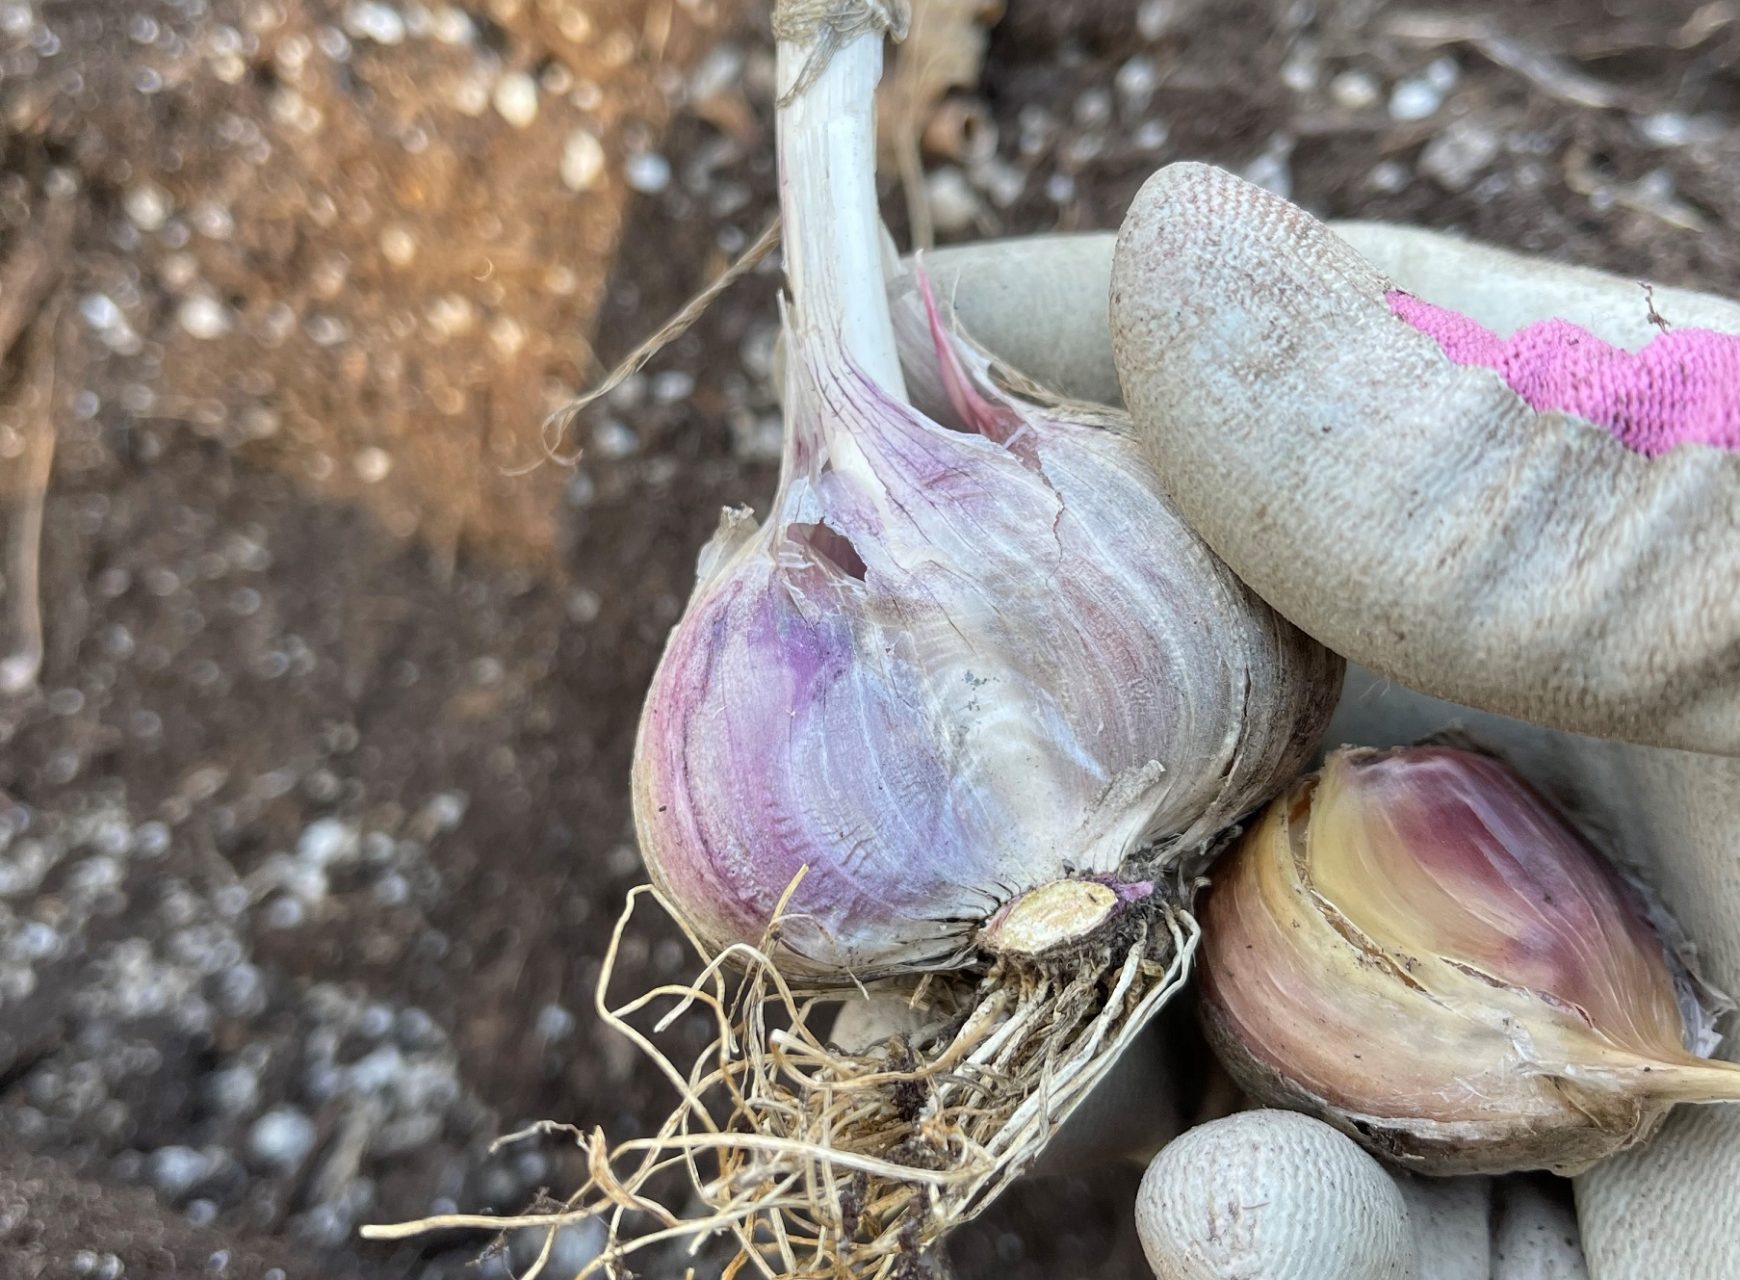
As mentioned earlier, garlic is grown from individual garlic cloves. Choose your cloves well.
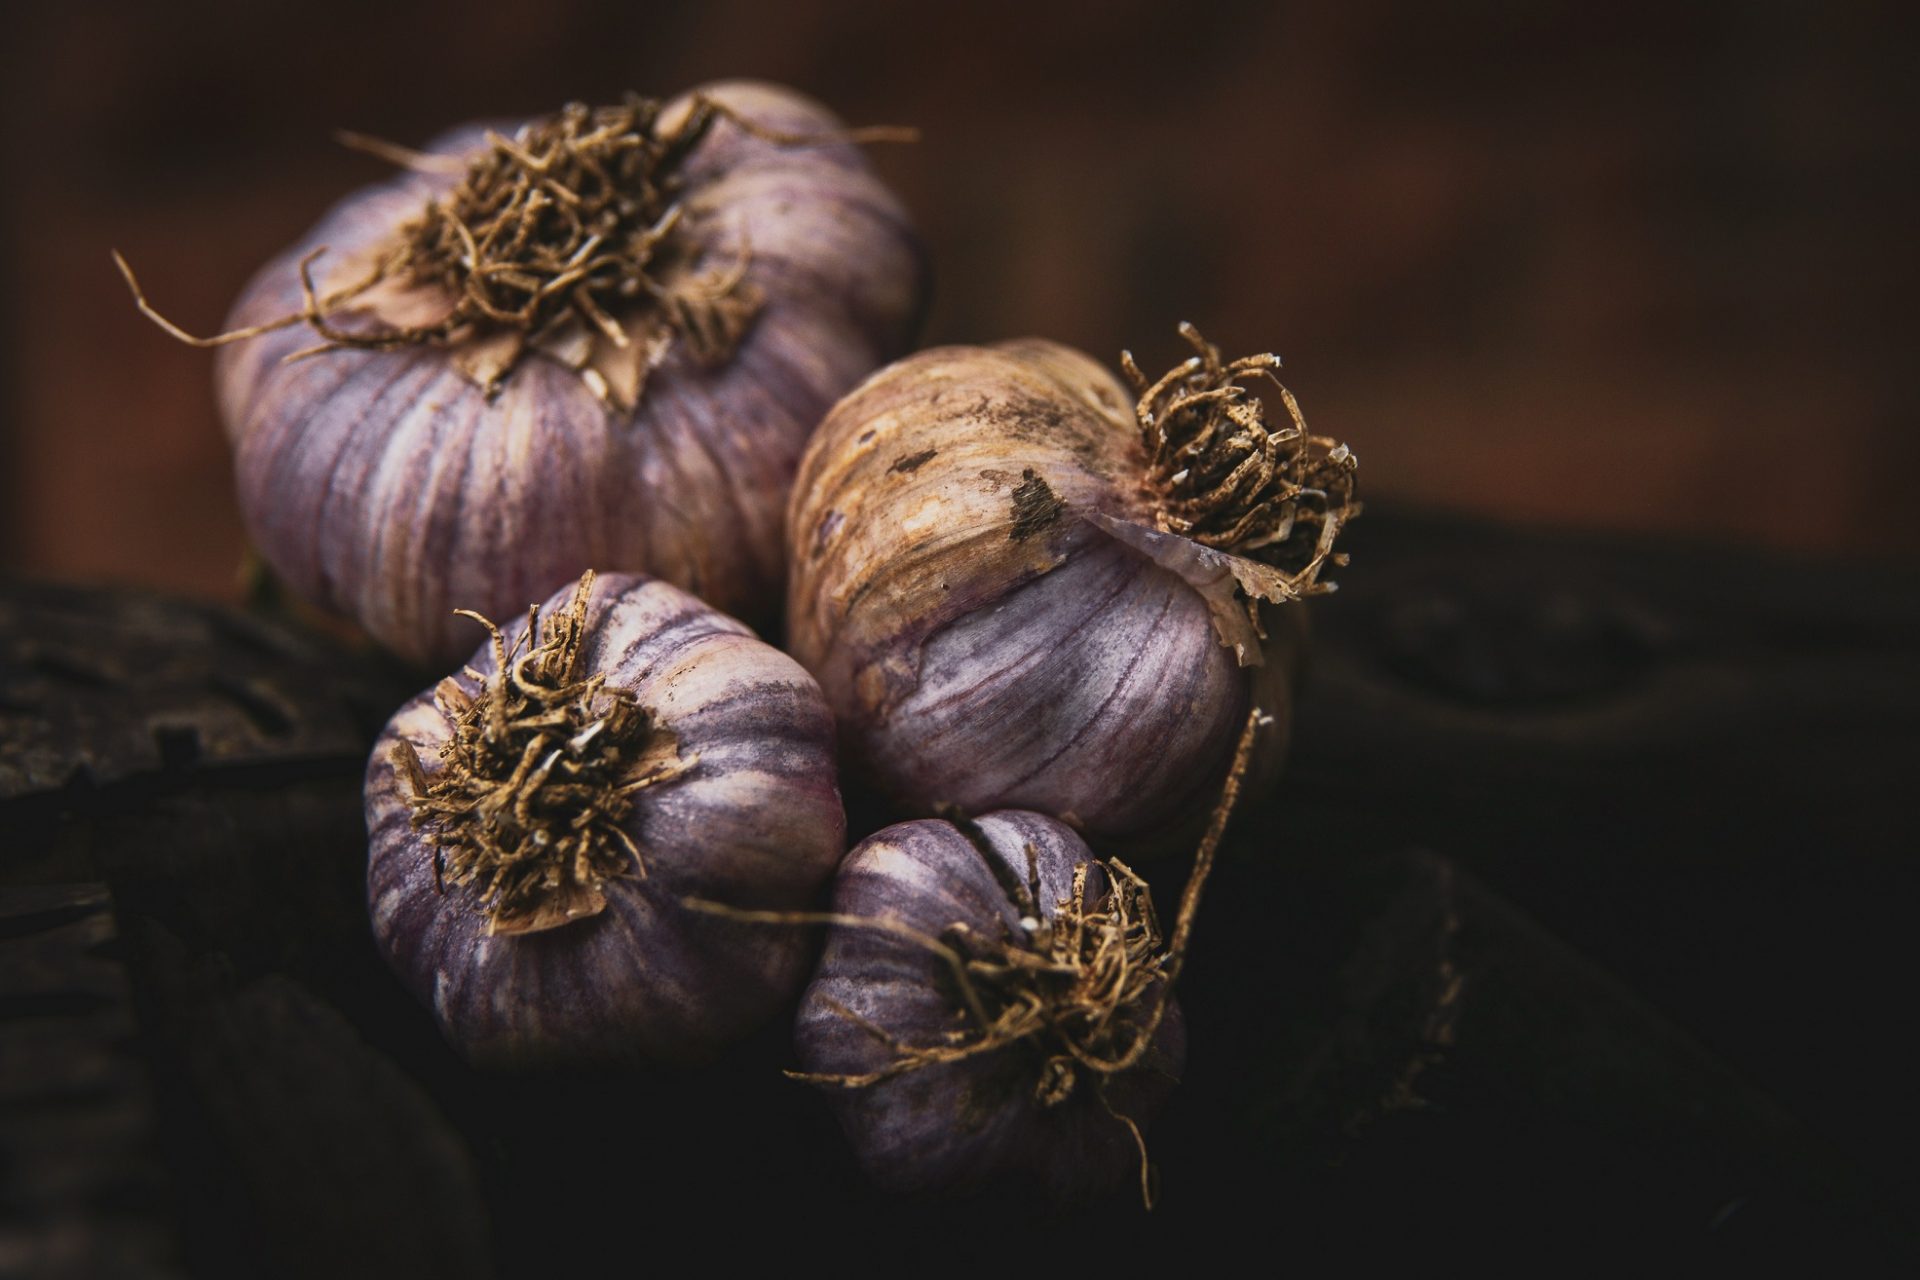
A healthy garlic bulb should be well filled out and have a dry, slightly loose white, white, and purple cover called a sheath.
The bulb should be firm, not squishy, and there should be no evidence of mold.The bigger the clove, the bigger the resulting garlic bulbs. Avoid planting grocery store garlic, this is usually softneck garlic and probably won’t be hardy for a zone 3 or 4 garden, and they may have been treated with an anti-sprouting agent.
2. Wait to Divide the Garlic Cloves Until you are Ready to Plant
Separate the individual cloves from the garlic bulb just before planting to keep the individual cloves moist. Separating them too early negatively affects their growth size.
3. How to Prepare for Planting Garlic
There are two ways to plant garlic — in a trench or individually.
Setting Up Trenches
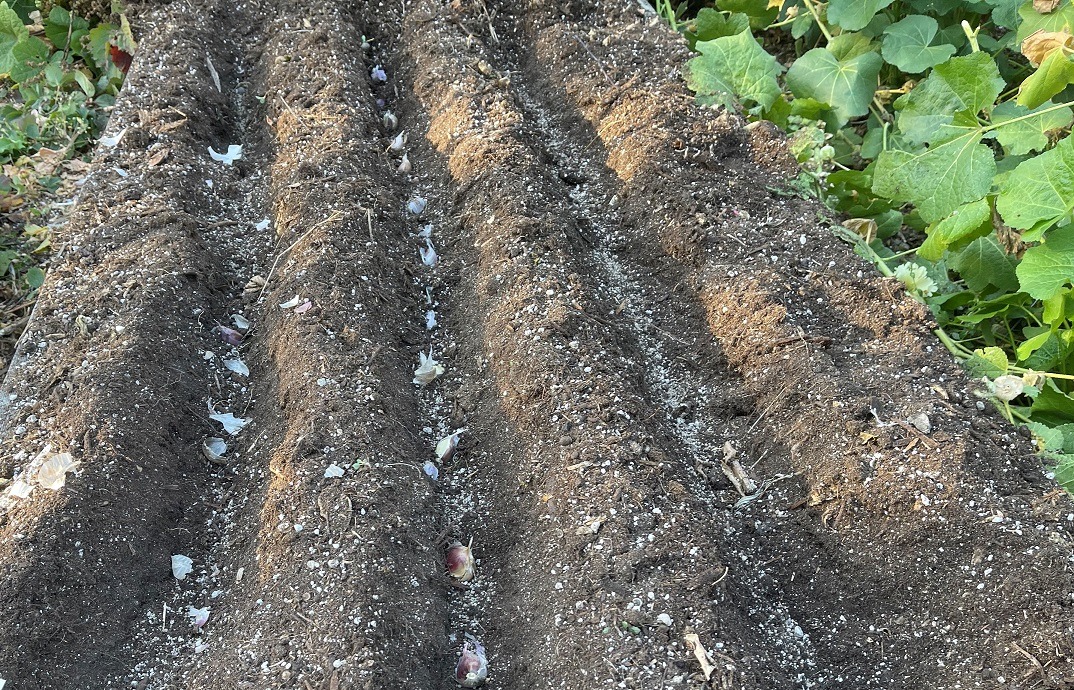
Plant garlic at a depth 2-3 times the width of the clove. That will translate to something like 5-8 cm (2-3″) deep. Make the furrow or trench 5-8 cm (2-3″) deep. Marking your row with string may be helpful if you are planting gloves individually.
Plant Individual Garlic Cloves

Place each clove with the pointed side up, 7-15 cm (3-6″) apart, to give their roots which extend 10-15 cm (4-6″) from the developing bulb ample space to grow. Gently cover the cloves or fill in the trench to be level with the surrounding ground.
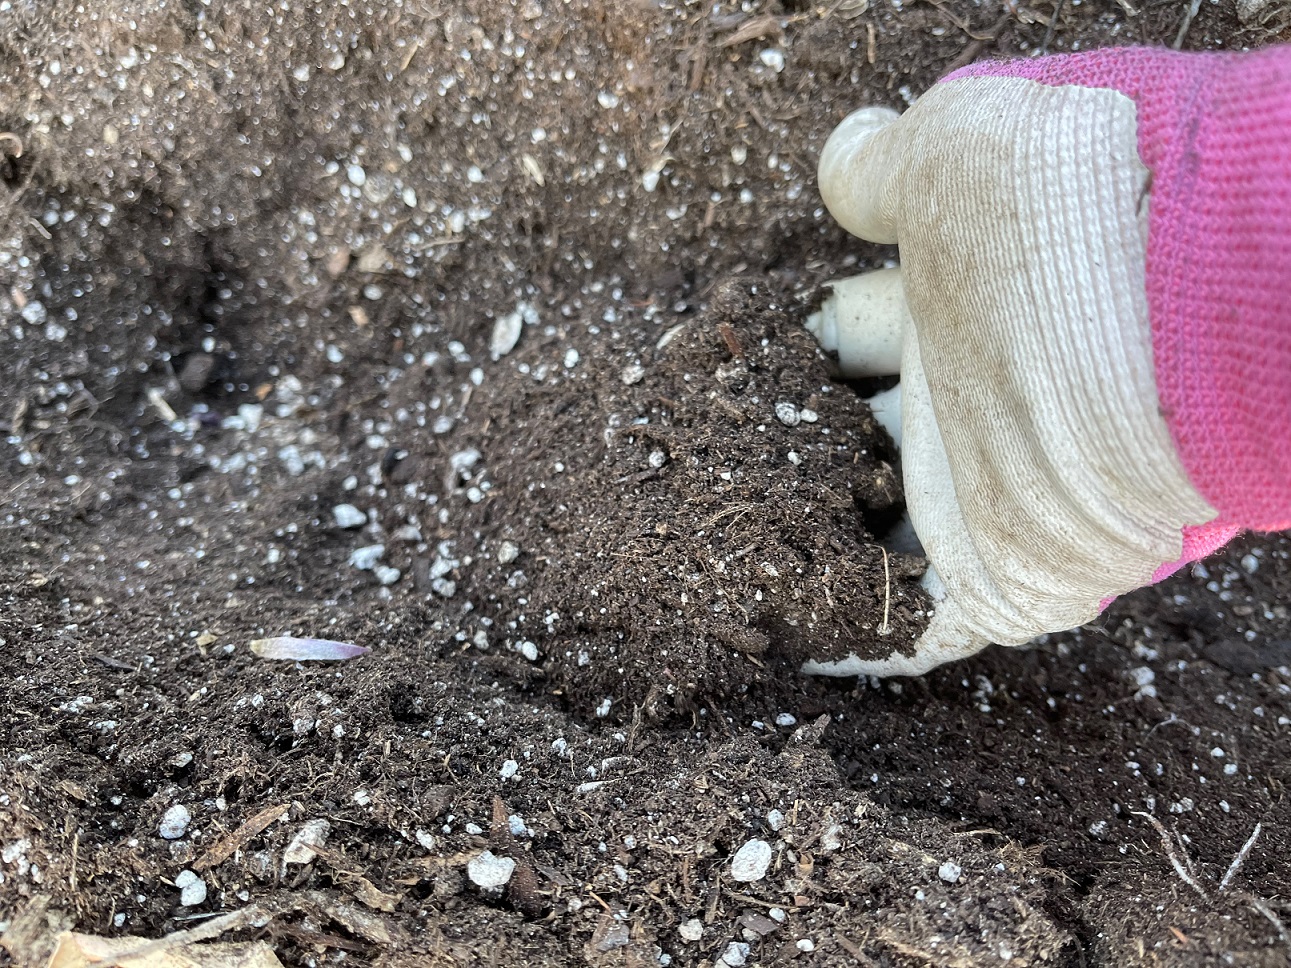
4. Water and Fertilize the Newly Planted Cloves
Water in the newly planted cloves with clear water if the soil is dry. Because of their demand for nutrients, a light application of a slow-release fertilizer like 7-3-4 or 3-1-2 is a good idea at this time.
5. Cover Newly Planted Garlic Cloves with Mulch
To prepare for cold winter temperatures, mulch the garlic with 7-10 cm (3-4″) of mulch for protection. In addition to insulating, mulch controls weeds and aids in maintaining consistent soil moisture.
Related: What is Mulch? Making Garden Magic with Mulch
How to Care for Garlic as it Grows in the Garden
Garlic is a simple crop to grow, here are some insights into the details.
As the weather warms, reduce the mulch layer to 5cm (2″) to allow the garlic to grow unhindered. Maintaining some mulch will help with weeds and moisture levels.
Keep garlic plants evenly moist. Always assess your soil conditions before watering.
- If garlic gets too wet, the cloves can rot, and bulb development and growth will be delayed if the soil gets too dry.
- In early spring, water sufficiently to keep the ground evenly moist. Water less frequently in June as the scapes develop and harvest approaches, so the bulbs don’t rot.
Garlic is a long, heavy feeding crop. Fertilize fall-planted garlic early in the spring when you see the scapes emerge above the ground.
- Pull the mulch back and lightly sprinkle or water in slow-release fertilizer (7-3-4, 3-1-2) beside the row. Work granular fertilizer into the top 2.5 cm (1″) of soil and replace the mulch. Other good nitrogen sources are blood meal, fish emulsion, and compost.
- Stop applying nitrogen fertilizer by the end of May, or bulb formation could lag.
Cut off the aerial bulbils that form on the scapes as they compete with bulb development. Don’t throw them away, though, the bulbils and their stalks are edible (and delicious).
Staying on top of weeds to reduce nutrient and water competition keeps garlic healthy. Garlic doesn’t compete well with weeds because of its shallow root system. Maintain a weed-free garlic bed by weeding regularly. Gently pull weeds out by hand, or if you are using a tool like a hoe, be aware of the garlic bulb to avoid damaging the bulb or its roots.
Garlic can be affected by onion or root maggots if planted in the same spot as onions were grown previously.
When and How to Harvest Garlic
As with all vegetables, harvest timing is important. If garlic is harvested too early, the cloves will be small. If it is harvested too late, the cloves begin to separate from the bulb.
A garlic bulb is ready to be harvested when its outer sheath is filled out.
Fall planted garlic is usually ready to harvest in mid-late July in plant growing zones 3-4.
Spring planted garlic will be ready to harvest in the fall.
Leaf drying is another indicator of garlic maturity. When the lower 1/3 or 1/2 of the leaves on the stalk have dried, the garlic is probably ready.
Some sources say to check a few garlic bulbs even before you see the leaves drying.
It is best to dig out garlic gently with a spade, trowel, or a fork to loosen the soil. Otherwise, a wound like a tear could occur at the bulb and stem junction, allowing fungus to grow.
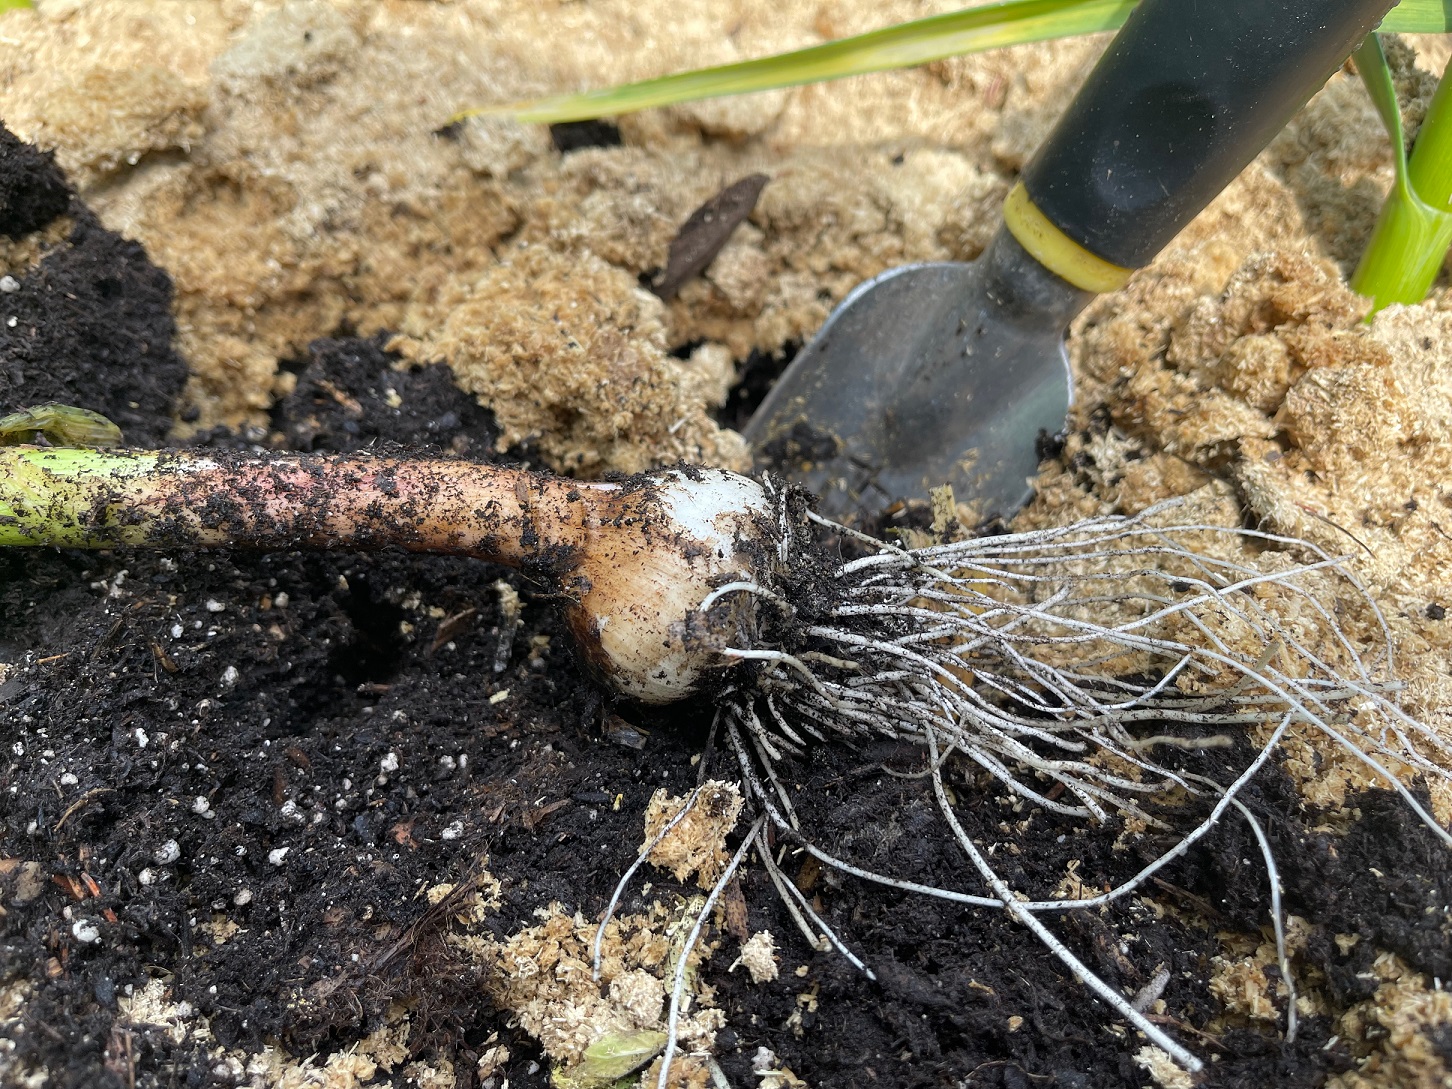
Handle the newly harvested garlic gently to avoid bruising it. Fungal growth can happen in injured areas.
How to Cure Garlic
To cure garlic means to dry it.
Dry garlic in a warm, dark, dry place with good air circulation. It usually takes 2 to 4 weeks for the sheaths around the bulbs, the necks, and the roots to dry.
Bulbs are cured when the outer sheaths are dry and crisp.
How to Store Garlic
Save some of the largest, healthiest bulbs for the following fall planting.
Hardneck garlic will store for 6 to 9 months in cool temperatures that hover between just above freezing, 0.5-3 C (33-38 F), and in a dry area with relative humidity below 70%. Garlic can be stored in shallow layers between dry newspaper.
Refrigerators aren’t ideal places to store garlic because they tend to stimulate sprouting. Garlic will grow in temperatures between 5 and 15 C (40-60 F).
Never store garlic in oil at room temperature. Unrefrigerated mixtures of garlic and oil can lead to the growth of Clostridium bacteria, which causes botulism. Toxins from this bacteria affect nervous tissue leading to muscle paralysis, difficulty breathing, and death.
Signs and symptoms usually begin 18 to 36 hours after eating contaminated food.
The USDA recommends storing garlic in oil in a refrigerator 4 C (40 F) or lower for no more than 7 days.
Get Your Garlic On!
Garlic is a simple and easy crop to grow in northern climates and I don’t know why I didn’t grow it sooner in my gardening career. It’s now one of the earliest vegetables that I harvest. It fills the dishes coming out of my kitchen with deep flavour and keeps me safe from vampire bites!
©Sharon Wallish Murphy ©Gardening with Sharon


