If you’re looking to keep your daylily bright, beautiful, and bountiful for longer, it’s essential you deadhead them in a way that promotes growth and keeps the plant healthy! Follow my quick and simply guide on how to deadhead daylilies!
Quick Facts About Daylilies
Daylilies are tough, adaptable, and stunningly beautiful herbaceous perennials that thrive in plant growing zones 2-9. Herbaceous perennials die back in the fall and grow fresh from their roots each spring.
Related: What are Plant Hardiness Zones and What do They Mean?
The Latin name for Daylilies is Hemerocallis and they originate from areas of Asia such as China, Japan, Vietnam, and Korea.
Daylilies produce tuberous roots which made them very easy to transport to Europe, and consequently North America, back in the days of European migration.
How Daylilies Grow
Daylilies grow best in full sun garden locations with well-draining soil that get a minimum of 6-8 hours of direct sunlight. Wet soils will cause their tuberous roots to rot.
Once established, Daylilies are drought-hardy.
Daylilies develop multiple buds on scapes (stems) that flower above their grass-like foliage.
Most Daylily flowers only last a day, but there are varieties that do last a little longer.
How to Deadhead Daylilies

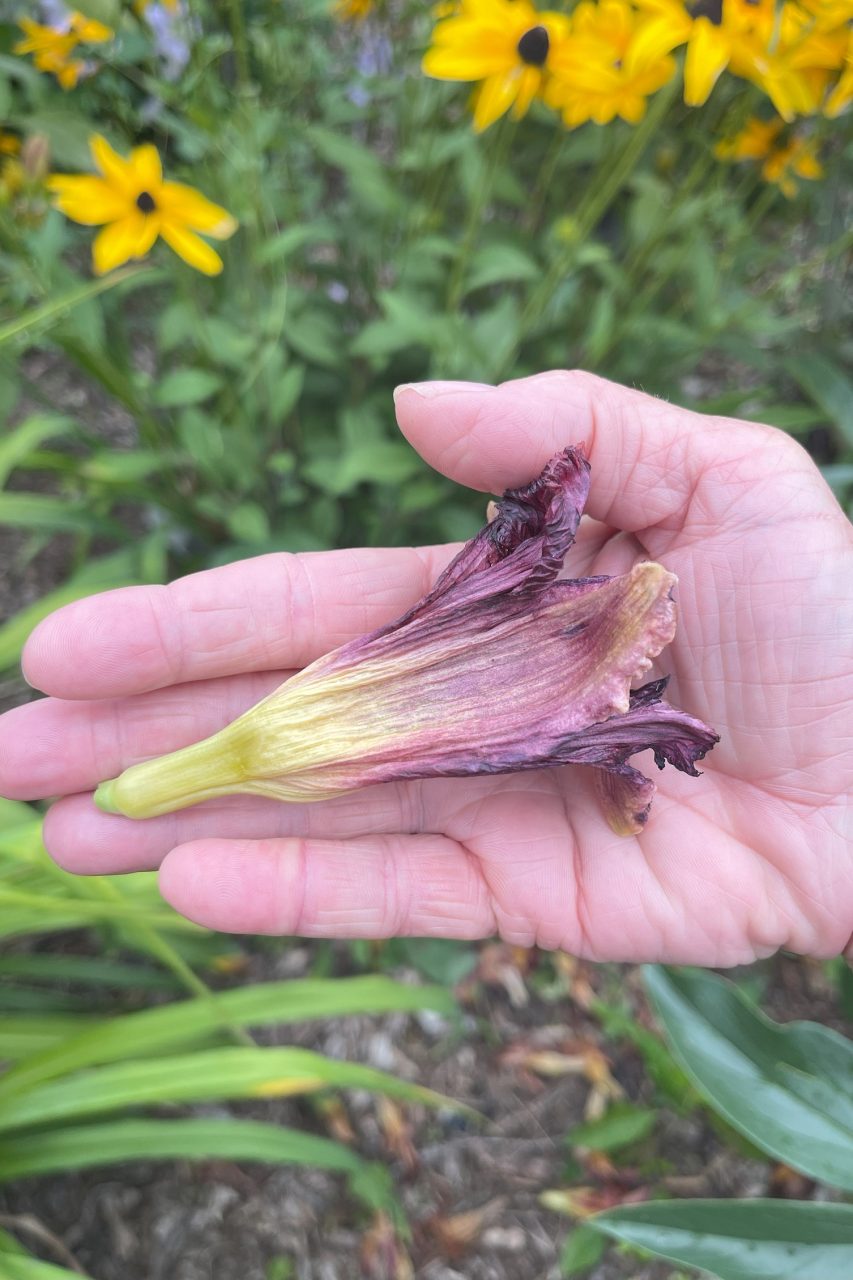
Deadheading spent blossoms keeps the Daylily’s focus on flowering as opposed to seed development.
Because the buds can be arranged very tightly and close together I like to gently snap off the old blossoms with my fingers, being sure to take out the entire flower because the lower end of the flower structure contains the ovary which produces seeds.
When all the buds have flowered, the bare scapes can be cut back below the level of the foliage to keep the plant looking tidy.
If those flower stems aren’t pruned out, they will naturally dry and die back.
I got behind on deadheading a patch of Happy Returns, which is a repeat blooming Daylily and it started developing seed pods, so in the video, I used my clippers to completely cut out the scapes.
Hopefully I caught it in time to get it to bloom some more!
That’s really all that’s to it – regular, consistent deadheading will keep your daylilies in great shape!
©Sharon Wallish Murphy ©Gardening with Sharon


