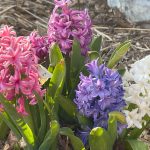
If you’ve ever planted perennials, you will eventually need to move one because gardens and perennials change as growing seasons come and go, so I’ve compiled a step-by-step guide to successfully moving perennials.
How a plant is transplanted is one of the secrets to its survival. The other secret is the post-transplant care.
This blog will talk about why perennials need to be moved, how to move perennials step by step, and how to care for a newly transplanted perennial.
Why Perennials Need to be Moved
As gardens and perennials grow and change with maturity, there comes the point when they may stop thriving, there are 3 main reasons why perennials need to be moved.
- Garden Environments Change
- Growing Spaces Get Overcrowded
- Gardens Need to Be Refreshed
1. Perennials Need to Be Moved When the Garden Environment Changes
Gardens always change a little from one year to the next, and, over time, those little changes become significant. Shade gardens can become sunny when a tree dies, or a sunny garden can turn shady as trees mature.
When plants don’t get their required sunshine, either receiving too much or too little, they don’t grow well.
Sun-loving perennials that find themselves in the shade begin to display symptoms related to a lack of sun. They stretch for sunlight, their growth habit gets spindly, and their leaves turn pale. These growth changes result in a decreased ability to bloom, and they have fewer and smaller flowers.
On the other side of the spectrum, sometimes trees get removed, and a shade garden is suddenly a sun garden. That happened in my yard as my cherry trees died of old age, and my happy shade hostas turned into sad, sunburned hostas.
When shade plants are overexposed to sun their leaves can bleach and scorch, and their growth stunts.
2. Perennials Need to be Relocated When Their Growing Space Gets Overcrowded
Perennials often grow larger than we expect, and I am guilty of squishing too many baby perennials into my available garden space. When they get big, they crowd and compete for light, nutrients, and water.
Overcrowded perennials tend to grow thin and tall as they compete for sun, they get tangled in each other, and stop thriving. You will notice straggly growth and diminished flowering.
3. Perennial Flowers Need to be Moved When a Garden Needs a Refreshing Edit
Gardens are a work of art, and occasionally they need to be revised and rejuvenated.
A garden makeover may include repositioning flowers because they work better with different companions at another site in the garden.
Incorporating new features like a dry creek bed or water feature may require moving perennials, too.
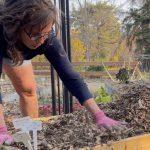
How to Successfully Move a Perennial Step by Step
Plants are a little like people, and they don’t like to move around. For people, the trauma is often related to loss of community and connection, but for plants it has to do with root damage.
When plants are moved, there is always some root injury, and it can be challenging for a transplanted perennial to get enough nutrients and water to support its growth.
Let’s dig in and break down the steps to move perennials successfully.
1. Have a Plan for Moving Your Perennial
A well-thought-out plan saves time, money, energy, and tears.
Before you place a shovel in the ground, know why you want to move your perennial, and know where it is going to go.
Related: For more on garden planning, How to Plan & Design a Garden in 4 Simple Steps
2. Gather Your Tools Before You Start Moving the Perennial
Not much equipment is required for this project. You will need a spade or trowel for sure, and possibly a set of sharp hand clippers.
Some small perennials will lift easily with a trowel; others will need something bigger, like a garden spade.
3. Give Your Tools A Bubble Bath Before You Start Your Perennial Moving Project
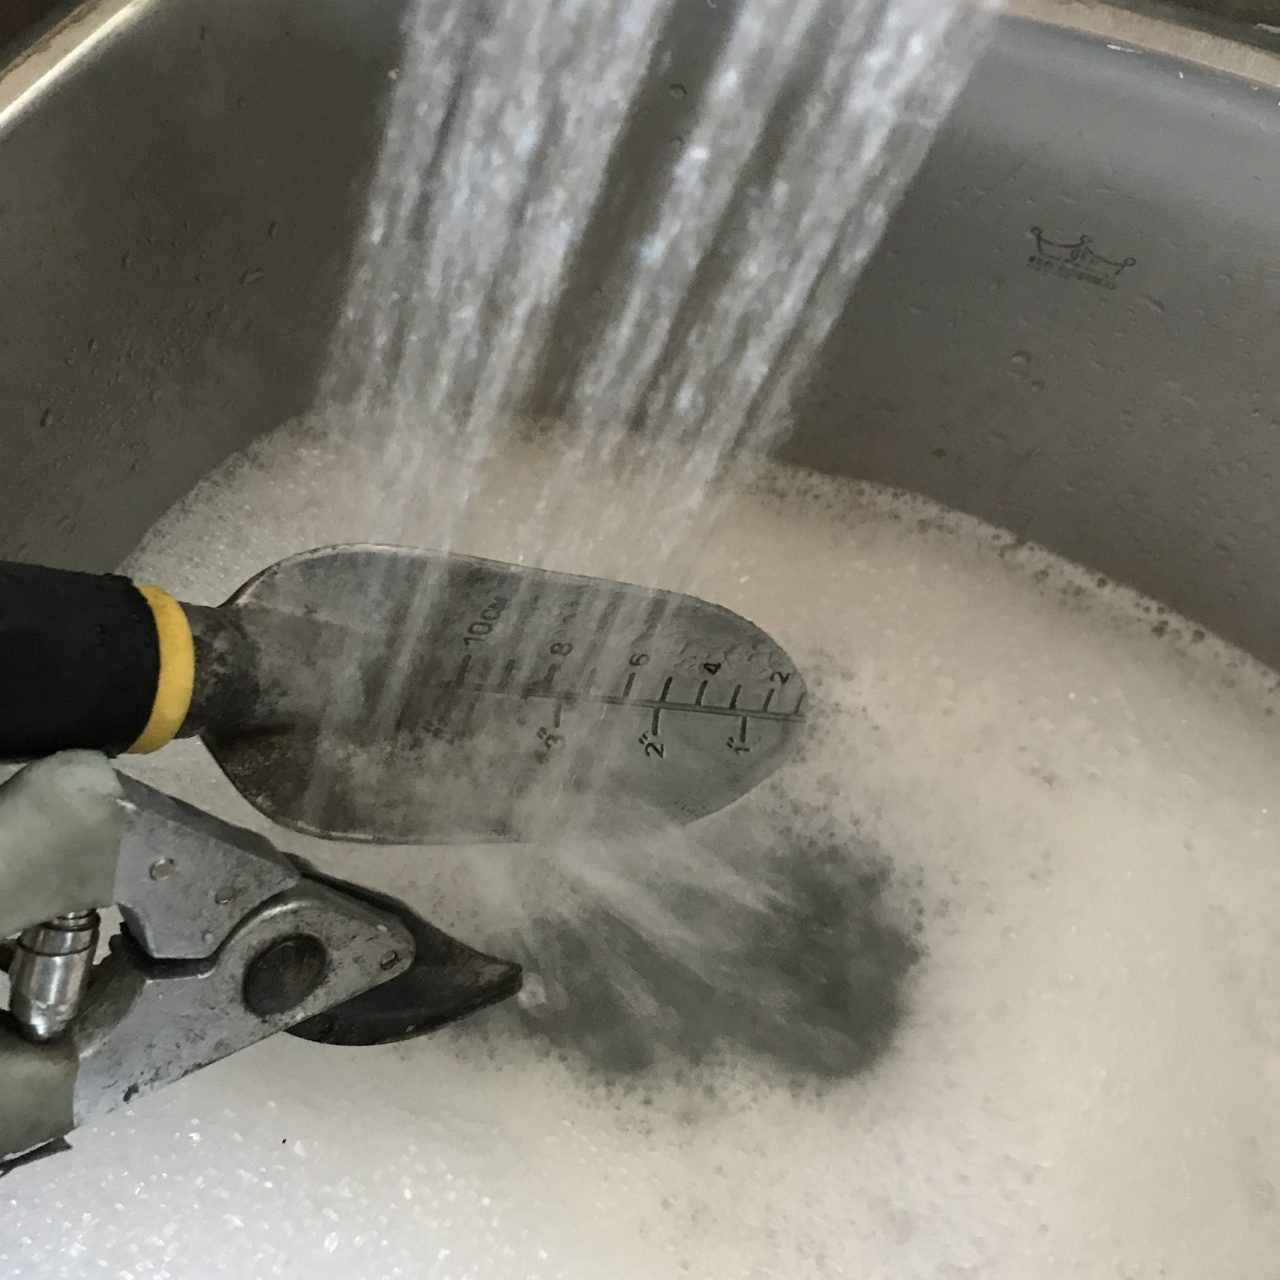
Whenever you work in your garden, use clean tools.
Clean gardens and clean tools decrease bacterial transmission and infection. Moving perennials involves cutting into their roots and stems, which means breaking their structural integrity and putting them at risk for infection and clean tools decrease this risk.
Wash tools in hot, soapy water; bleach isn’t necessary, but if you would like to add a little bleach for extra safety, it won’t harm the process.
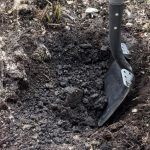
4. Prepare the New Site Before Digging out the Perennial
Get the new perennial site ready before you start to uproot the perennial to decrease the time the newly dug perennial spends out of the ground.
Take a rough measurement of the width of the perennial at its dripline and prepare the new location.
The new hole diameter should be at least 15 cm (6”) wider and deeper than the width (I like to aim for double the diameter), and the depth should also be at least 15 cm (6”) deeper than the roots.
The bigger the hole and the softer the soil, the easier it is for the transplanted perennial to grow.
If you would like, add a bit of bone meal and mix it in well.
Other good soil additives include organic compost, worm castings, and a mycorrhizae additive.
All of these supplements pair well together, except for bone meal and mycorrhizae. The phosphorous in the bone meal renders the mycorrhizae infective.
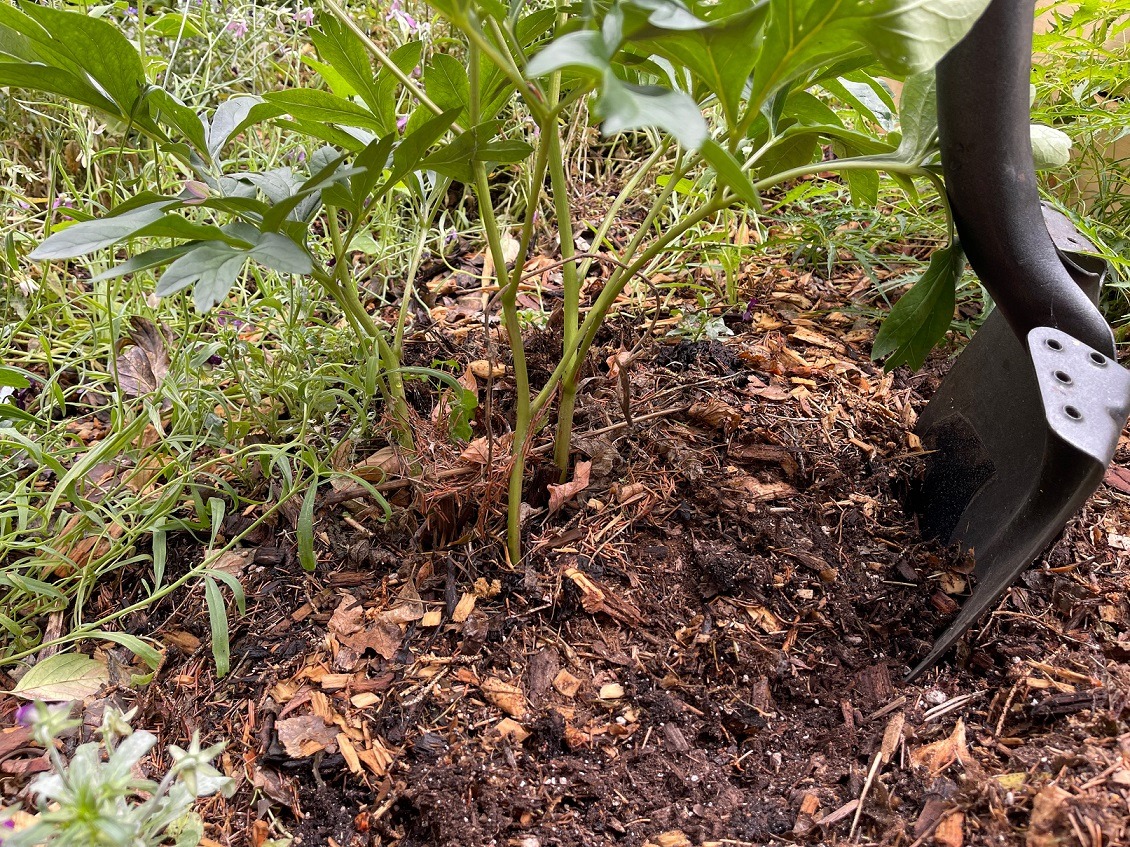
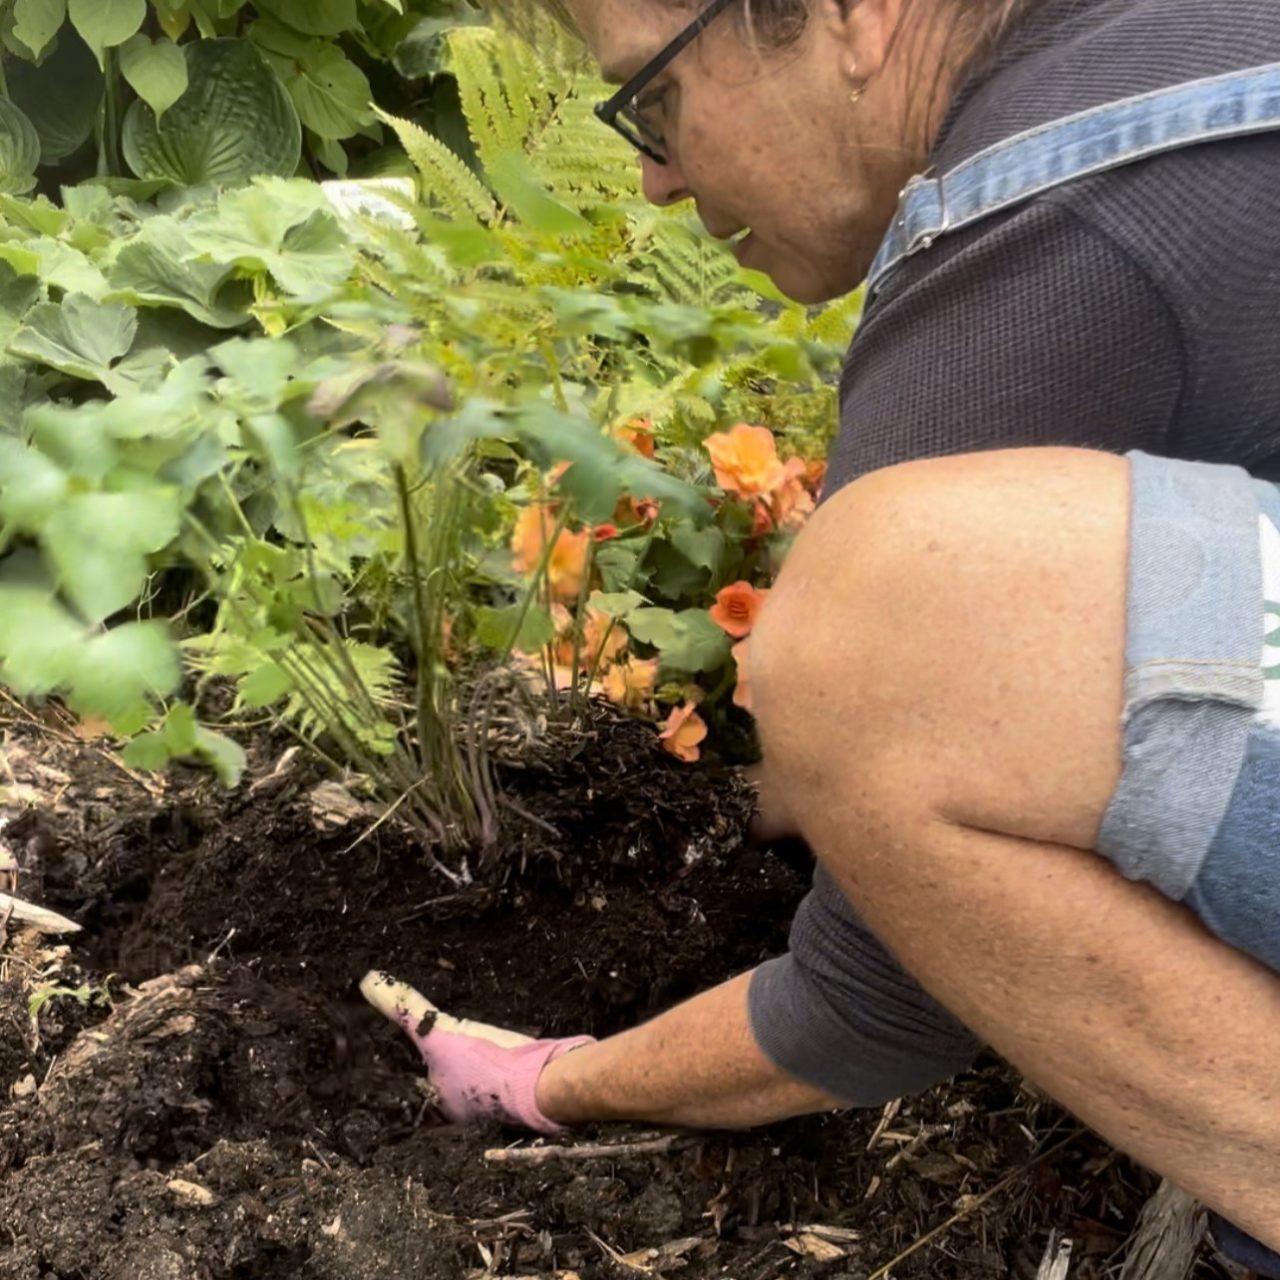
5. Dig out the Perennial Root Ball

The goal in any plant move is to preserve as much root and to keep it as intact as possible.
The more root you can take and the less injury done to the root, the simpler it is for the plant to re-establish.
Include a generous portion of soil around the root when digging it out of the soil.
Take note of where the plant’s dripline is. The dripline is the spot where water falls off the leaves. Cut a circle around the plant with the spade or trowel at the dripline.
Reposition the plant’s leaves and stems in toward the center of the plant to get a clear view of the plant’s perimeter and cut a circle around the plant with the spade. Make straight 15 cm (6”) deep cuts down into the soil with this initial pass.
Go back over the circle with the spade a second time and slice straight down as deeply into the soil as possible. You may need to repeat this more than once.
You may feel roots slicing, and that’s okay. Try to make decisive slices because clean dissections are better than ragged ones. Try to resist hacking or chopping at the root which causes rough, ragged gashes.
6. Loosen the Perennial Root Ball
After the plant is ringed, insert the spade as deeply as possible under the root and push back on the handle of the spade or trowel to loosen the base.
If you feel resistance, dig down a little deeper and keep loosening and cutting roots until the root is entirely free.
7. Lift the Perennial Root Ball Out of the Ground
Gently lift the root ball and the attached soil out of the ground with the shovel or with your hands to keep it intact.
Avoid pulling the plant out by the stems because they may rip off because of the weight of the root ball.
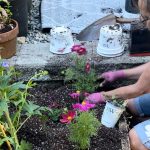
8. Transfer the Perennial to its new Location and Water it Well
Avoid pulling the plant out by the stems because they may rip off because of the weight of the root ball.
Carry the uprooted perennial to its new location.
Double-check that the prepared hole is large enough for the perennial. You may need to make some adjustments before you can put it in the hole so the soil level around the perennial is level with the surrounding ground.
Gently place the perennial in the hole and adjust as necessary. There’s no need to press or shove it into the hole; this compresses the roots and makes it more difficult for the roots to absorb water and metabolize.
Backfill soil into the hole around the new transplant until the soil is level with the surrounding ground.
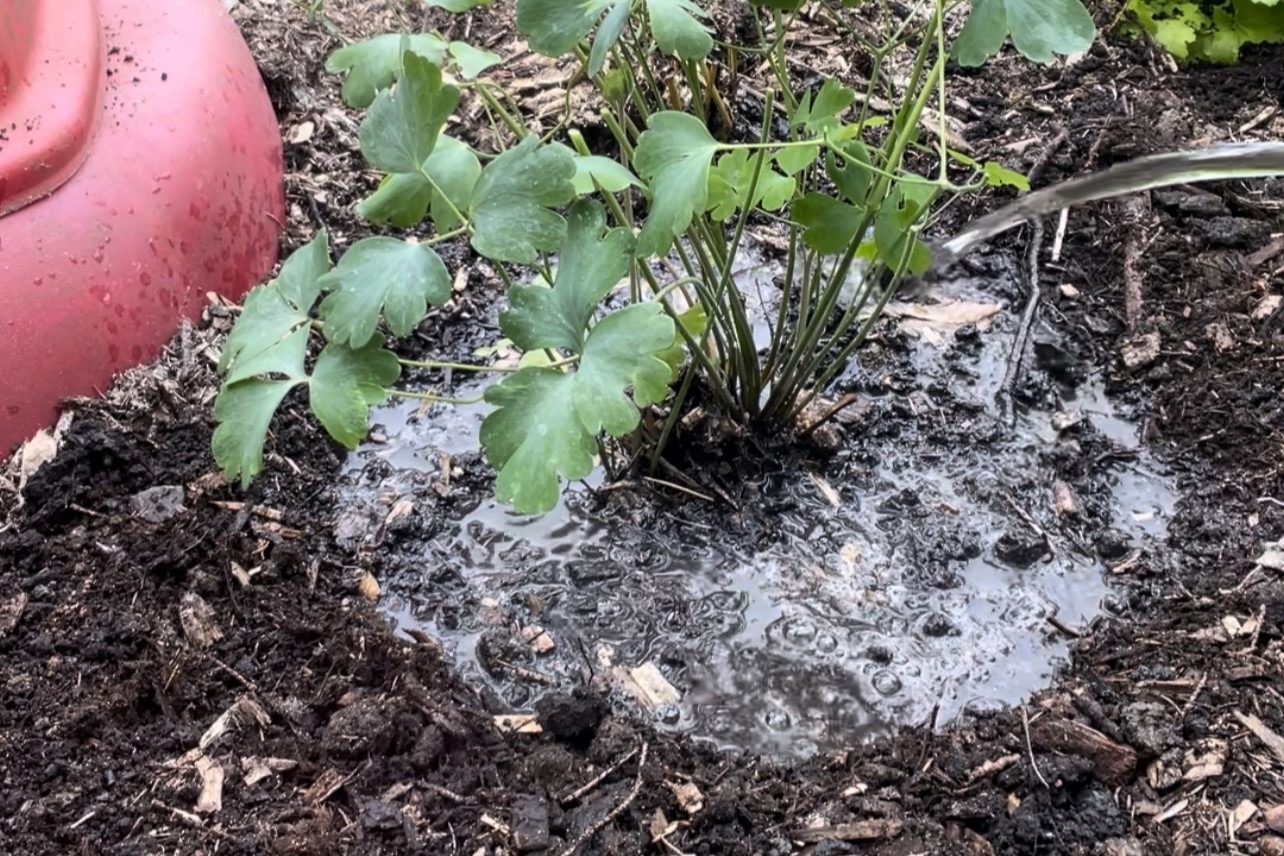
Water the perennial thoroughly with clear water until it infiltrates to the bottom of the root ball.
9. Mulch the Newly Planted Perennial
Top dress the newly planted perennial with 2-3” of organic mulch to retain moisture and to even out soil temperatures.
Related: What is Mulch? Making Garden Magic with Mulch.
How to Care for a Newly Planted Perennial
The goal of post-transplant perennial care is to decrease metabolic stress and help the perennial re-establish its root system.
Plant stress after a move can be related to hydration, nutrition, and temperature levels. The degree to which each of these factors plays into this depends on what time of the growing season the move took place.
Spring and summer plant transfers can be more stressful than the fall transplants because metabolic needs stay high for a longer time during spring and summer.
Related: When is the Best Time to Move Perennials?
Check the transplanted perennial’s water status daily for the three weeks. Keep perennial transplants evenly moist, knowing that watering frequently is better than flooding the perennial every now and then.
I treat perennials moved earlier in the season as I would an annual by checking them daily and watering them as they get dry through the entire summer.
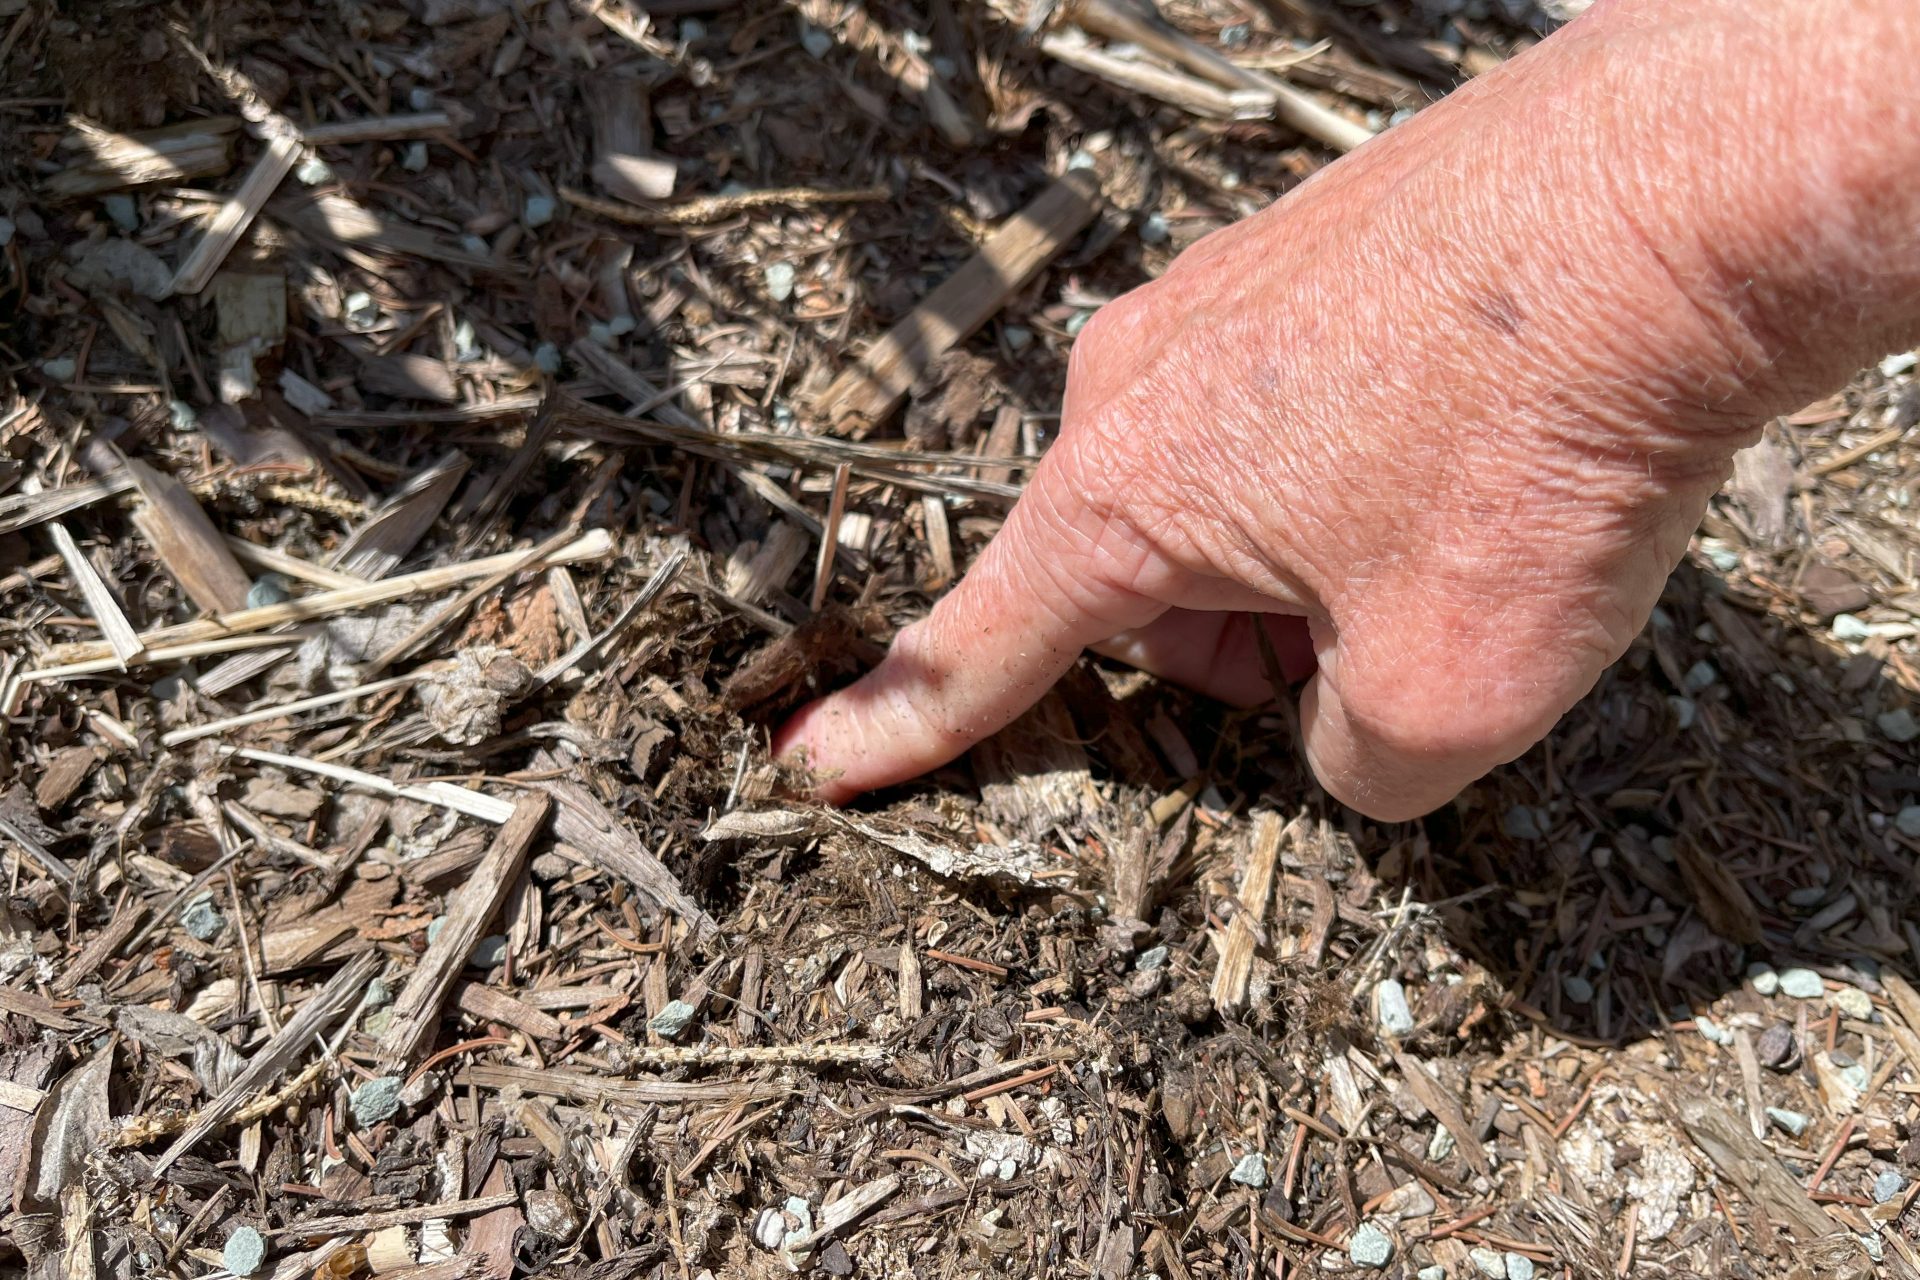
Monitor ground moisture by inserting the entire length of your index finger into the soil and watching for plant wilting or flagging. If the soil is dry at a depth of the knuckle closest to the tip of your finger, it’s time to water.
If the perennial is doing well without showing signs of stress after three weeks, you can begin to fertilize every two weeks with a balanced fertilizer like 20-20-20, 15-30-15, or my favourite fertilizer, Nature’s Source in the spring and summer seasons.
There is no need to fertilize in the fall.
Related: How to Understand Fertilizer Labels
Remove any dead or dying leaves or stems to allow the perennial to grow new leaves.
You’ve Got This!
When the day comes to move a perennial, know that they can be transferred successfully and flourish in their new space for years to come when they are transplanted gently and when stress is minimized.
©Sharon Wallish Murphy ©Gardening with Sharon