How to Perform a Seed Germination Test and Analyze the Results
Planting a garden, whether it’s flowers, vegetables, or both, is a rewarding experience, but it’s also an investment of time, effort, and money and there’s nothing worse than a garden full of seeds that don’t germinate.
To get the best gardening results, it’s important to ensure that you’re starting with high-quality seeds that have the potential to grow into healthy plants, and this is where germination testing comes into play.
Germination testing is a simple process that allows you to determine the viability of your seeds before you plant them to avoid wasting precious time in the spring.
In this post, we’ll explore the basics of seed germination testing methods and how it can help unlock the full potential of your seeds and garden as it guides your actions related to seeding.
Whether you’re a seasoned gardener or just starting, read on to learn how germination testing can improve your yields and save you time and money in the long run.
What is Seed Germination Testing?
Seed germination testing is a vital process in the world of agriculture and horticulture that is used to provide valuable insights into the vigour and quality of seeds.
Seed companies use it to determine that seed lots meet industry standards by evaluating the viability of seeds to successfully sprout and grow into healthy plants before they are sold.
Seed germination testing involves creating optimal conditions for seed germination, such as providing the right temperature, moisture, and light.
By subjecting the seeds to these controlled conditions, their ability to initiate the germination process and develop into robust seedlings can be assessed.
Germination tests aren’t just for the big guys, however, but home gardeners can crack the secrets of seed germination, and the process is uncomplicated.
Reasons to do a Germination Test
Seed germination is a fascinating process.
As water is imbibed by the seed, hormones that set the process into motion are released.
Seeds lose their vigour for several reasons. Seed genetics, age, UV light, heat, water exposure, and seed coat damage reduce their ability to germinate.
Seeds usually hold their efficacy for 2 to 3 years, but some seeds lose their oomph faster than others.
Fresh, high-quality seeds tend to have higher germination rates than older or inferior ones.
Germination Tests are Done by the Home Gardener to Check Seed Viability for 3 Basic Reasons:
1. To Assess Seed Vigour in Seeds That You are Unsure of
Seeds have a way of collecting and hanging around.
It could be that you have no idea how old they are, where they came from, or how the were stored.
They may have gotten wet, or there may have been physical damage to the seed coat, which causes the seed embryo to dry out.
I’ve been having trouble with my collected Mirabilis seeds that last 2 years, so I wanted to check this year’s harvest.
No matter the cause, doing a germination test will give you clarity about the health of your seeds.
2. To Determine the Effectiveness of Seeds You Have Harvested Yourself
I always do germination tests on seeds that I have collected from my garden, regardless of their age, to nail down how well they will sprout and guide my seeding decisions in the spring.
3. To Check the Vigour of Seeds That are Older Than 1 Year
Seeds lose their germinating capacity as the years go by, and some lose it faster than others.
Like the above factors, this gives me information about how I need to seed in the future.

Seed Germination Testing Methods: Step by Step
Germination tests provide valuable insights into the viability and vigour of seeds, allowing gardeners to make informed decisions about seed quality and how to optimize planting strategies.
Here are the steps I take to run a germination test:
1. Start with a Representative Seed Sample
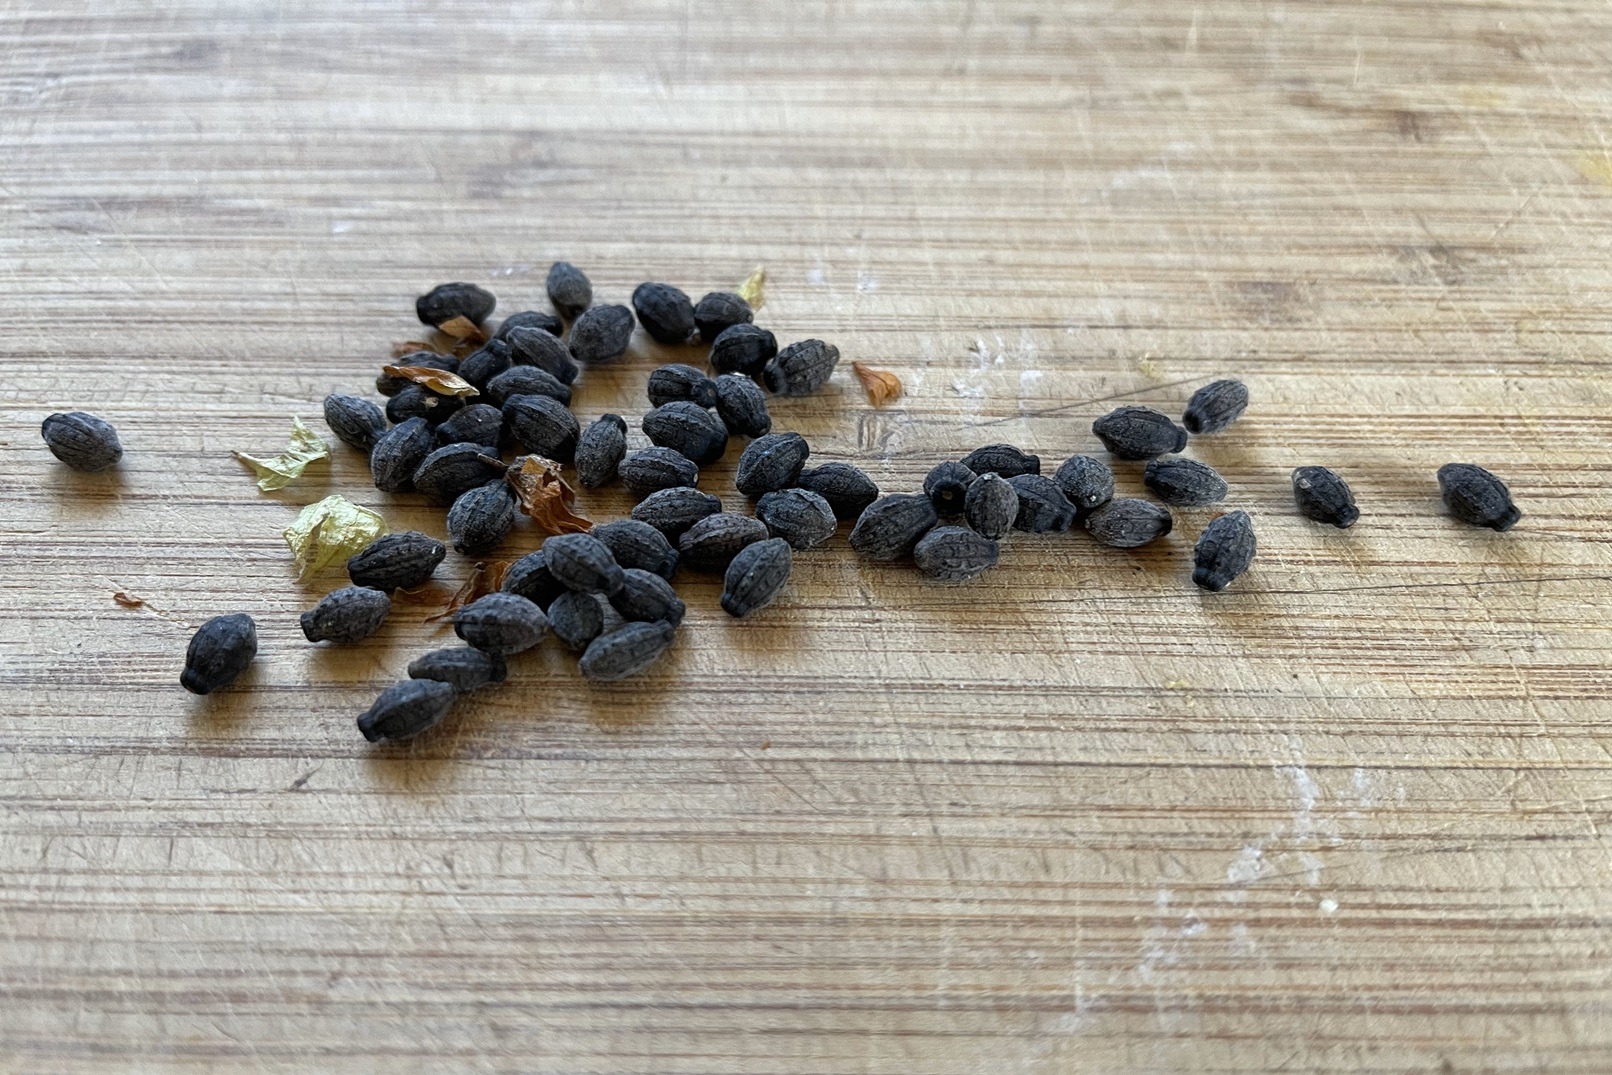
To conduct a germination test, start by selecting a representative sample of seeds from the lot you wish to test.
It is essential to ensure that the sample is adequately randomized to obtain accurate results.
The sample size will depend on the number of seeds available and the desired confidence level.
Depending on the quantity of seeds available, I choose a sample of 20, 25, 50, or 100 because it makes the math easier for calculating the germination percentage.
The larger the sample, the more precise the test.
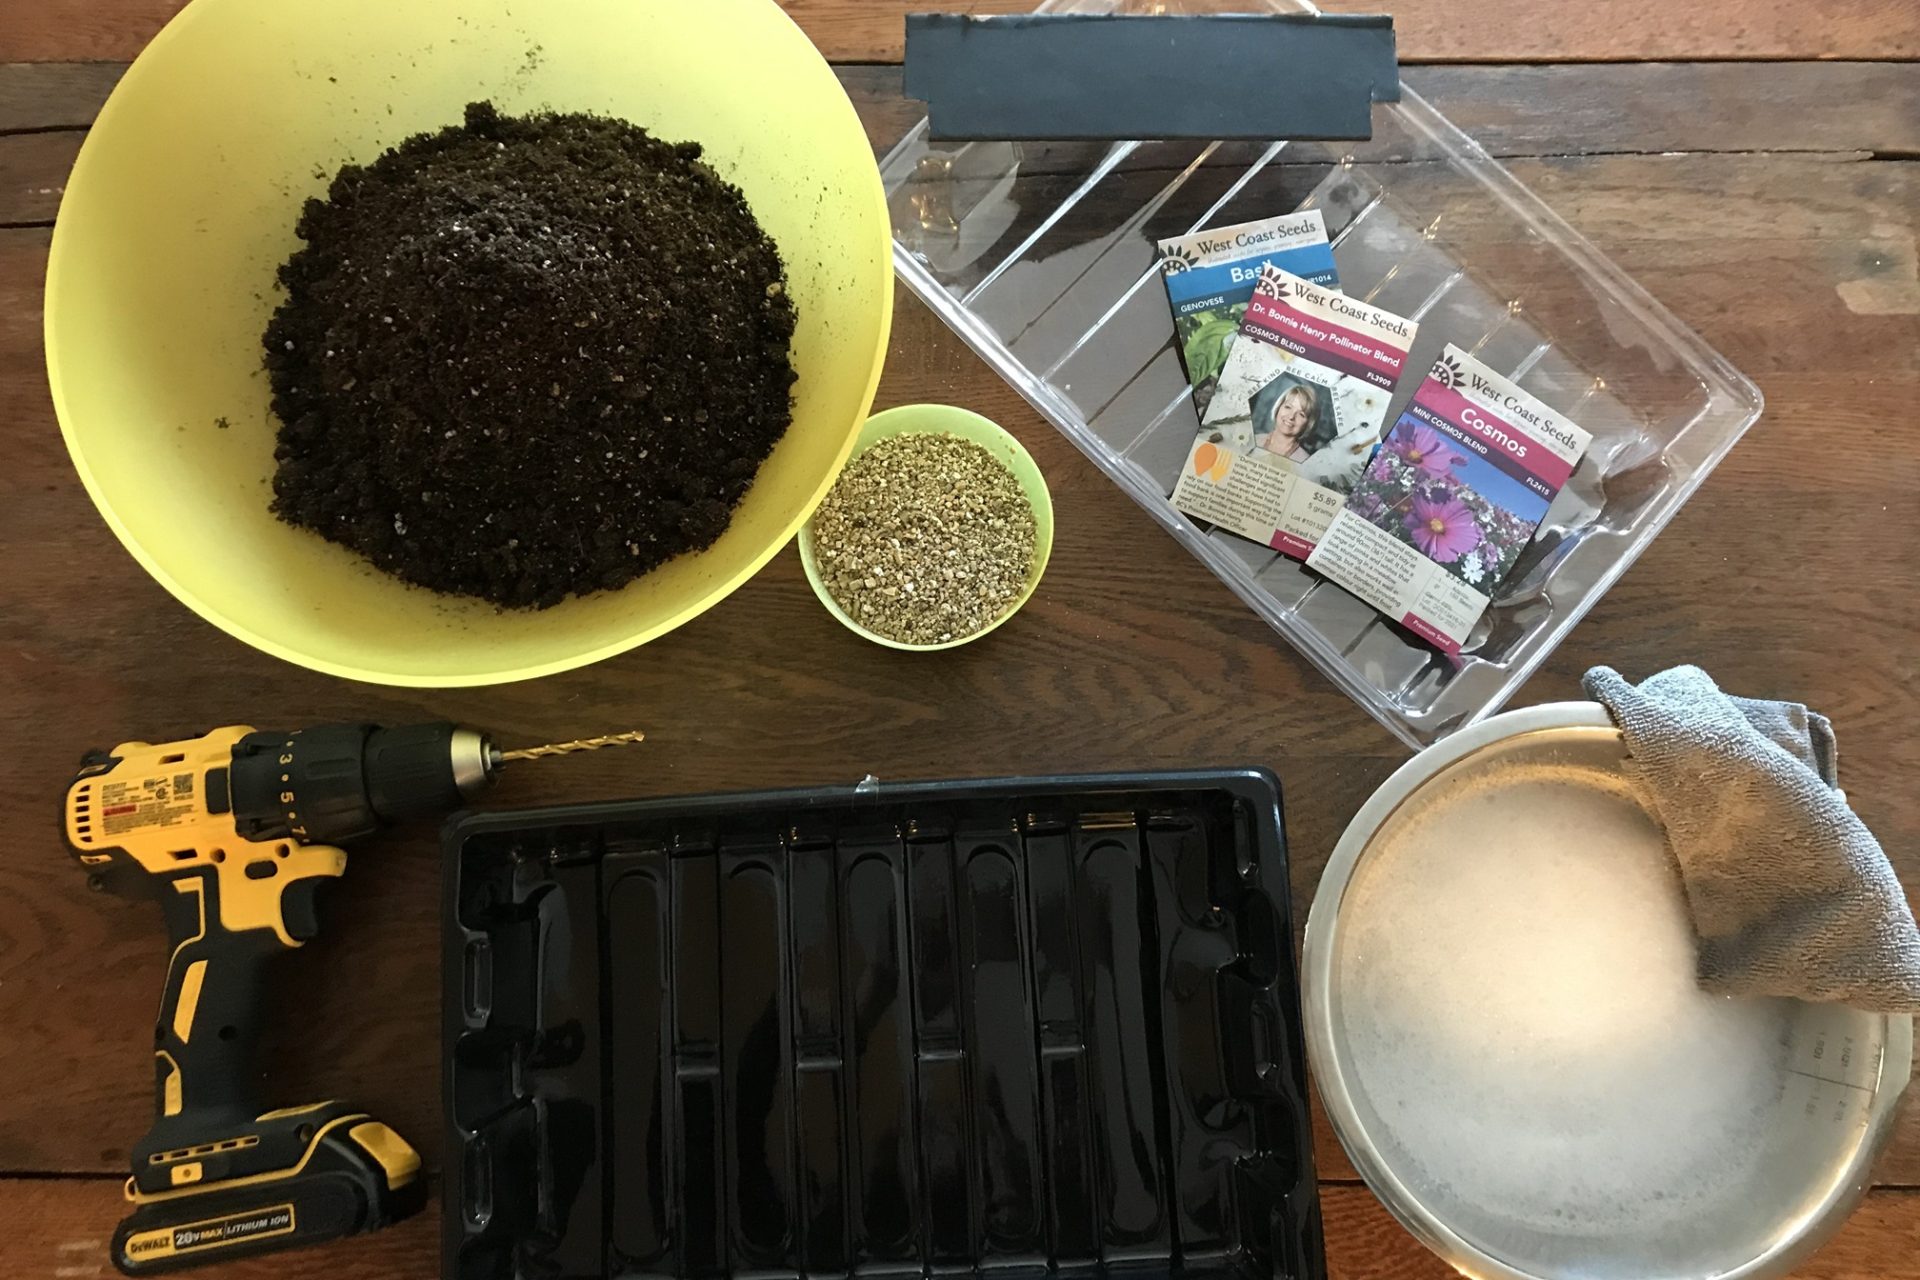
2. Prepare the Germination Medium

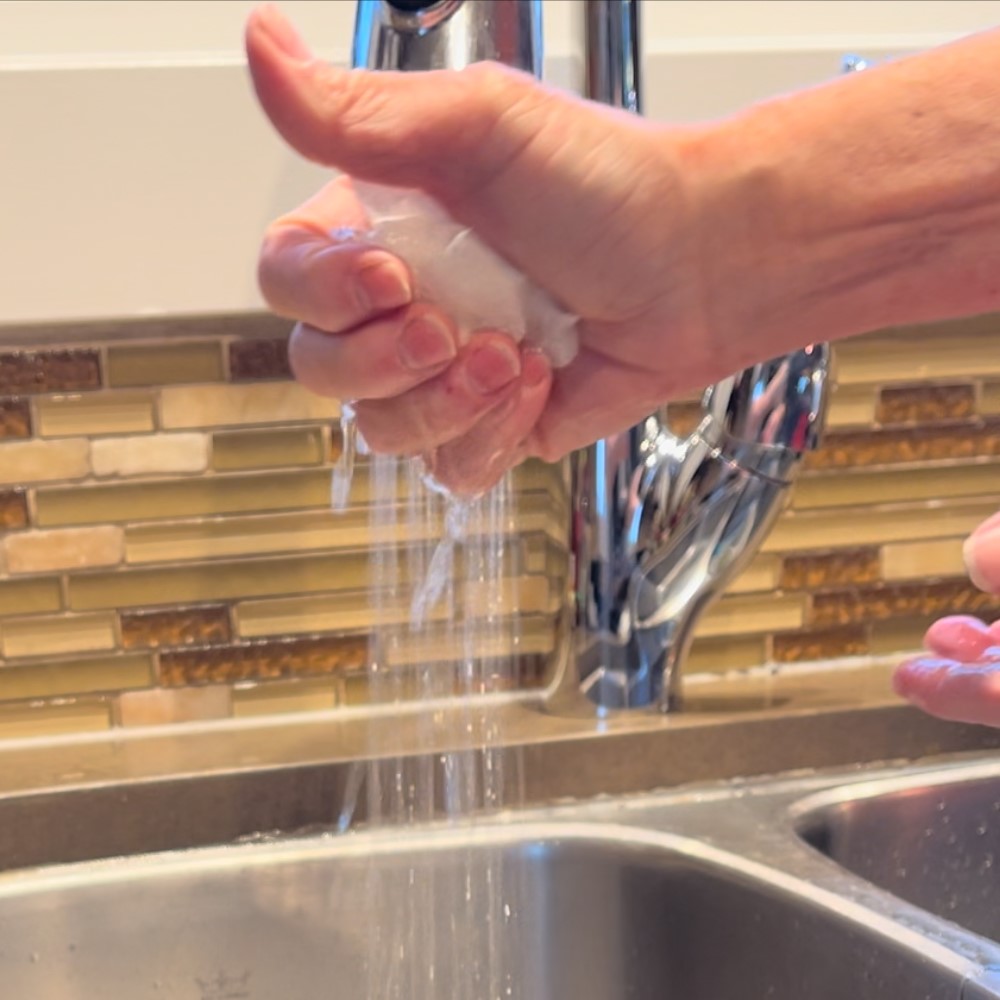
Next, prepare a suitable germination medium, such as sterile soil, paper towels, or germination paper. I prefer paper towels because they are easily accessible and straightforward to work with.
Moisten the medium with water and squeeze a little out so it isn’t soaking.
Excess moisture can lead to mold or fungal growth, while insufficient moisture can hinder germination.
I lay the paper towels on the base of a sealable container.
3. Place the Seeds on the Germination Medium
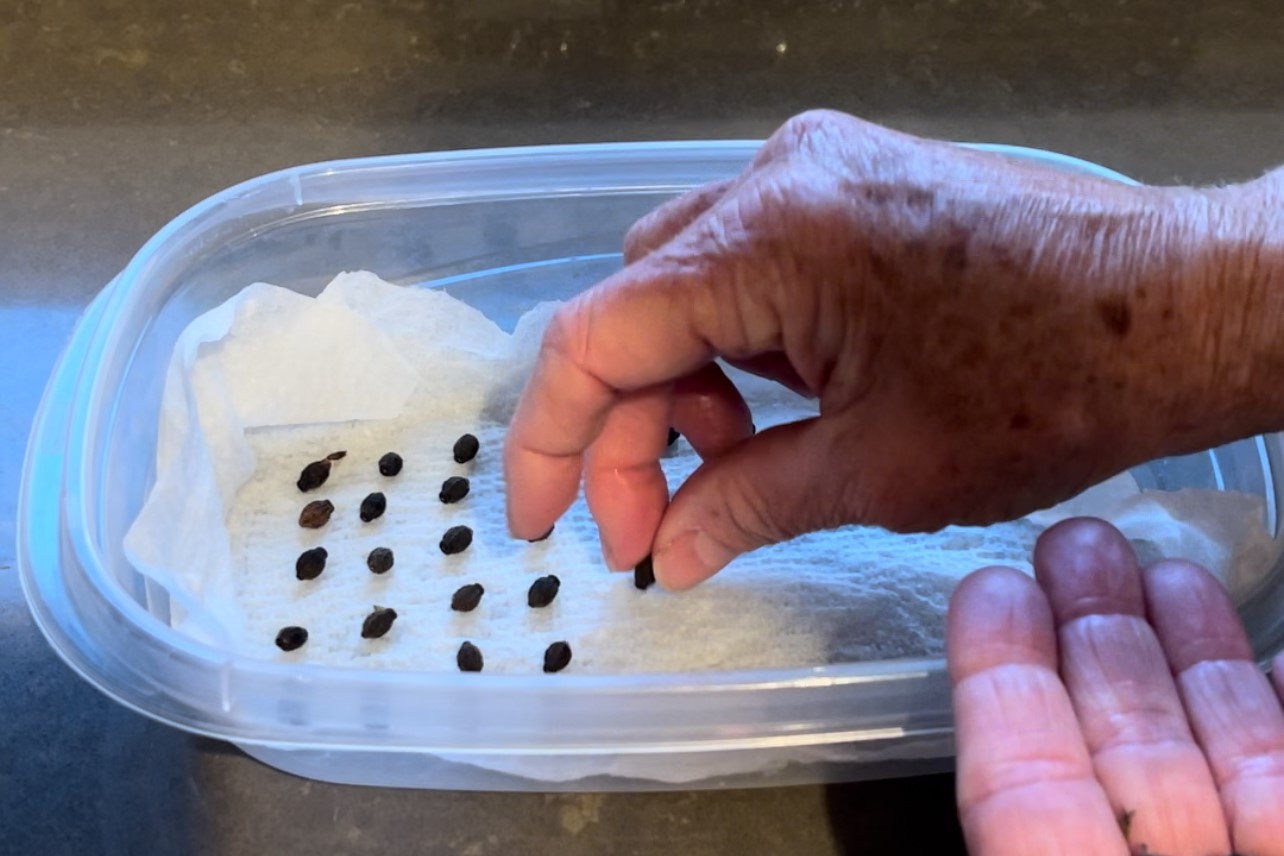
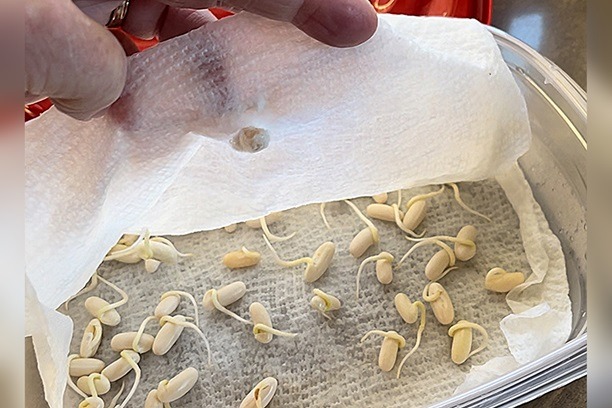
Place the seeds evenly on the germination medium, ensuring they are not overcrowded. touching, or on top of one another.
I place my seeds on a grid because it makes visualizing and seeing the results easier.
4. Cover the Seeds
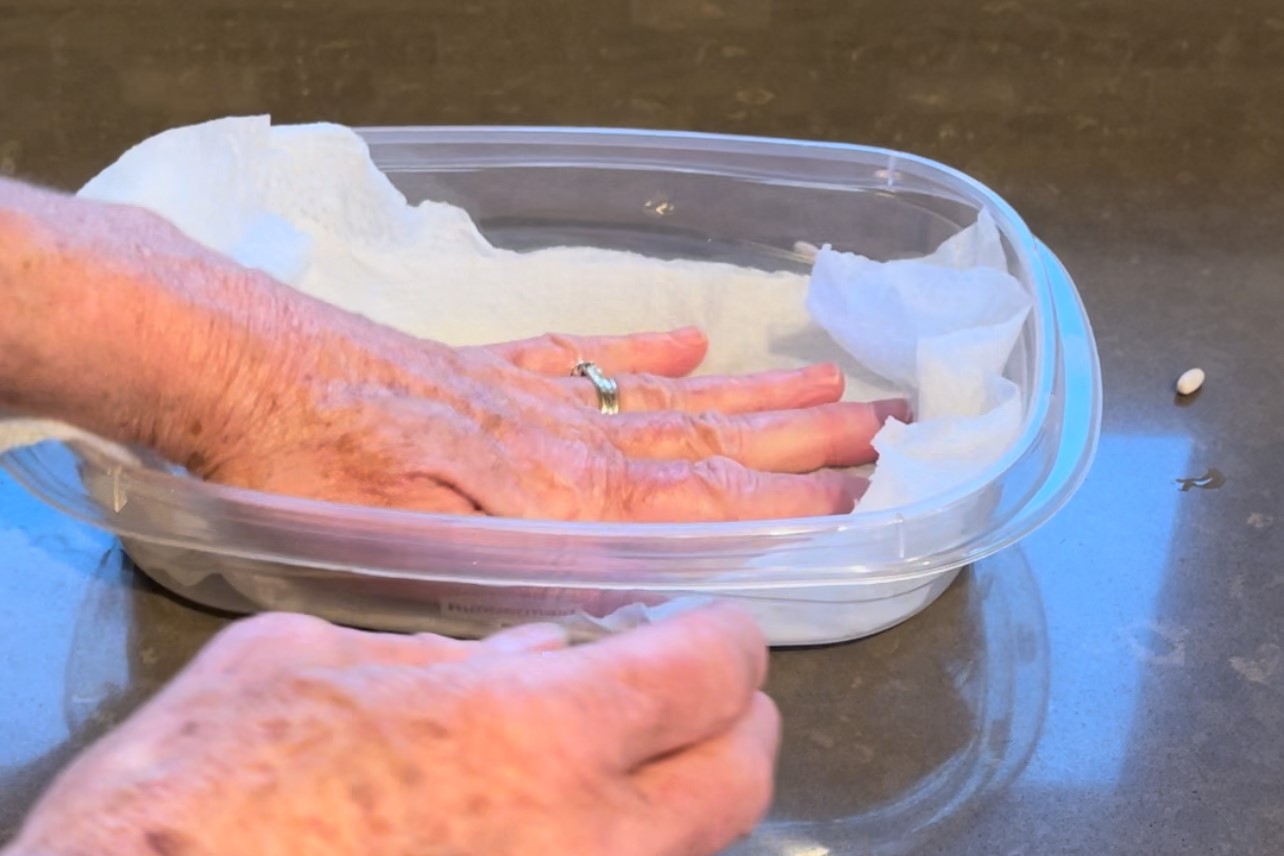
Cover the seeds lightly with an additional germination medium or another layer of moistened paper towels to maintain moisture levels and create a conducive environment for germination.
I like to press the paper towel over the seeds to ensure that they have contact with the damp top layer.
5. Provide Optimal Germination Conditions
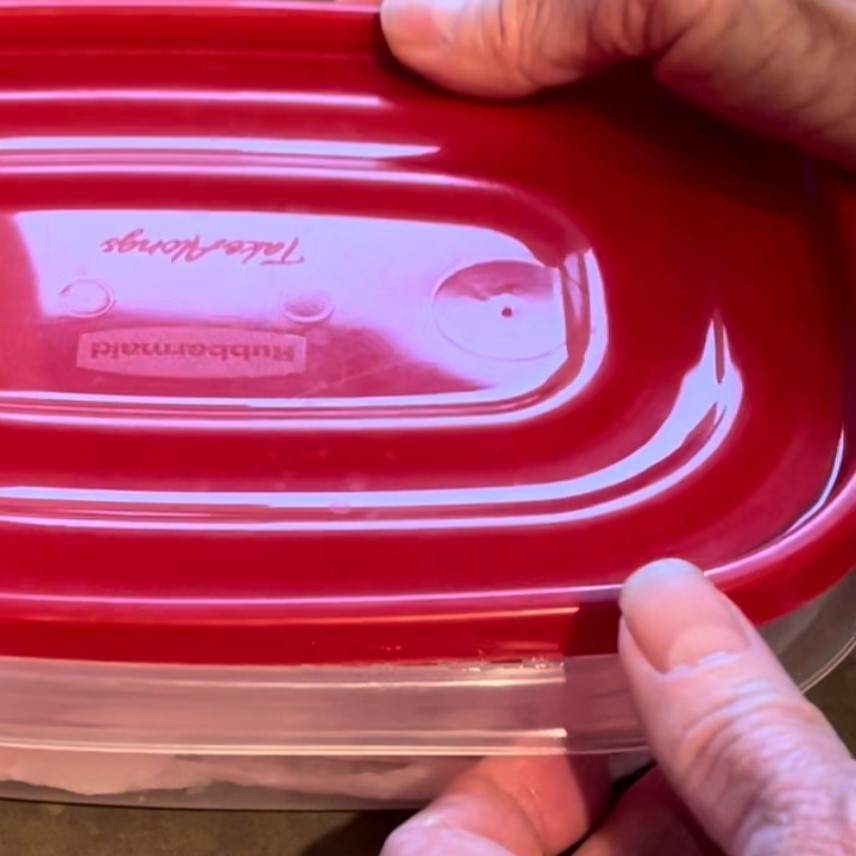
Place the lid loosely on the container to provide the seeds with the ideal conditions for germination, maintaining a consistent temperature, humidity, oxygen, and light levels.
Good air circulation is essential for preventing mold or fungal growth, which can hinder germination. Ensure that your testing setup allows for adequate air movement.
Most seeds will germinate well at room temperature; however, different types of seeds may have specific requirements, so it is helpful to research the optimal conditions for the seeds you are testing.
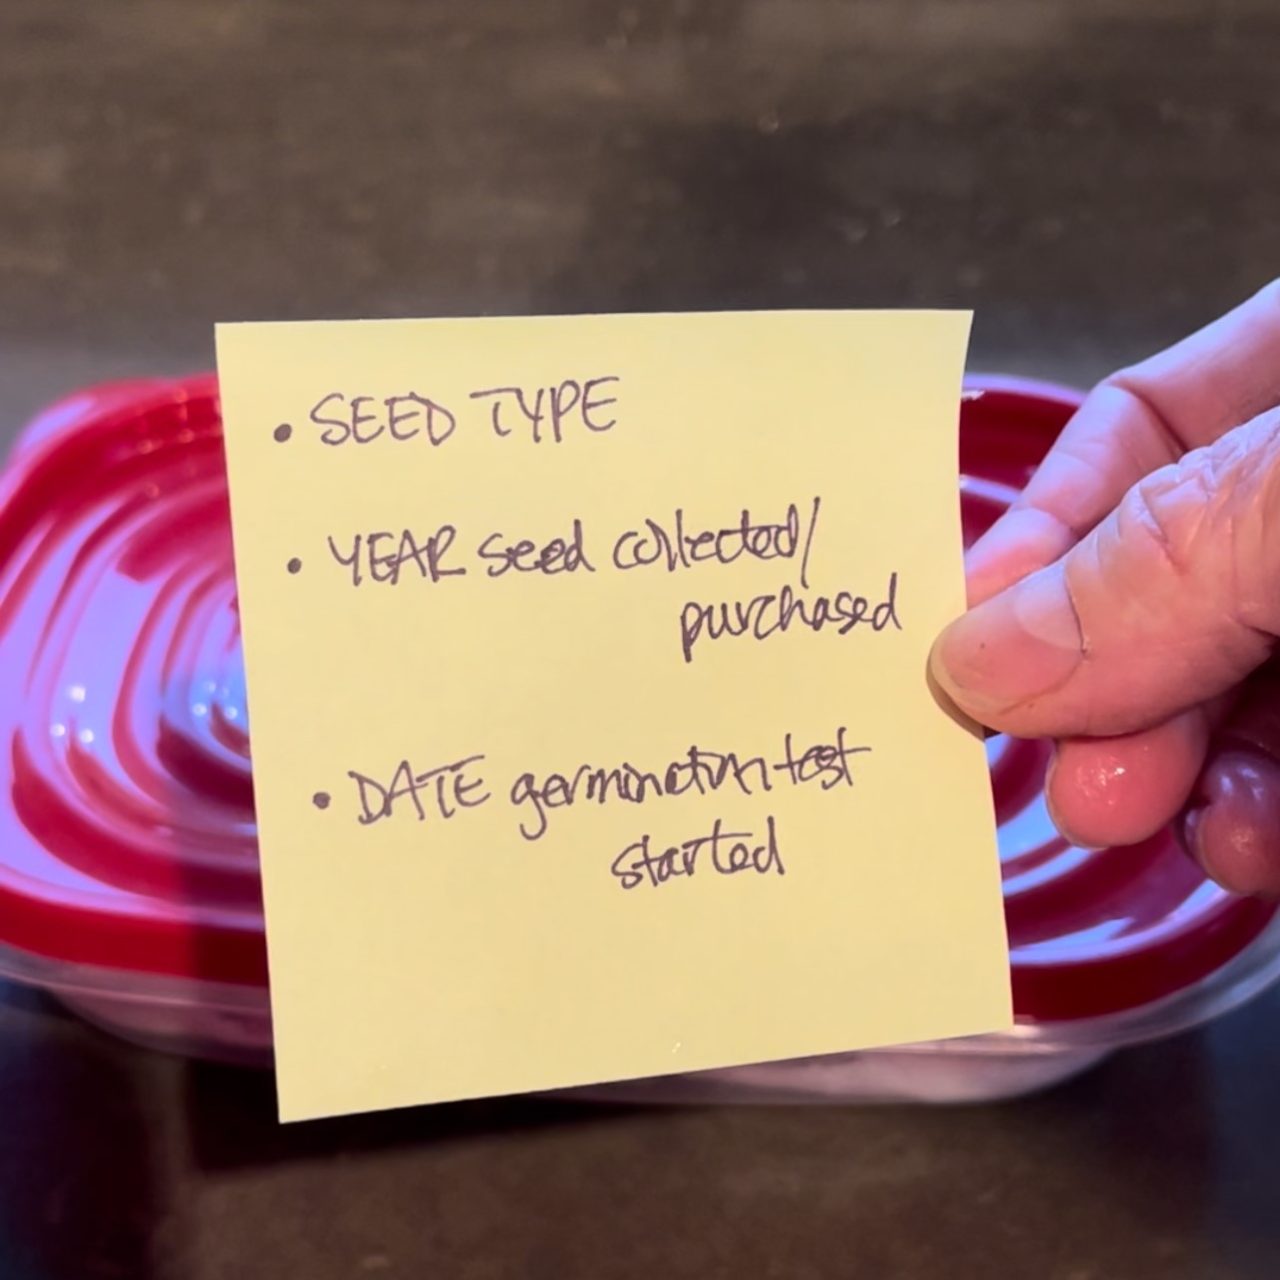
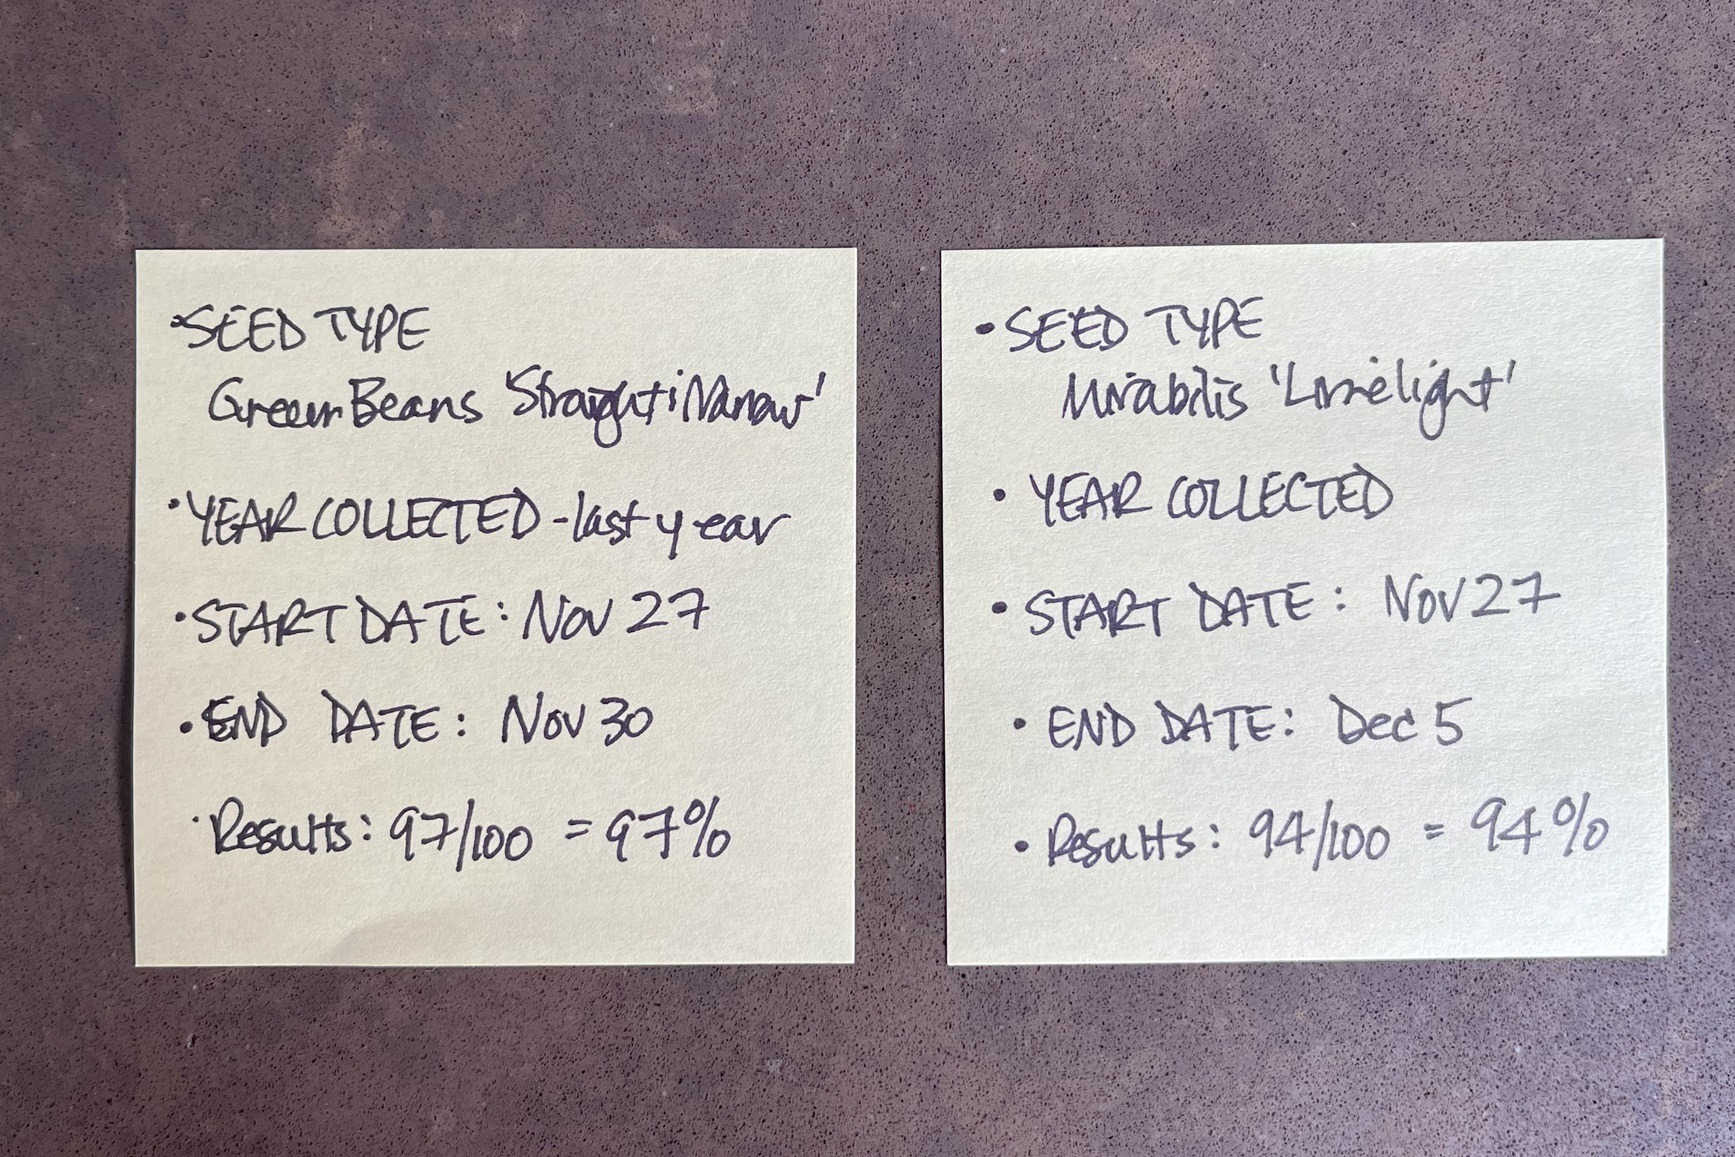
Remember to label the container with:
- The seed type and variety – be specific. The more information you can note, the better it is for your records. For example, Mirabilis ‘Limelight’, Morning Glory ‘Heavenly Blue’
- The date the germination test started
- The date you stopped the test
- If you wanted, you could record your observations each day including the number of seeds that germinated each day, but for my purposes, I don’t.
6. Monitor the Seeds Regularly
Check the seeds and replace the lid daily.
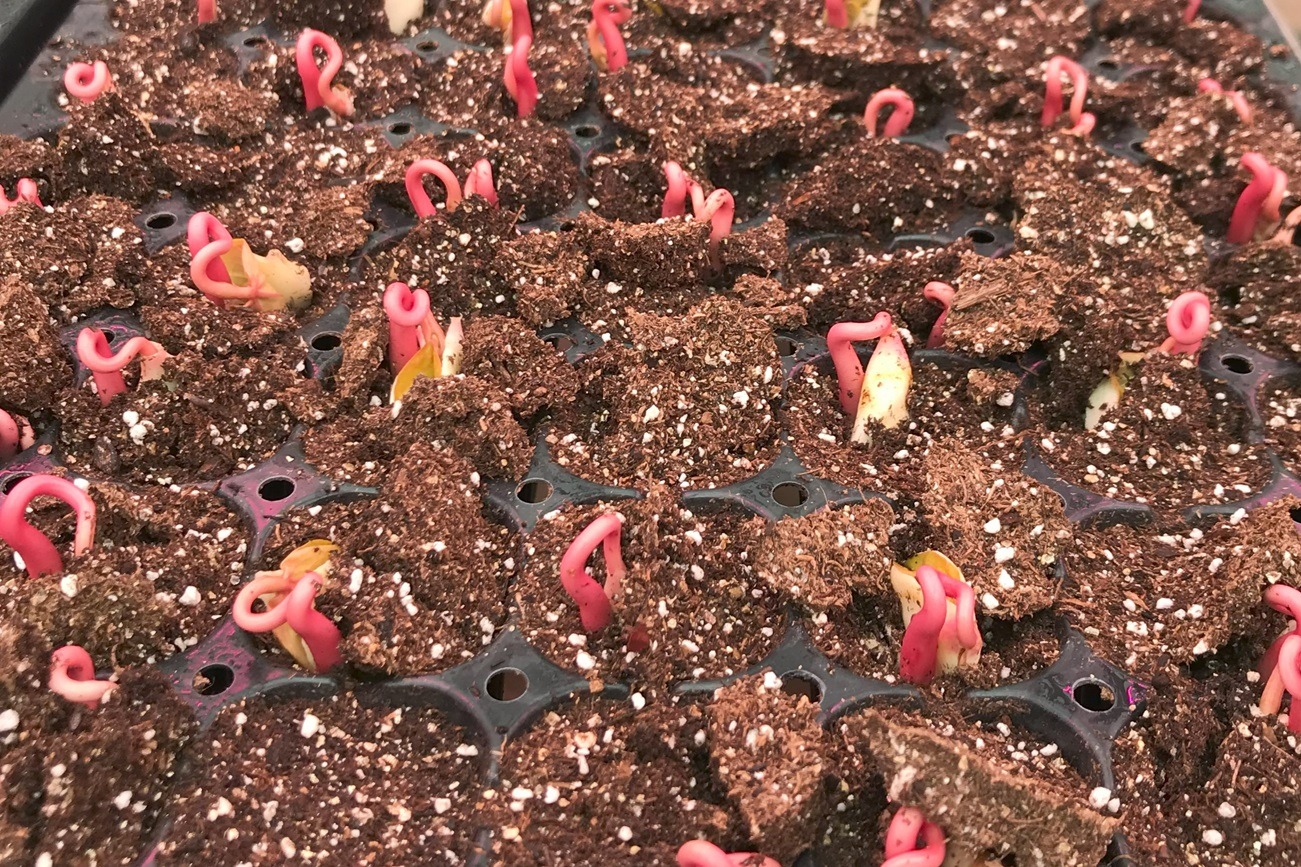
As the germination process unfolds, you will notice that seeds germinate on a bell curve, with the majority germinating in a cluster with outliers on each side of the spectrum.
Some seeds will germinate early, and some slow pokes will germinate late.
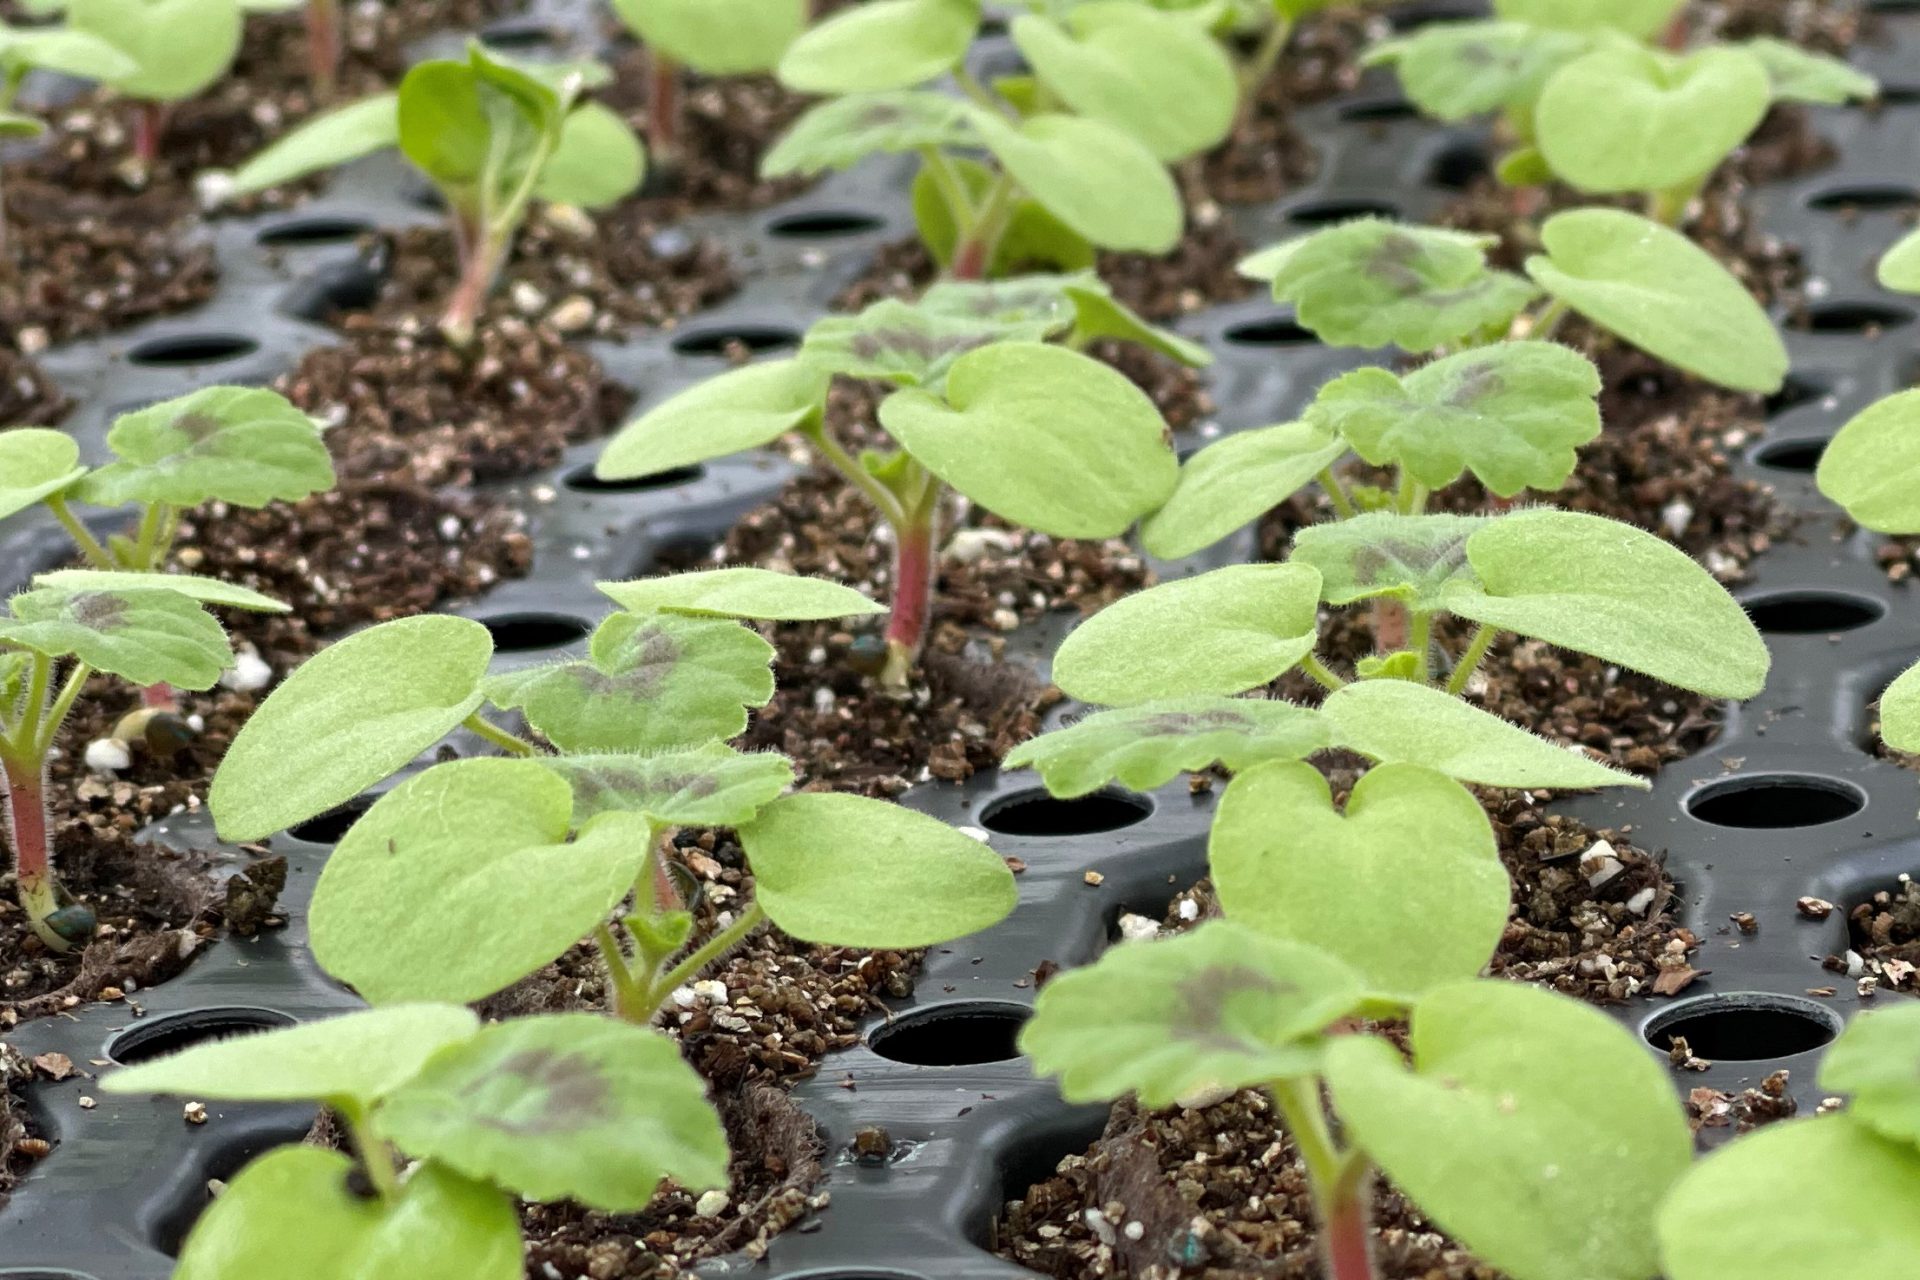
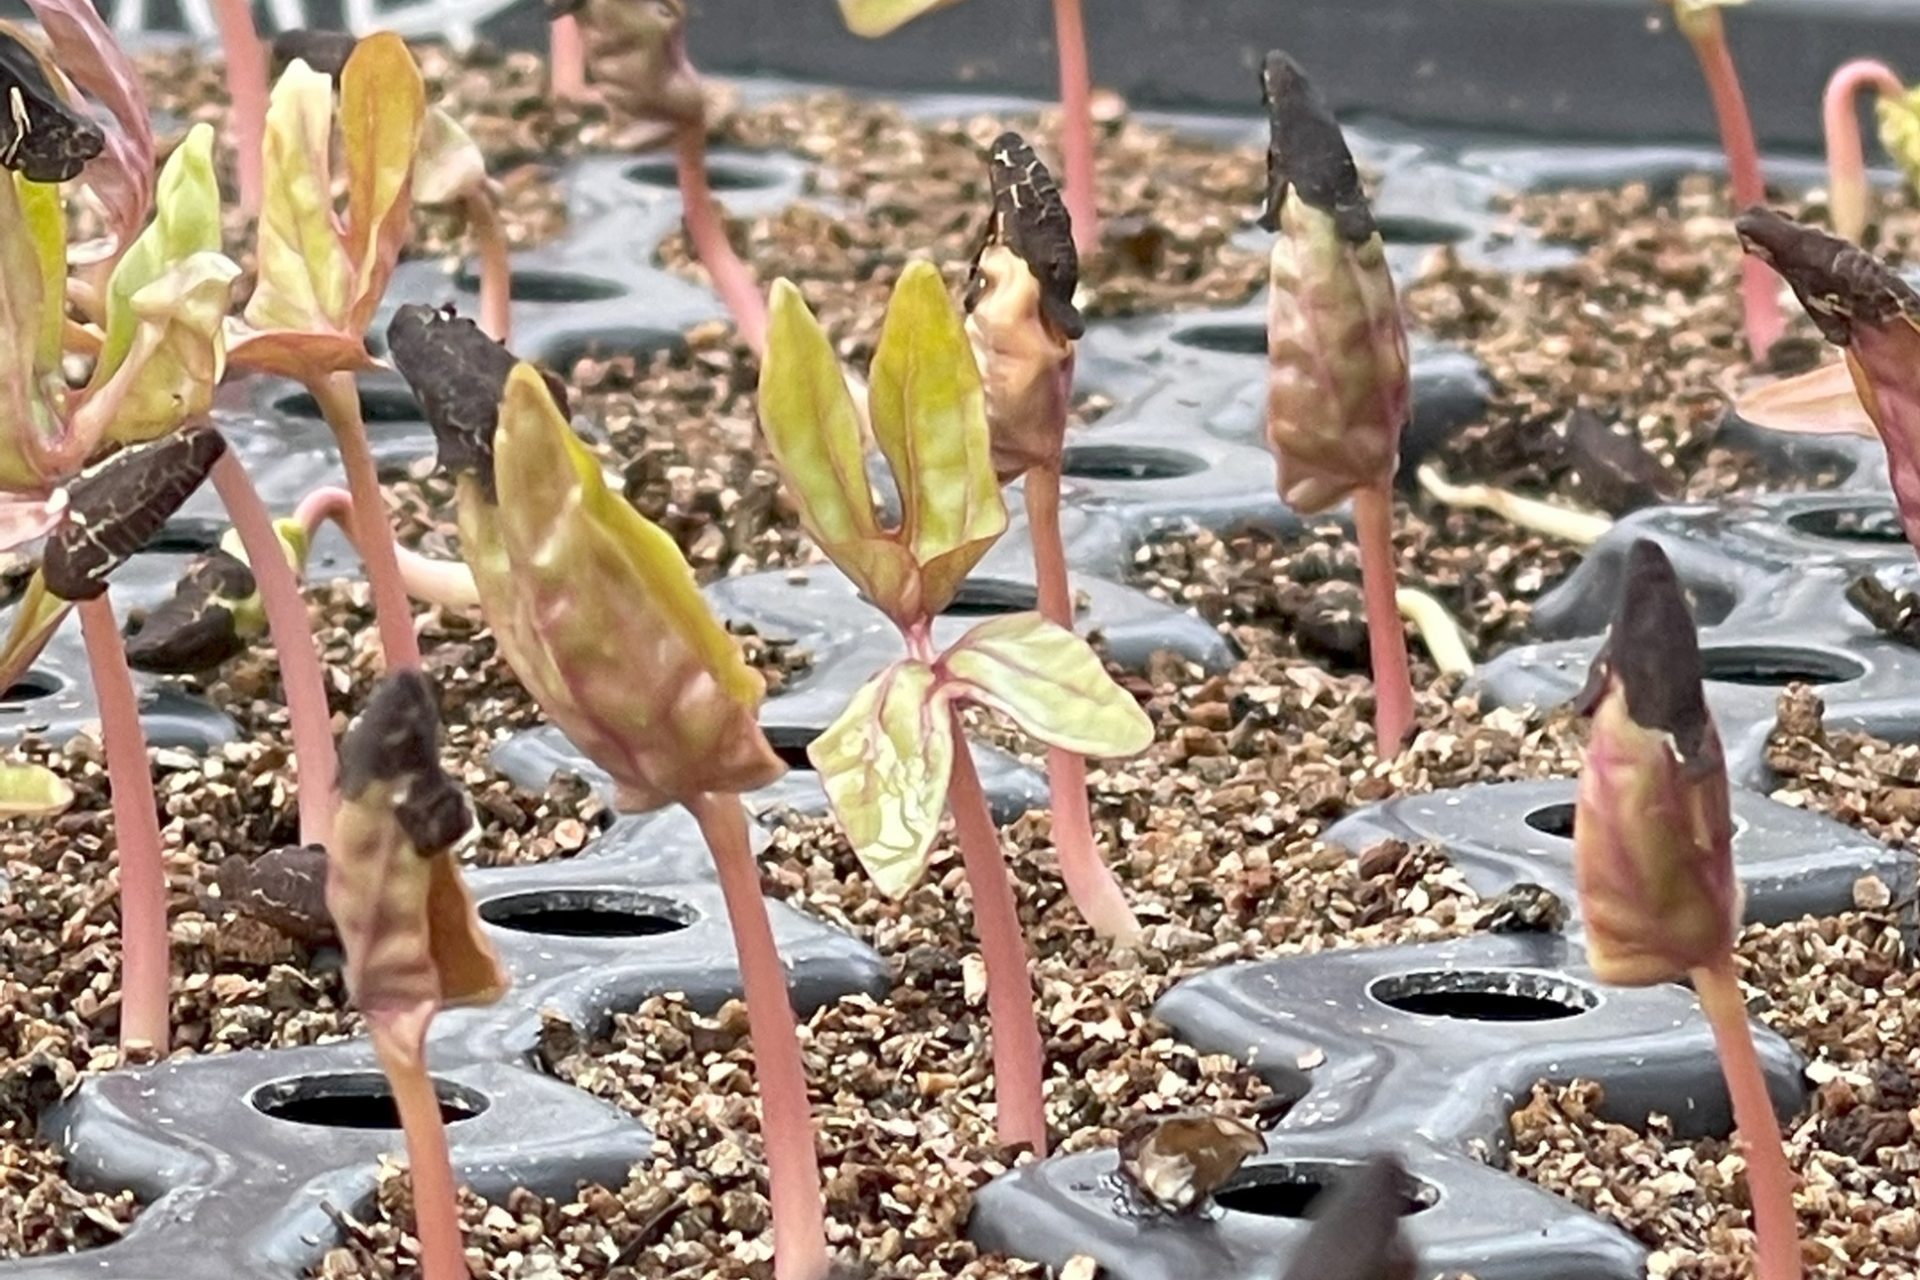
When germination has subsided, assess the seedling quality, evaluate their health, and count how many seeds have germinated.
You will notice that seeds germinate on a bell curve, with the majority germinating in a cluster and outliers on each side of the spectrum.
Factors That Affect Germination
Seed germination is a critical stage in the life cycle of plants, and understanding the factors that affect it is essential for successful seedling establishment.
Several factors can influence the germination process, and being aware of these variables can significantly impact the outcome of your gardening endeavours.
First, the quality of the seed itself plays a fundamental role in seed vigour. Factors such as seed age, genetic characteristics, and seed vigour can all influence germination rates.
Another crucial germination factor is moisture. Seeds require a specific level of moisture to initiate germination.
Insufficient moisture can delay or inhibit germination, while excessive moisture can lead to fungal or bacterial diseases. Finding the right balance is crucial to ensuring successful germination.
Temperature also plays a vital role in seed germination. Different plant species have specific temperature requirements for optimal germination.
Some seeds thrive in cooler temperatures, while others require warmth to sprout. Providing the appropriate temperature conditions for your seeds can significantly enhance germination rates.

Light is another factor that affects seed germination, although it varies depending on the plant species.
Some seeds require exposure to light to trigger germination, while others prefer darkness. Understanding the light requirements of your specific seeds is vital for creating the ideal germination environment.
Lastly, oxygen availability is essential for successful seed germination. Adequate oxygen levels in the soil or growing medium are crucial for the metabolic processes that occur during germination.
Poorly aerated soils can lead to low germination rates or even seedling death.
If germination results were poor, new tests could be done by manipulating a different factor, such as increasing the heat or light.
By considering these factors that affect seed germination, you can optimize the conditions for successful emergence and establish healthy seedlings.
Conducting germination testing can also provide valuable insights into the viability of your seeds and help you make informed decisions regarding planting and crop production.
How to Calculate Germination Percentages
Seed germination results are expressed in a percentage.
I had enough seed to do my tests using 100 seeds, so the percentage is simple; but that’s not always the case, especially if there are only a few seeds.
To calculate the germination percentage, write the results in a ratio of seeds germinated over the number of seeds tested, and divide the top number with the bottom one.
Example: 35/50 seed germinated = 35 divided by 50 = 70%
How to Interpret Germination Results for Seeding at Home
Once the germination test is complete, analyze the results to determine the quality and viability of the seed lot.
Germination test results give valuable information for seeding.
A high germination rate indicates good seed quality and strong potential for successful plant establishment.
Conversely, a low germination rate may suggest poor seed quality or unfavourable storage conditions.
Seeding Strategies for Germination Results
• 80% or higher – are ideal germination rates
Strategy: Seed normally, or as indicated on the package.
• 70-80%
Strategy: Sow seeds a little more thickly than the package directions suggest.
• 60-70%
Strategy: Double sow the seeds, or sow twice as thickly as suggested by the package, with the hope of getting results similar to an ideal germination rate
• Below 60%
Strategy: Triple sow seeds, meaning sow three times the amount that would be sown with an 80-100% rate, to attain results similar to an ideal germination rate
• Below 50%
Strategy: Consider using new seeds; don’t mix new seeds with old seeds.
Related: If you are looking for more information on seeding strategies, check out my blog, 11+ Practical Tips for Starting Plants from Seed.
Other Related Blogs:
- When to Plant a Successful Vegetable Garden in Alberta or any Other Zone 3-4 Growing Zone
- How to Grow Beets in Alberta
- How to Grow Great Cucumbers in Alberta
- How to Grow the Best Tomatoes in Alberta
- The Vegetable Planting Chart
- The Companion Planting Chart
Conclusion
In conclusion, seed germination testing is a powerful tool for gardeners and farmers alike, unlocking the full potential of seeds by ensuring better crop yields and avoiding gardening mishaps when time is crucial.
By understanding the germination rate and seed vigour, gardeners can make informed decisions about seed selection, seeding and planting techniques, and overall crop management. If you have any questions about my seed germination testing method, please contact me!
©Sharon Wallish Murphy ©Gardening with Sharon