Hollyhocks are an Alberta perennial garden standby, but growing Hollyhocks can be challenging, so let’s talk about them.
This blog will discuss the following:
- Why Hollyhocks are a Great Addition to a Perennial Garden
- The Biennial Growth Pattern of Hollyhocks
- How to Care for Hollyhocks
- Why Hollyhocks may Have Trouble Re-establishing in Spring
Why Hollyhocks are a Great Addition to a Perennial Garden
The scientific name for Hollyhocks is ‘Alcea’, which are native to southern Europe, the Middle East, and Central Asia. Like many plants that are part of our North American landscape, they were brought to this country by immigrating people groups.
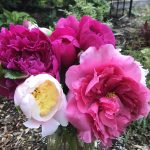
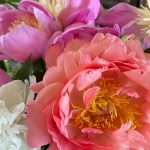
Hollyhocks lend structure and vintage charm to any garden, showing off their single or double peony-like blooms as they grow to be tall, stately flowers ranging in height from 3-10 feet, depending on the variety.
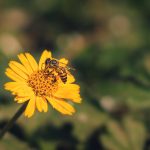
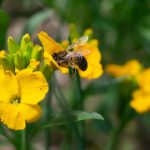
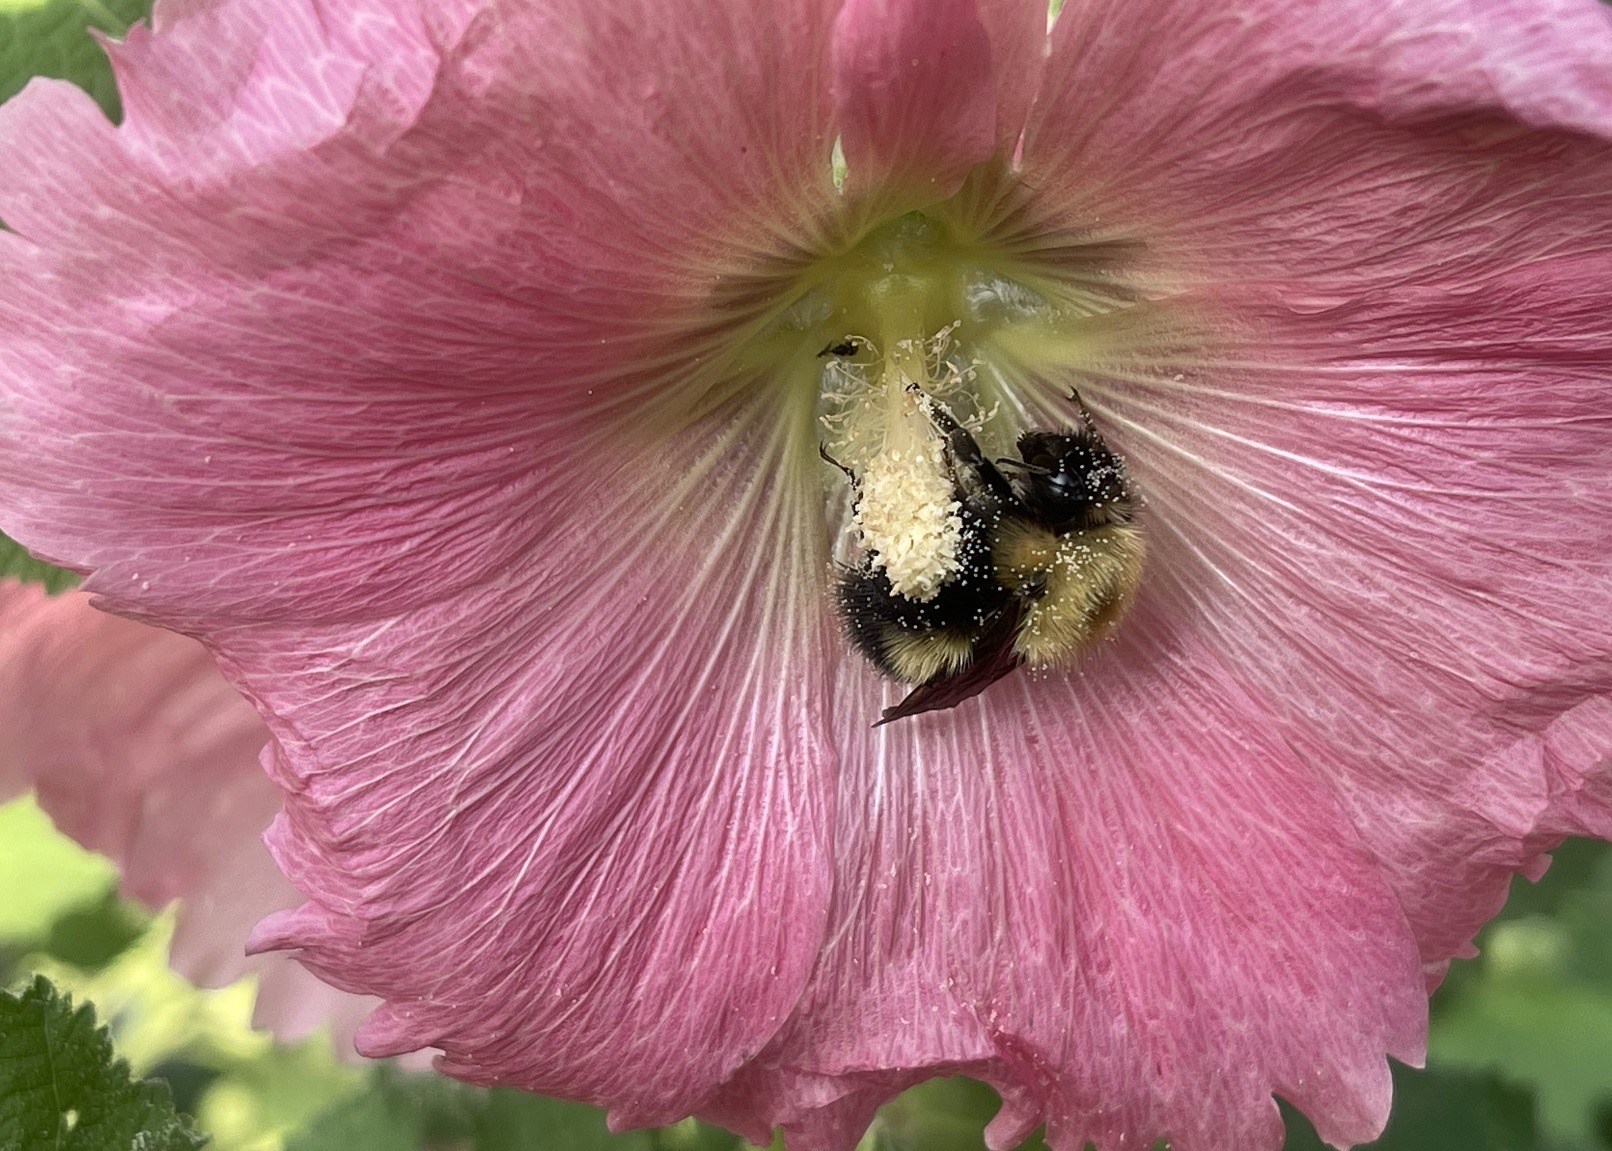
Hollyhocks are a great addition to pollinator gardens as they attract bees, butterflies, and hummingbirds looking for simple, open-shaped flowers. Bees love their pollen.
Hollyhocks have a lengthy flowering period. Hollyhocks typically start to bloom at the end of July and continue to blossom into early September, with flowers opening at the bottom of the stem first and progressively unveiling their flowers all the way to the top of the stalk.
Related:
- 5+ Ways to Create a Thriving and Pollinator-Safe Garden
- The Best Annual & Perennial Flowers for your Zone 3/4 Pollinator Garden [+Free Pollinator Reference Chart]
Are Hollyhocks Annuals or Perennials?
Hollyhocks are neither annuals nor perennials; Hollyhocks are biennials.
Biennial plants require two growing seasons to complete their life cycle.
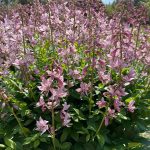
The biennial growth sequence begins when a plant germinates from seed. The first year is all about green leafy growth, establishing a robust root system, and fortifying stores to equip it to live through the coming winter.
The leafy growth dies as the weather cools and winter arrives, and the root undergoes a cold vernalization period.
When the weather warms in the spring, the biennial grows new, fresh leafy growth. Biennials then bloom, produce seeds, and drop the mature seed onto the ground.
The life cycle of the original plant is complete, and the plant dies and the new seeds vernalize through winter and germinate the next spring.
Hollyhocks grow and reproduce following this pattern.
How to Get a Hollyhock Patch to Bloom Every Year
A biennial growth cycle produces flowers every two years, so how can you get a Hollyhock patch to bloom yearly?
Here is a simple fix:
Plant or seed Hollyhocks two years in row to get two sets of biennial cycles growing simultaneously, which will produce flowers every year.
When the first set of Hollyhock plants bloom (this would be their second year), plant or seed a new batch of first-year Hollyhocks, which would only have leafy growth.
The flowering Hollyhocks will set seed to germinate the following spring, which will start a new biennial cycle while the second set of plants would be flowering.
How to Care for Hollyhocks
Hollyhocks are simple to grow and are affected by few diseases or pests. They are occasionally bothered by a fungal infection called Rust, but they rarely die from it.
Hollyhock Zone Requirements:
Hollyhocks are rated as a Zone 3-9 biennial.
Zone 3 is the coldest zone they tolerate, and Zone 9 is the warmest zone that Hollyhocks will grow in because of the necessary vernalization periods required for their development.
Because there are many Hollyhock variety choices, check the plant hardiness zone rating before purchasing a Hollyhock plant or seed for your area.
Related: New to plant growing zones? My blog, What are Plant Hardiness Zones & How do They Work?, is an in-depth discussion about them.
Sun Exposure Requirements for Hollyhocks:
Hollyhocks grow best in full sun locations with six or more hours of direct sunshine. Plant them on east, south, or west exposures that aren’t shaded by trees, buildings, or fences.
How Hollyhocks Flower:
Hollyhocks have a long bloom cycle that begins in late July and extends through August.
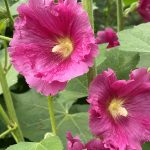
Hollyhock flowers start to open at the bottom of the flower stalk and progressively open upward to the top.
Blossom colours are available in every colour of the rainbow except for true blue. Single blossom varieties have flowers that look like trumpets. Double blossoms look like double Peony flowers.
Soil Requirements for Hollyhocks:
Hollyhocks develop tap roots and mature best in good quality, rich, loamy, well-draining soil that allows for deep root growth.
Watering & Fertilizing Hollyhocks:
Hollyhocks require little supplemental watering once they are established because of their deep tap roots.
Keep new transplants evenly moist to build their root structures. Check their hydration status regularly and water thoroughly when they are dry. Fertilize new transplants biweekly during their first growing season.
Related: Fertilizer can be a bit of a puzzle, How to Understand Fertilizer Labels is my blog that talks about what those three big numbers mean and how to use them to your garden’s benefit.
Mulching Hollyhocks:
Mulch is beneficial for Hollyhocks. It balances soil temperature and moisture levels, keeps weeds at bay, and contributes nutrients to soil fertility. Maintain a 7.5-10 cm (3-4″) layer of mulch around the base of Hollyhocks.
Related: For a more detailed discussion on mulch, see What is Mulch? Making Garden Magic with Mulch.
Staking Hollyhocks:
Some varieties of Hollyhocks grow tall and grand, often reaching heights of 2-3.5 m (6-10′) tall, and clumps can be just as wide. There are smaller dwarf varieties, but many are too tender for zone 3/4 gardens.
Tall Hollyhocks can lean or get blown over by the wind, so to offset this, stake them with large, sturdy tomato cages early in their growth phase. Their leaves will extend through the wires, and as it grows, the plant will completely camouflage the support structures.
Why Hollyhocks May Have Difficulty Re-establishing in Spring
Hollyhock patches sometimes have difficulty getting started. Here are some reasons why and how to mitigate them.
1. The Hollyhock Variety is too Tender for the Growing Zone
Hollyhocks have a Zone 3-9 rating. Zone 3 is the coldest zone most will tolerate.
Several varieties have higher ratings, so check the plant hardiness zone rating before purchasing plants or seeds. Single, trumpet-shaped Hollyhocks tend to be more tolerant of cold weather than double-flowered Hollyhocks.
I have had great success in my Zone 3 garden with two Hollyhock series: Happy Lights Mix and Las Vegas Mix. The Happy Lights Series can be purchased in individual colours or as a mix. Chater’s Mix is double-flowered Hollyhock that does quite well in Zone 3/4.
If Hollyhocks are having difficulty overwintering, try adding a generous layer of mulch (15 cm/6”) in late fall to provide additional insulation to the roots during the winter.
2. The Hollyhock Garden May be Out of Cycle
As mentioned earlier, if there is just one cycle of Hollyhocks growing, there will be flowers every second year.
If this is happening, add some seeds or plant a few first-year Hollyhocks in the garden to get an alternate biennial cycle going.
3. The Seeds Aren’t Germinating
There are several reasons why seeds don’t germinate.
Seeds lose their germination power as they age, if exposed to UV light, if the seed coat has been damaged, if they were stored too warm, and if they got wet.
- Additionally, Hollyhock seeds require a cold vernalization period before they germinate.
- If you grow Hollyhocks from your own seed, let the seed overwinter outdoors in your climate.
- If you purchase seeds, store them in the freezer.

4. The Hollyhock Roots are too Dry Going into Winter
Perennials survive winter best when they are healthy and robust.
Lack of moisture in autumn is a common problem for perennials, compromising their survival ability. Check soil hydration levels regularly in the fall and water deeply when dry.
Give Hollyhocks a Try!
Although hollyhocks can take some time to get right and flourish, they are well worth the wait! Hollyhocks are one of my favourite, most reliable perennials; giving my garden a nostalgic, cottage garden feel. These beautiful flowers enhance gardens of any size and style.
Their hearty structure and height give shade to my Hosta garden and they play a role in providing pollen to butterflies, hummingbirds, and particularly bees. If you are looking for more tips on helping your perennials, check out my other blogs on growing perennials!
©Sharon Wallish Murphy ©Gardening with Sharon