Delphinium worms start showing up in spring gardens across our zone 3-4 region at the end of May and the beginning of June. Once these larvae get going, they can create a LOT of damage in a very short time, so be on the lookout for them.
Let’s talk briefly about how to identify Delphinium worms, the life cycle of Delphinium worms, signs of Delphinium worm damage, and some simple ways to get rid of Delphinium worms.
What Delphinium Worms Look Like
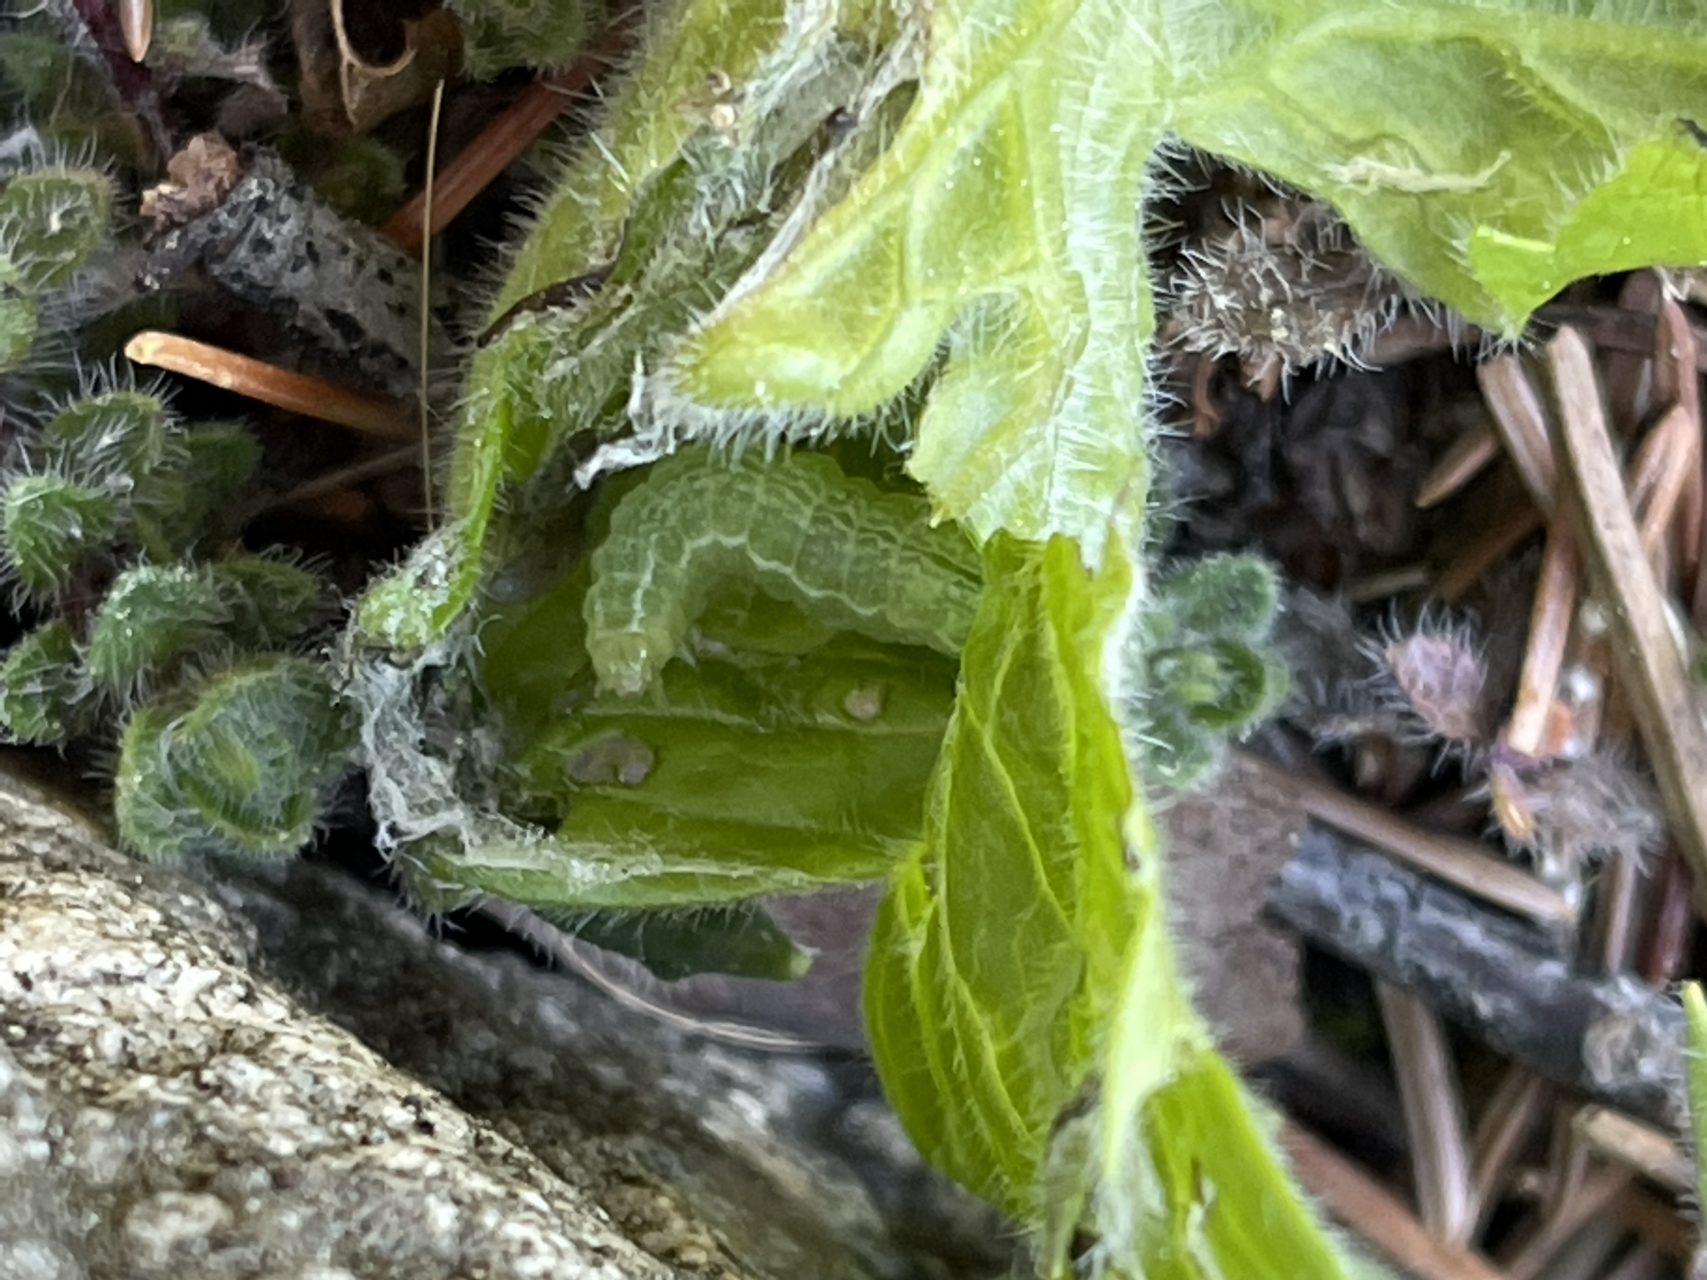
According to the University of Saskatchewan, Delphinium worms are the larvae of a moth with the scientific name ‘Polychrysia emeralda’. They feed on another zone 3 perennial called Aconitum (Monkshood) and also Larkspur, but Larkspur isn’t very zone hardy for us here.
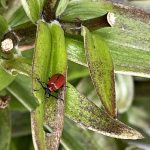
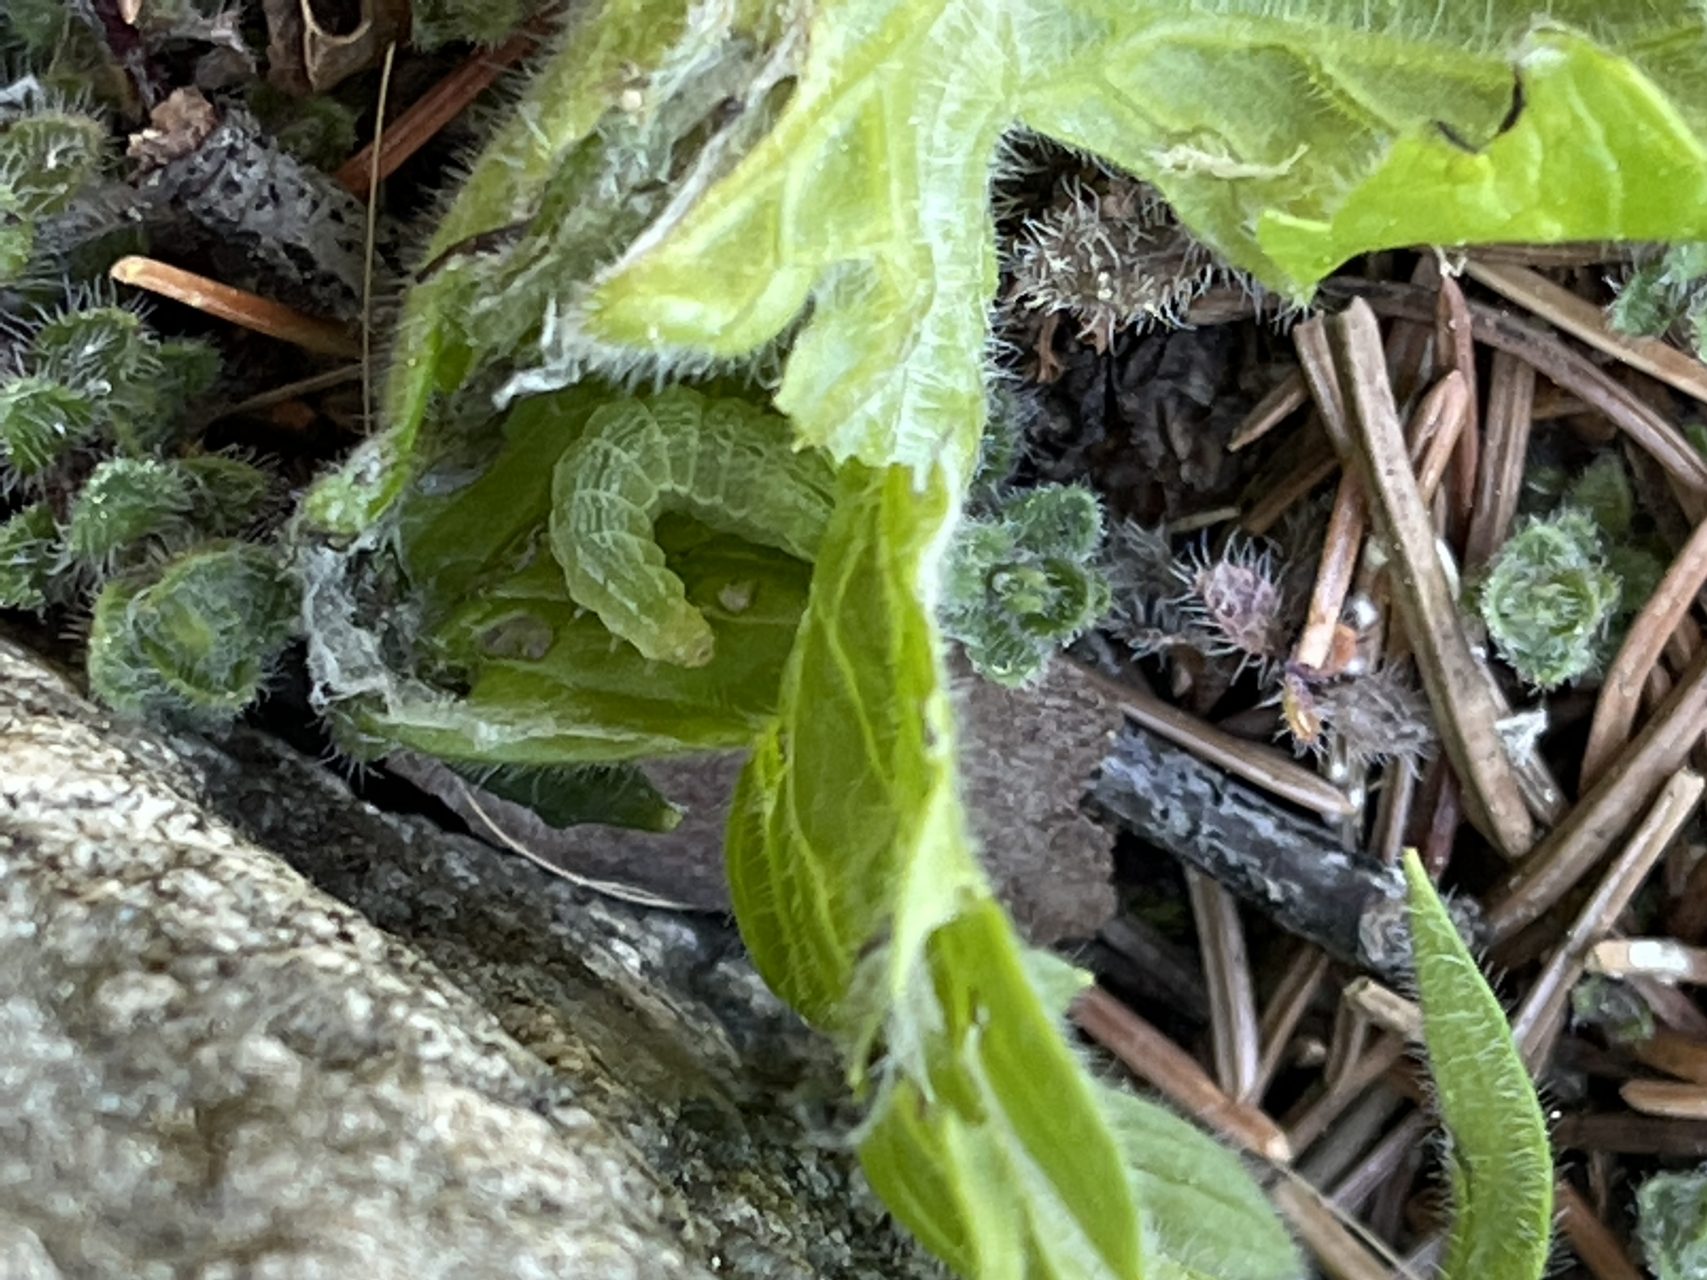
Delphinium worms are green in colour, the exact same green colour as Delphinium leaves and stalks as a matter of fact, and their cubby bodies measure 15-18 mm long.
The Life Cycle of a Delphinium Worm
In the fall, adult female moths lay eggs at the bases of Delphinium, Aconitum (Monkshood), and Larkspur plants.
The eggs overwinter in the hollow Delphinium stalks and surrounding leaf litter.
In the warm days of early spring, the caterpillar larvae emerge and begin feeding on the tender green growth.
Fortunately, there is only one generation of these each year.
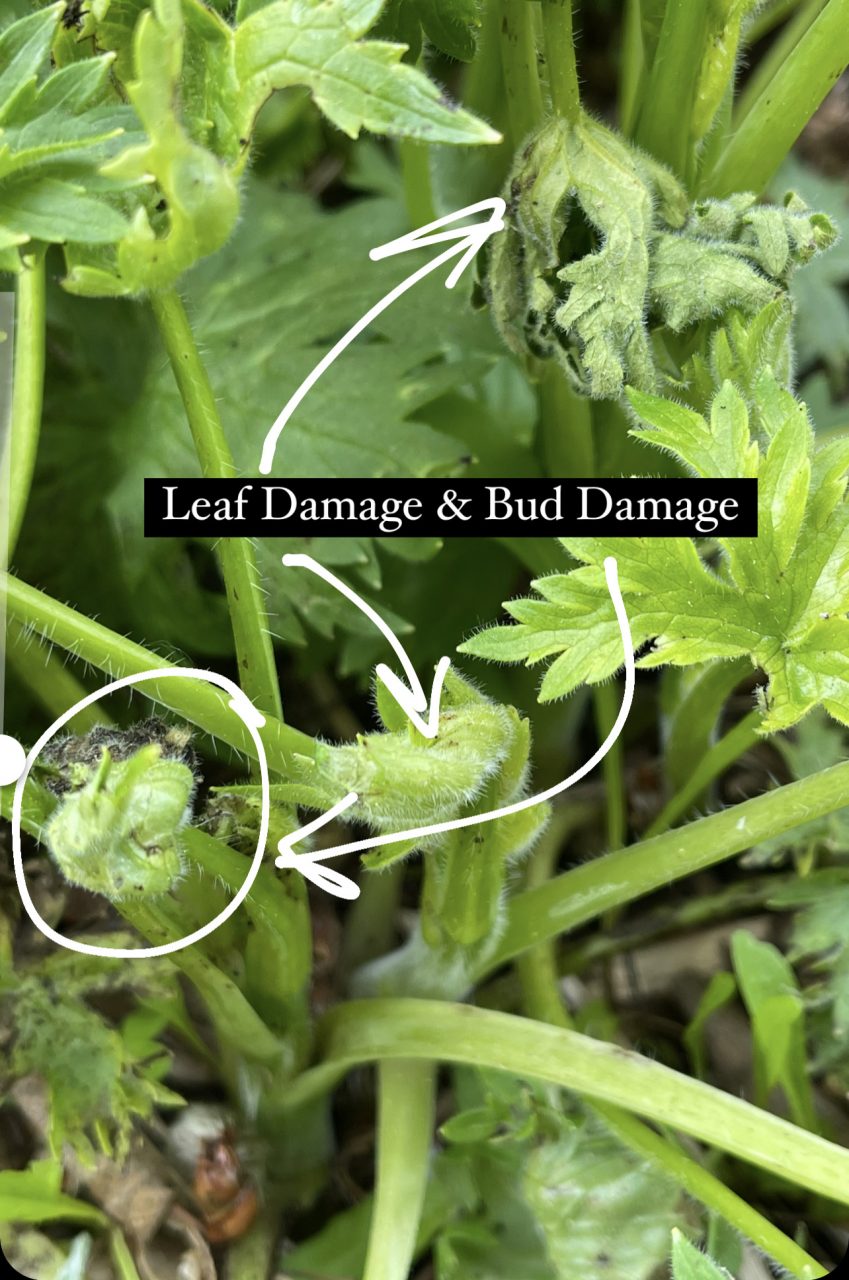
Signs of Delphiniums Worm Damage
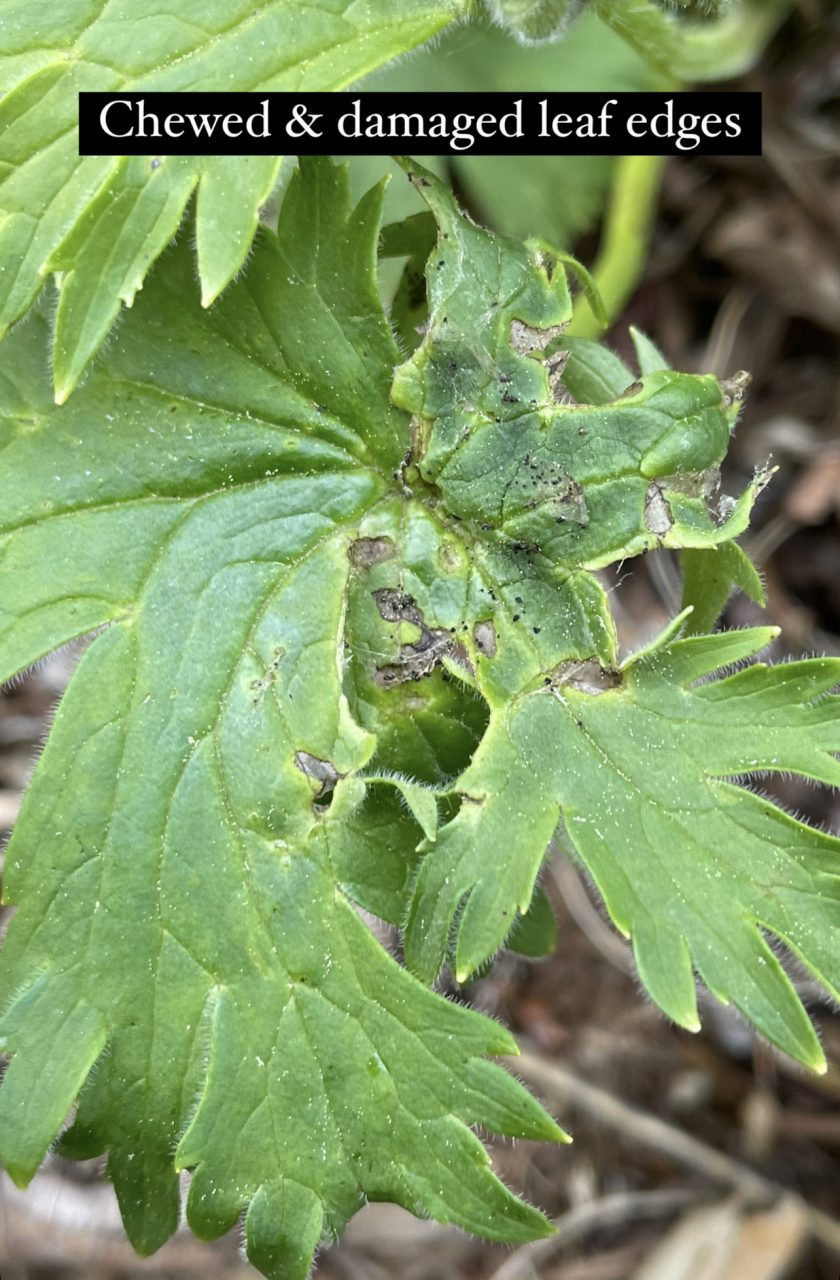
There are several ways to identify damage from Delphinium worms.
If you see any of the following types of damage, you likely have a worm infestation and will need to take the steps to eliminate them:
- Chewed off flower buds and Delphinium stalk top growth
- Bitten and rough leaf edges
- Dried, brown markings on leaves
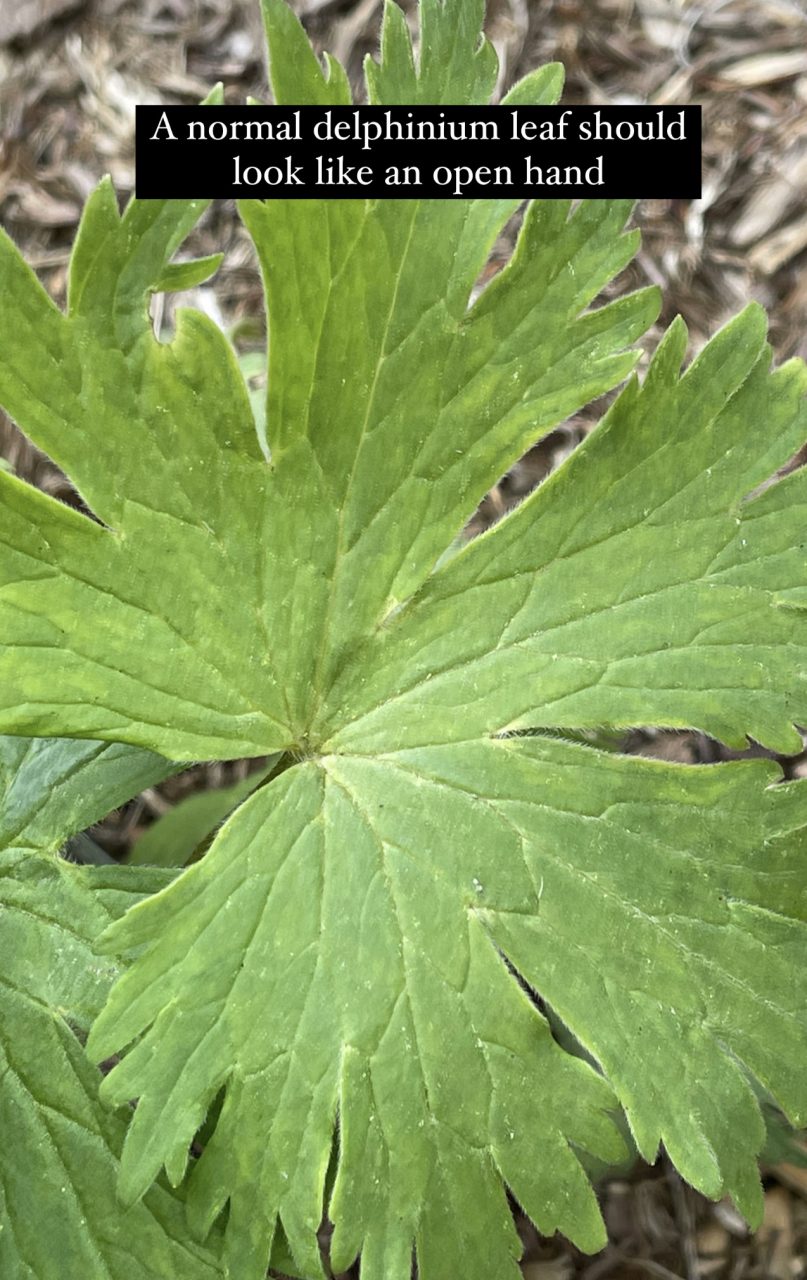
- Leaves that look like they have been folded and glued together.
- The leaf edges have been adhered together with silk by the larva inside.
- This is a ‘protective tent’ for the worm as it feeds on the structures inside.
- Eventually the worm builds a cocoon around itself in this ‘tent’ to pupate into an adult.
- This ‘tenting’ behavior is typical of worms called a ‘leaftier’, pronounced ‘leaf-tyer’.
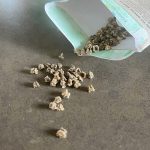
- Tiny round little pellets, bug frass (poo), scattered on the leaves.
Simple Chemical Free Options to Eliminate Delphinium Worms:
Cutting the Growth Back
In early spring when the Delphiniums are about 15 cm (6”-8”) tall, cut the fresh green Delphinium growth back to 8 cm (3″) from the ground and when the regrows that worm stage will be passed.
Don’t put any of this in your compost pile, there may be actively growing larvae, burn it or seal it in a plastic bag and put it in the garbage. For many of us, it could be a little late for this method now.
Comb through the Plant
Comb through your Delphinium and pick off any worms and squish them.
Pinch back any bud damage, the Delphinium will regrow new buds and blossom beautifully.
A Natural Chemical Option for Eradicating Delphinium Worms:
Spray Delphiniums with BTK Solution
This method would be best to use just as the Delphiniums are emerging from the soil and while the Delphinium worm larvae are tiny. BTK, Bacillus Thuringiensis, is a naturally occurring soil bacteria that wreaks havoc with the gastrointestinal system of worms and is available almost anywhere. It can be found in a concentrate or ready to use. Follow package directions for dilution.
Once reconstituted as directed, spray the Delphinium leaves liberally with the solution. Ensure you spay both the tops and the undersides of the leaves. Also, remember to reapply following a rain.
How to Reduce Delphinium Worm Populations in the Fall
Here’s some tips on how to impact those pesky worm populations in the fall.
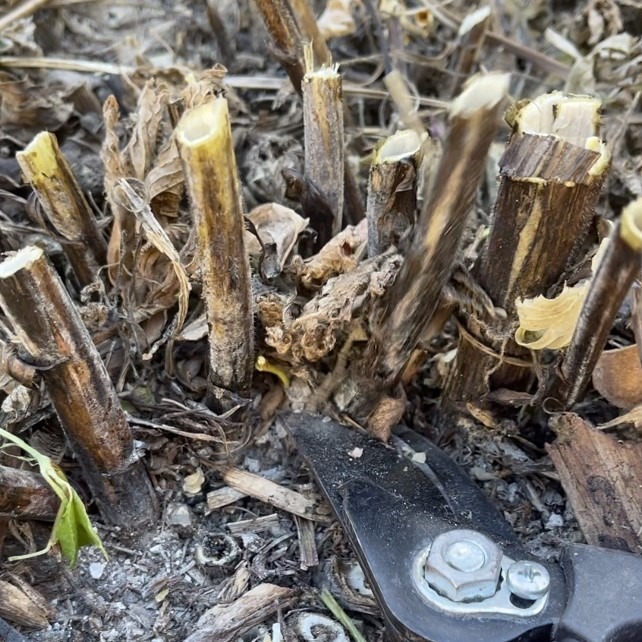
Delphinium worm eggs overwinter in hollow Delphinium stalks and the surrounding leaf litter.
As the fall garden begins to die down the autumn, cut the Delphinium stalks down even with the surrounding ground to diminish potential habitat for the worm eggs.
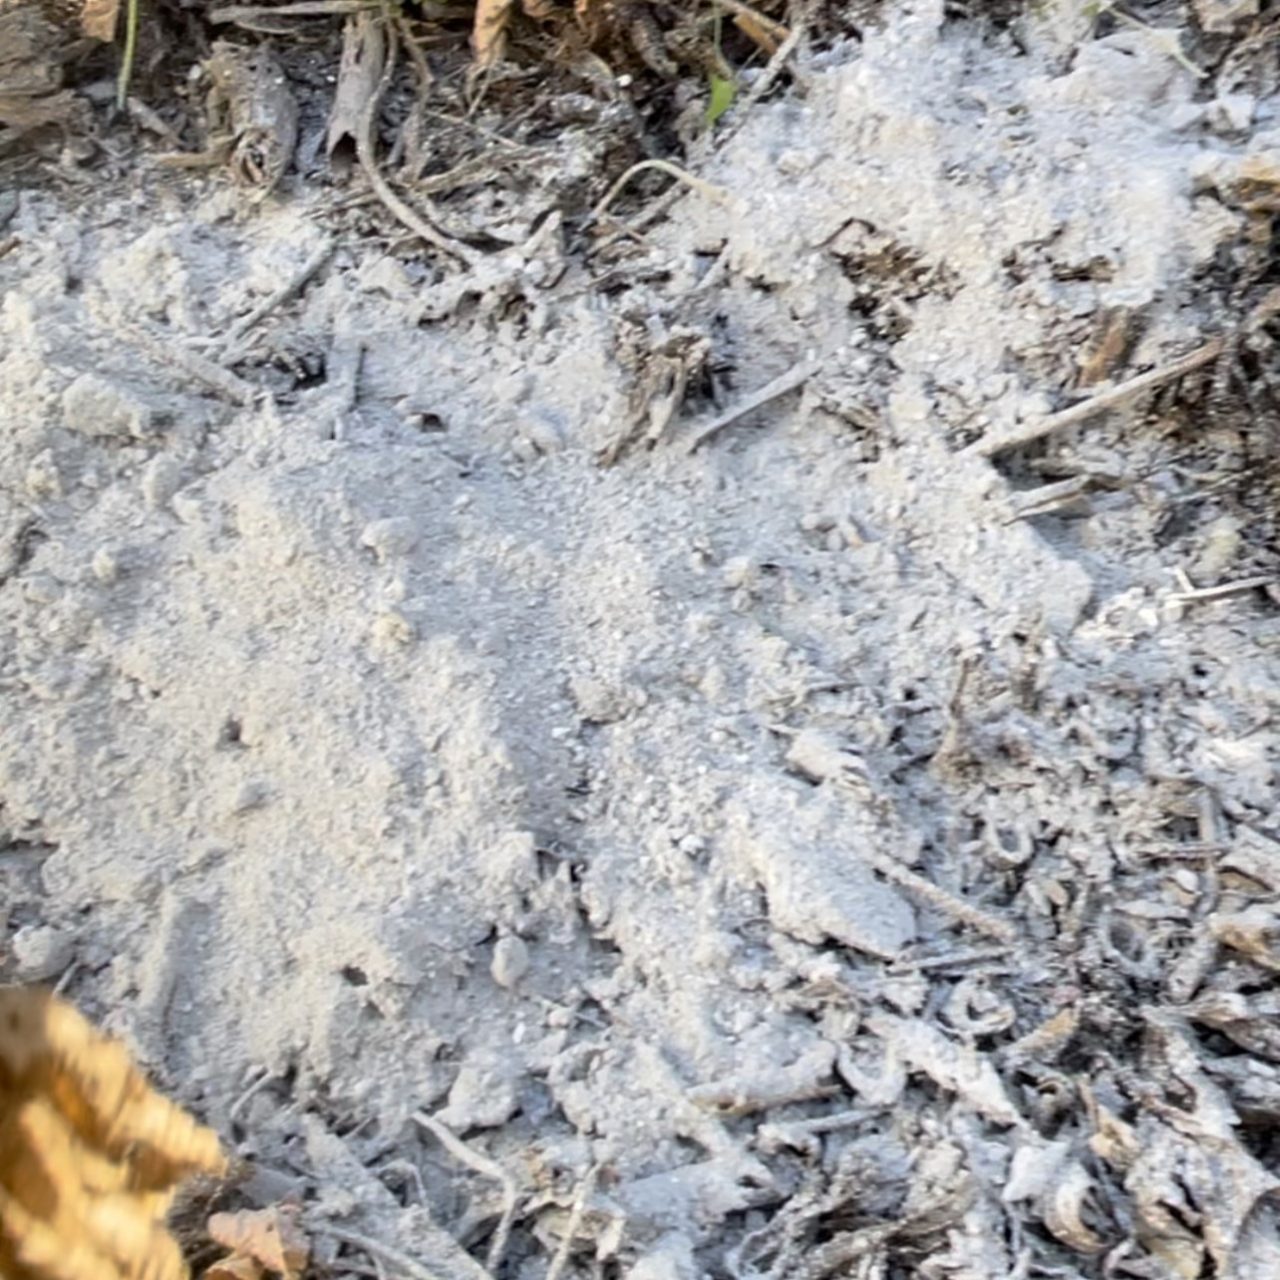
Then, ruffle up to soil in a 30 cm (1′) radius around the stalks.
Next, apply a generous coating of wood ashes or diatomaceous earth over this area. Wood ashes and diatomaceous earth have sharp edges and to a tender worm, it can be fatal when they emerge in spring.
Revisit and repeat this every two weeks before the snow falls.
Conclusion
I hope this helps with your Delphiniums – happy hunting and happy squishing!
©Sharon Wallish Murphy, ©Gardening with Sharon


