Daffodils are one of those quintessential spring flowers that ring in the spring. Once you learn how to grow daffodils, you’re almost guaranteed a beautiful burst of colour every spring because they reproduce so rapidly.
This cheery plant that hails from southern Europe, Northern Africa, and western Asia is available in multiple colours combinations and forms.
Let’s talk about Daffodils.
This blog will cover interesting facts about Daffodils, when and how to plant Daffodils, and how to keep them coming back year after year.
Interesting Facts About Daffodils
- Daffodils are easy to grow and are affected by few pests and diseases. They are non-invasive, meaning they are easy to pull out if they get too rambunctious, and they work well for naturalizing large areas because the bulbs multiply easily.
- Daffodils vary in height from 20-60 cm (8-24″), and their flowers bloom on stalks above their lance-like foliage. They work well in perennial borders, in rock gardens, and, surprisingly, under trees.
- Some Daffodils are perfumed, making them a good addition to a fragrant garden.
Related: The Best Smelling Flowers to Grow in Your Garden
- Daffodils are members of the Amaryllis family, their botanical genus name is Narcissus, and their species name is Daffodil. There are thousands of daffodil varieties.
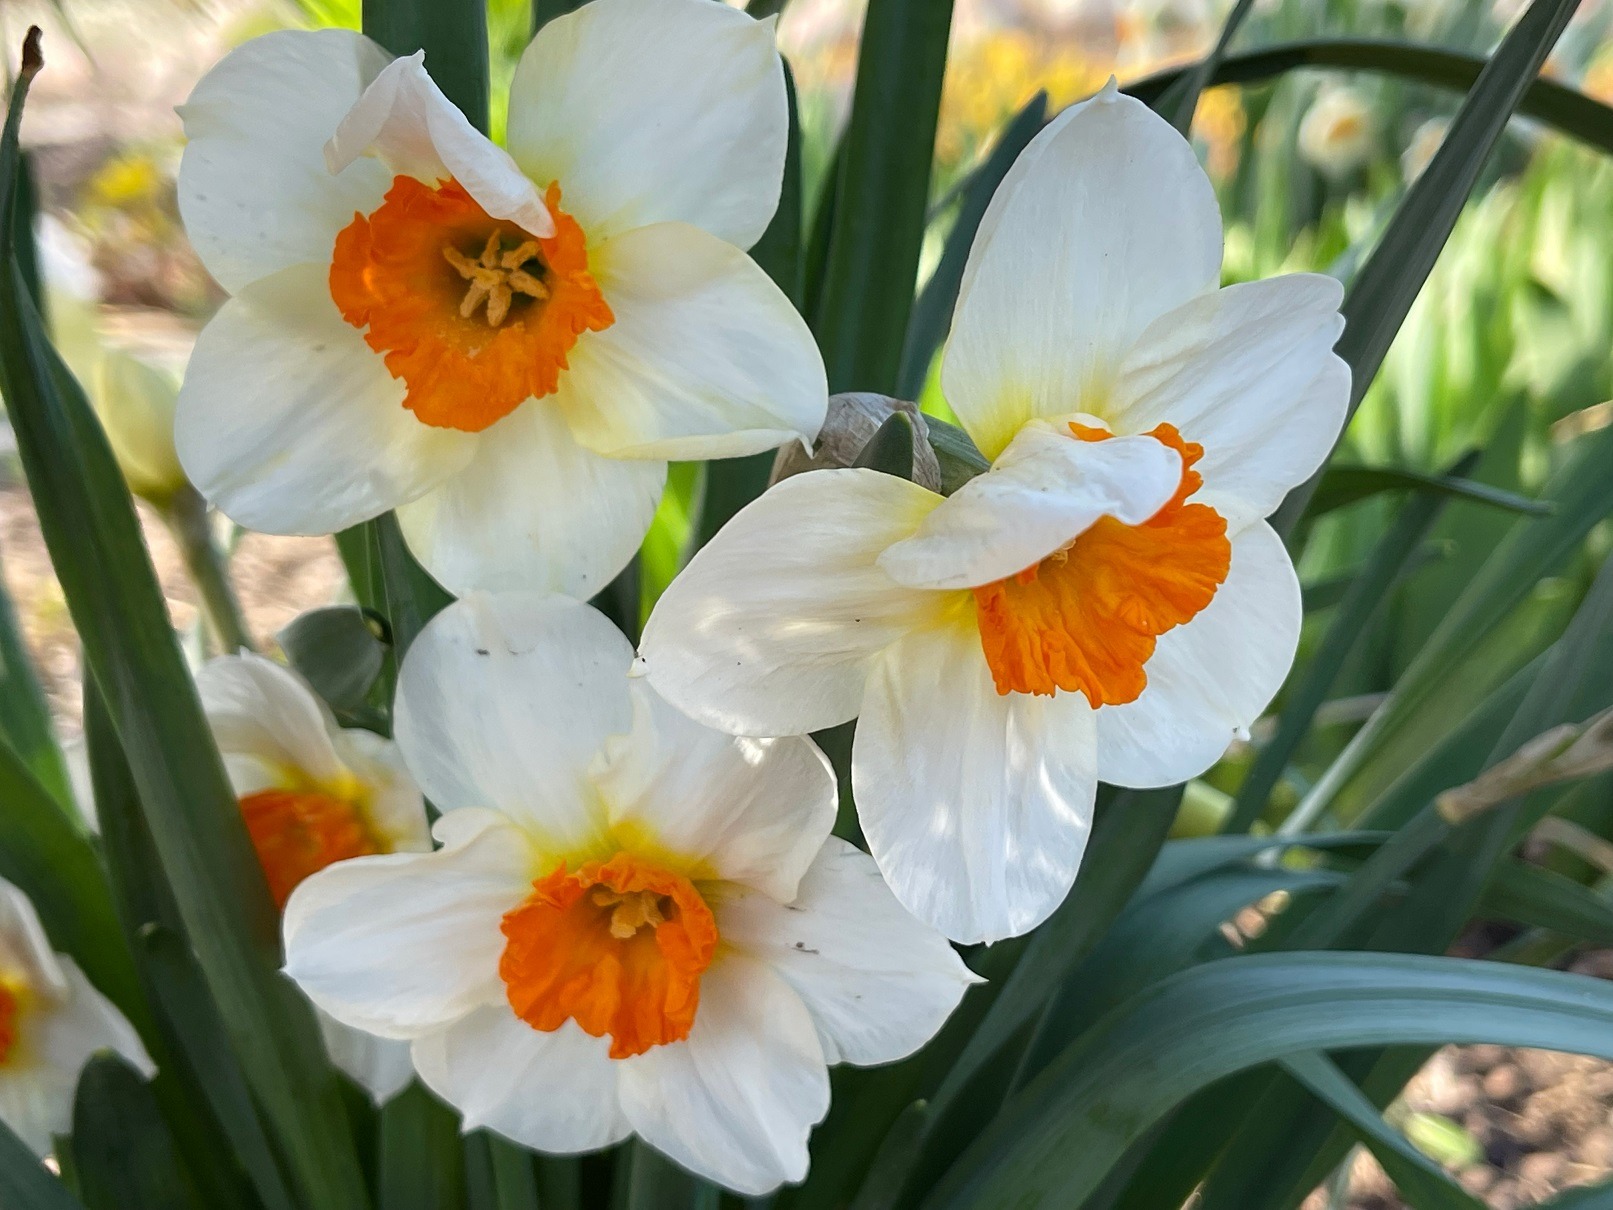
- All Daffodils have the same basic flower form: three outer petals called sepals, and three true petals called tepals. These six petals all together are called the perianth.
- The corona, or inner fused petals that form a cup, is the hallmark of each Daffodil variety. This cup holds all the reproductive structures. Some unique Daffodil varieties have double coronas.
- Daffodil classifications are based on the size and shape of the corona. If the cup is equal to or longer than the outer petals (the perianth), it is called a Trumpet Daffodil. If the cup is shorter than the perianth, it is called a Cup Daffodil.
- Daffodils are pollinated by wind and insects, such as bees.
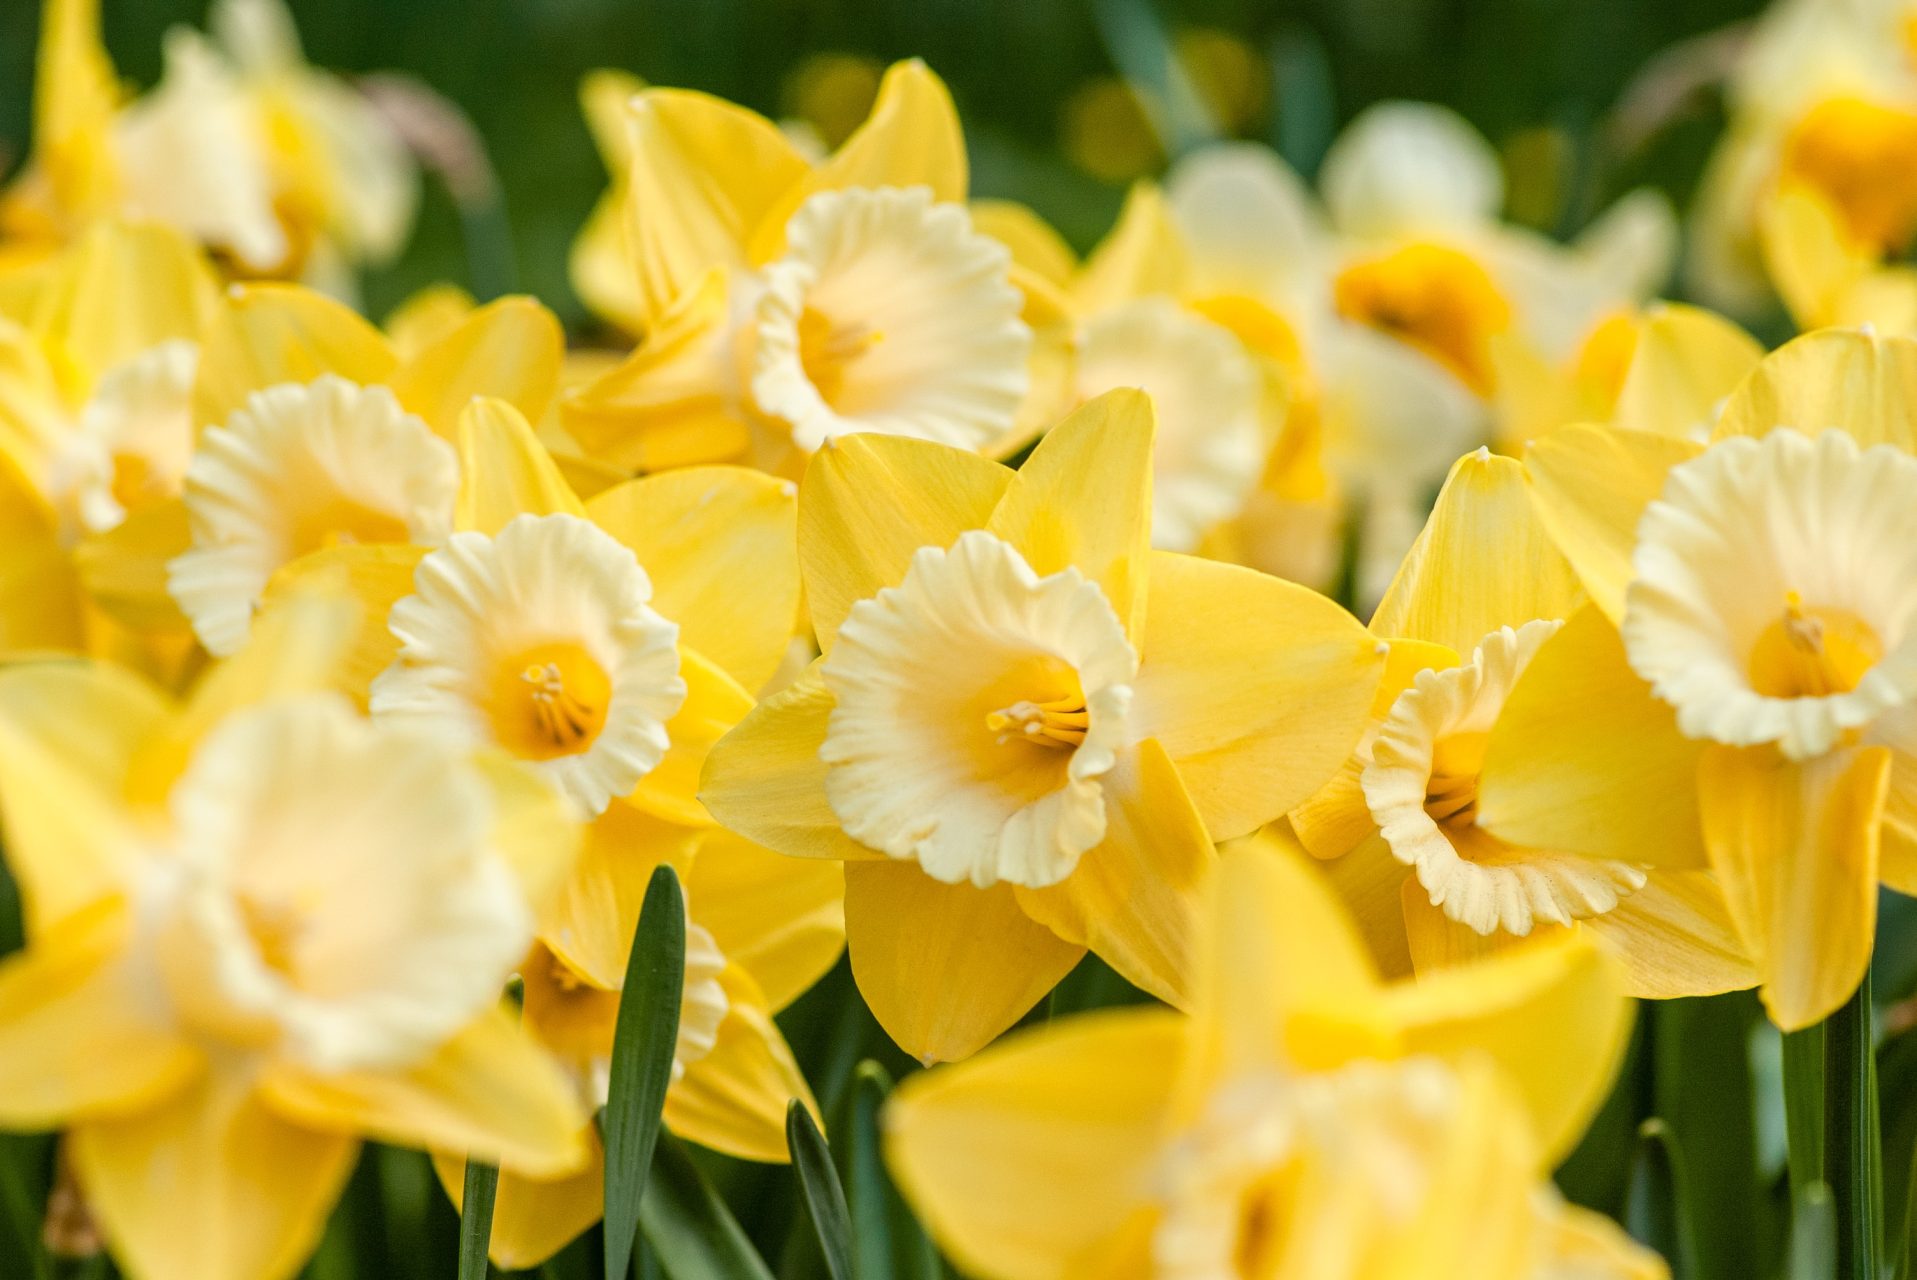
- Daffodils have a zone 3-8 horticultural growing zone rating and are divided into early, mid, and late spring bloomers. Some Daffodil varieties can flower in zones on the higher end of this spectrum for six months.
- All parts of the Daffodil are toxic to animals and humans; so deer, rabbits, and squirrels give them a wide berth. In addition, all parts of the Daffodil contain an alkaloid that causes vomiting related to gastrointestinal irritation and some dermatitis. Daffodils may not be a choice for gardens that have pets, and be sure to wash your hands well with soap and water after handling Daffodils.
When is the Best Time to Plant Daffodils?
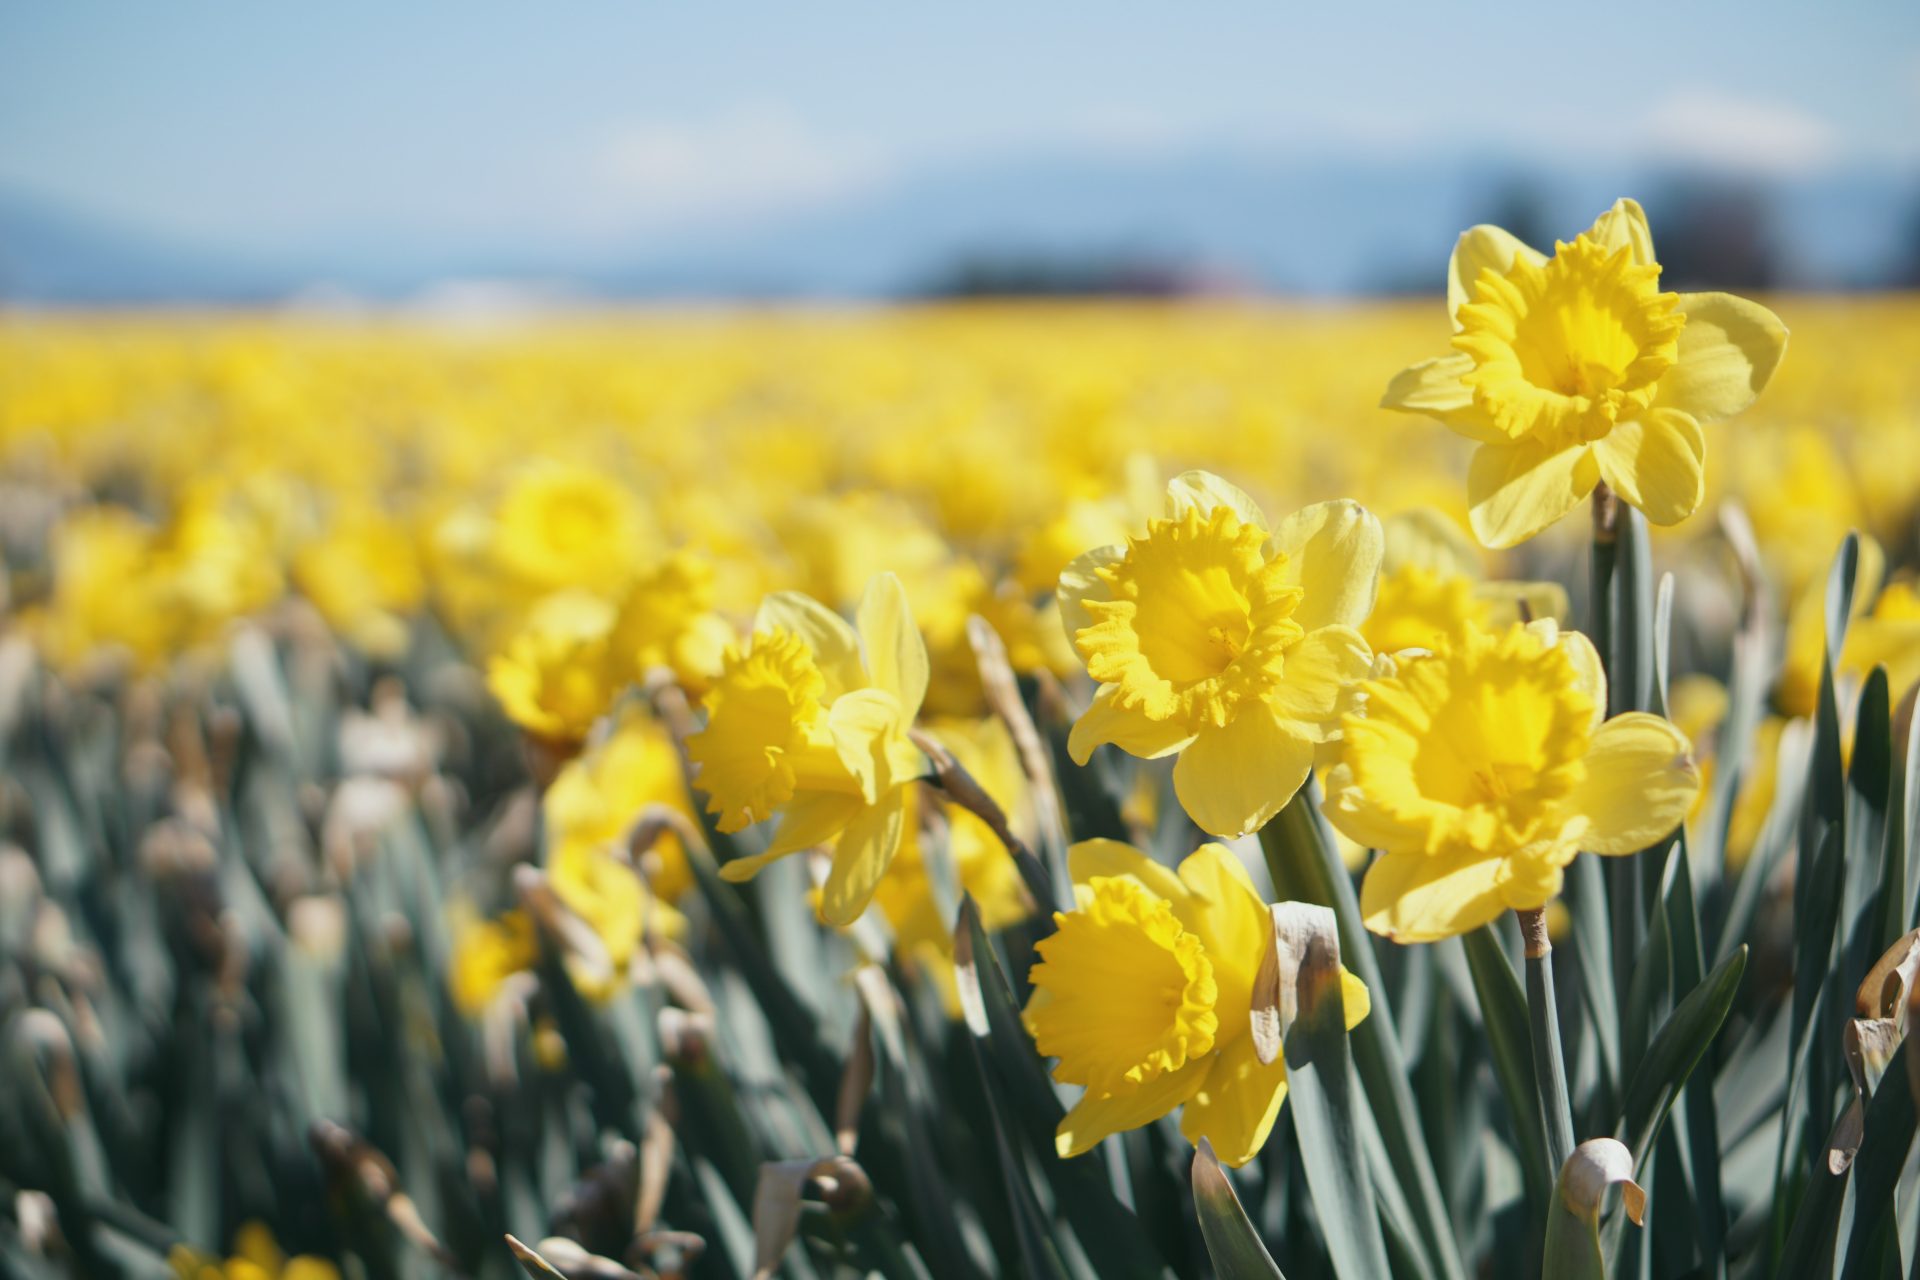
Daffodils reproduce most commonly in the form of bulbs. The best time window to plant Daffodils is mid-late September through mid-October for gardeners living in a zone 3-4 growing area.
Planting in the fall allows their roots to get a good start to support the rapid growth that occurs in spring.
Once the roots start, they require a cold vernalization period of 12 weeks before completing the rest of their development.
What is the Best Garden Site for Growing Daffodils?
Sunlight and soil conditions are the most critical factors in selecting a spot for growing Daffodils in a garden.
Daffodils grow best in full sun locations, meaning they like a minimum of 6 to 8 hours of sunshine.
Daffodils can also be established under or near trees because they’re usually done blooming before the trees leaf out. Deciduous and evergreen trees provide winter protection, but there may be competition for water and nutrients with the tree roots, so monitor the growth pattern of the Daffodils in case they are being compromised.
Soil drainage is key when determining a daffodil growing location. Choose a spot with a medium to heavy loam that holds water, drains well, and has good nutrients. Daffodils are susceptible to rotting in poorly draining soil.
What Does a Healthy Daffodil Bulb Look Like?
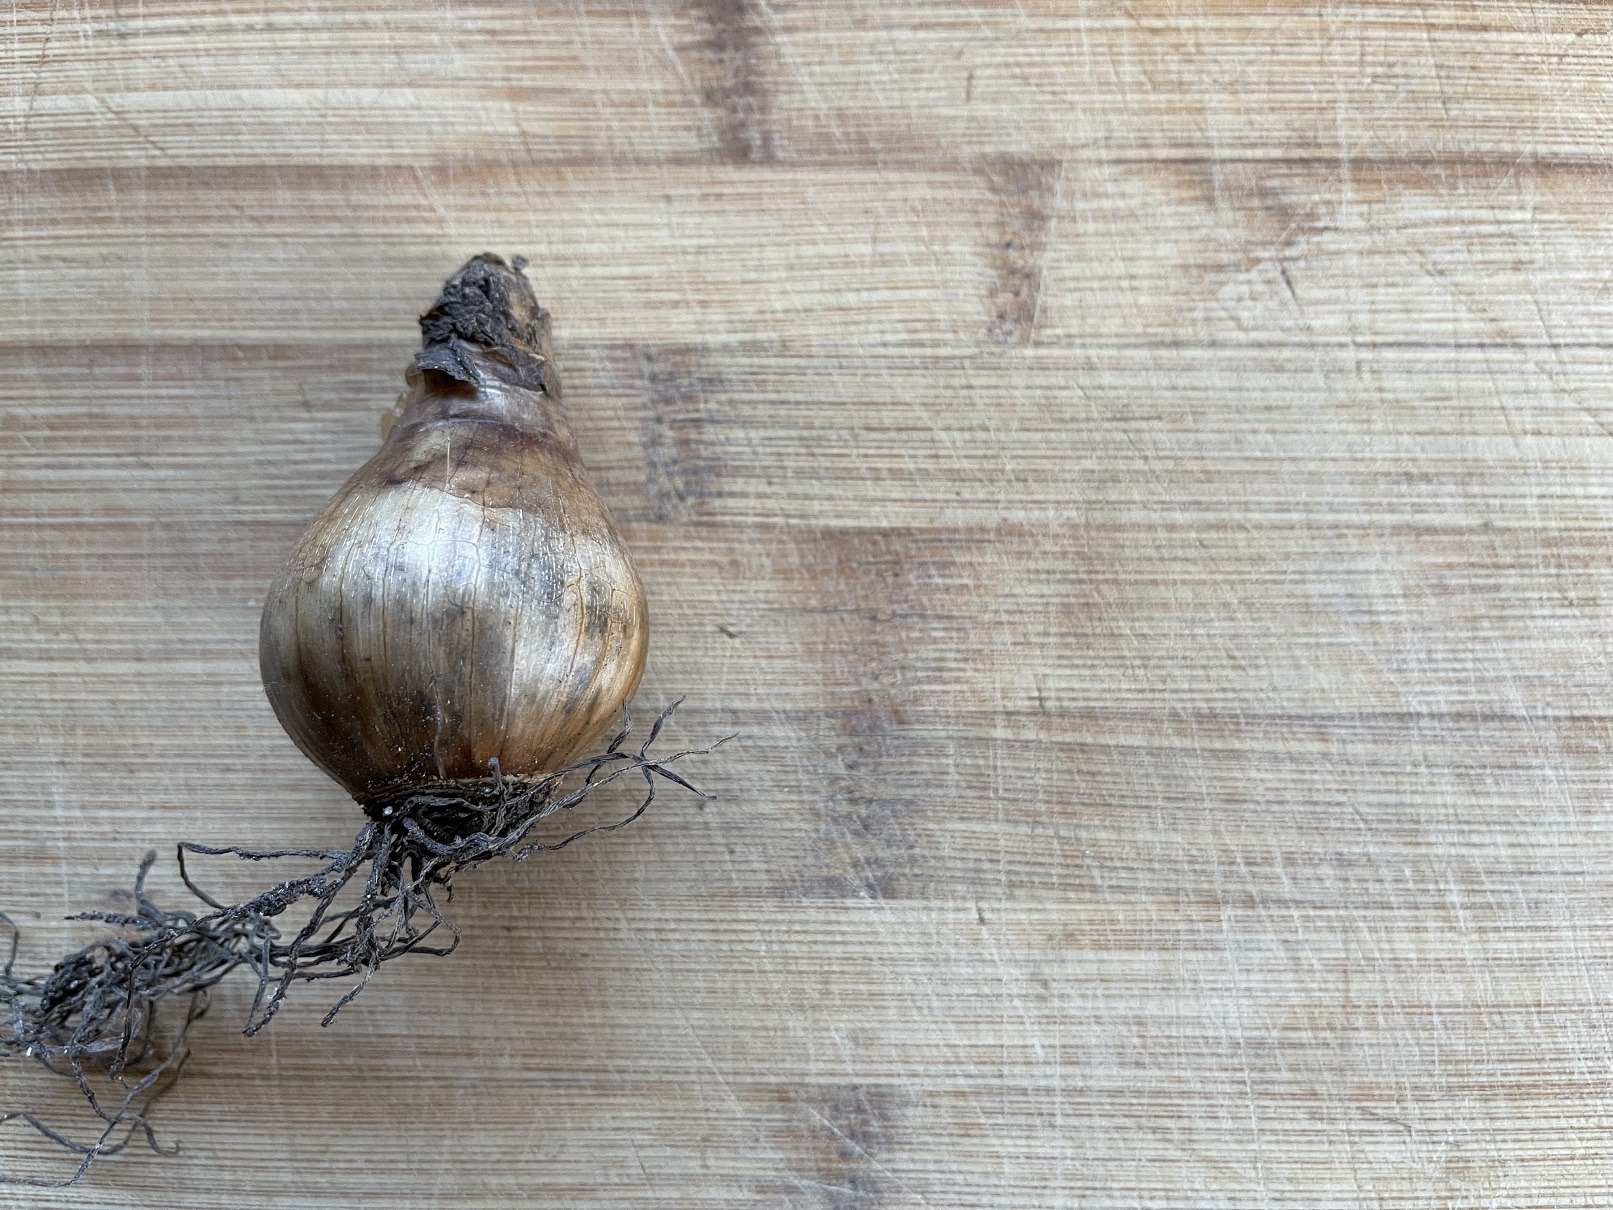
Bulbs are unique storage structures that provide energy and nutrients for the plant’s entire life cycle.
Bulbs release stored energy in the fall to start root growth in response to soil temperatures dipping below 12 C (55F).
After 3 months of vernalization (exposure to cold), Daffodils are one of the first flowers to burst into action in the spring before many trees develop leaves.
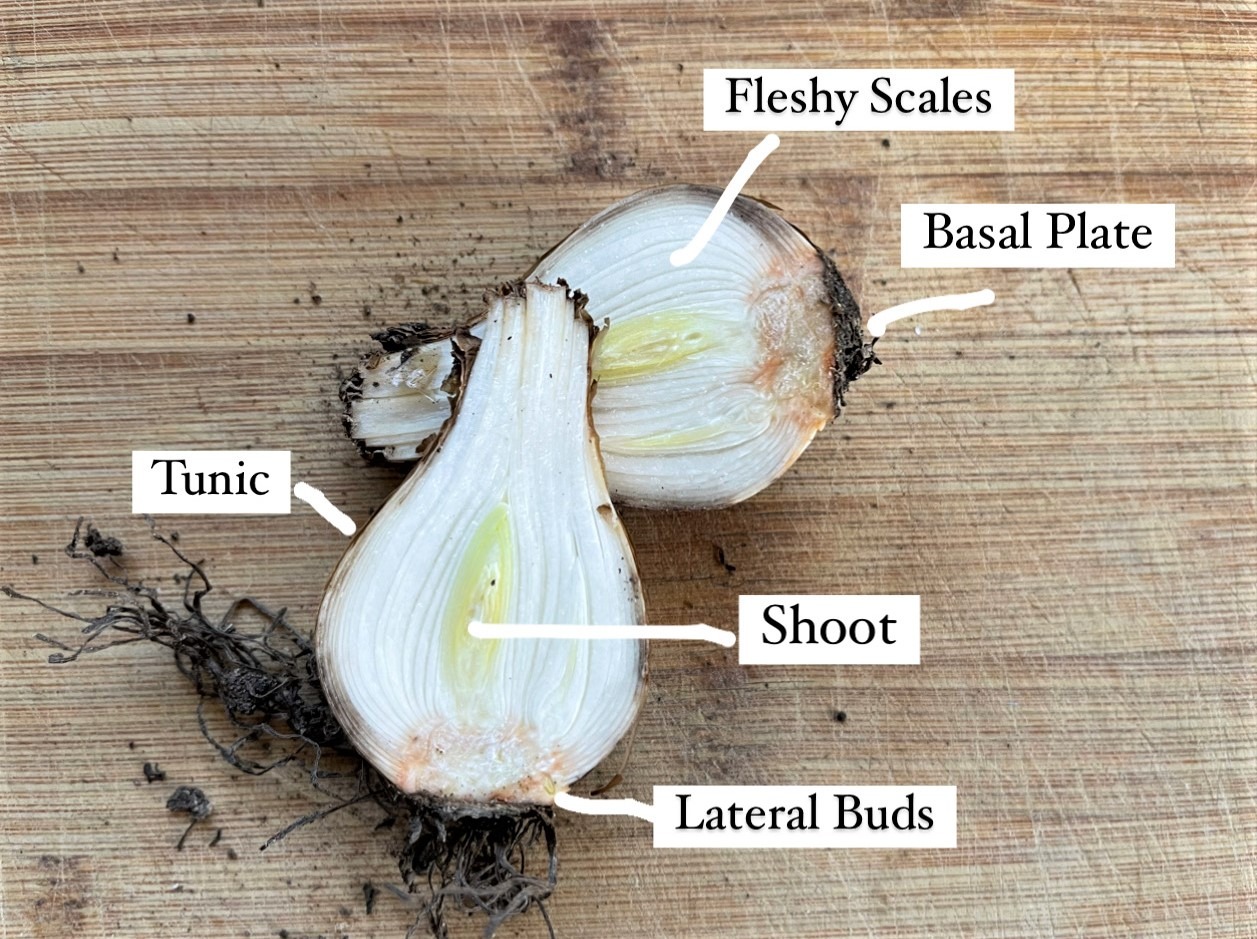
Daffodils are true, tunicate bulbs containing five main structures:
- Tunic – the papery outer layer or skin that protects the inner framework from dehydration.
- Basal Plate – the bottom of the bulb where roots develop and grow.
- Shoot – this is a structure inside the bulb that contains the leaf buds and the undeveloped flower bud that extends to the top of the bulb where the leaves and flower bud will eventually emerge.
- Fleshy Scales – these structures are the central nutrient storage units.
- Lateral Buds – located near the basal plate, these grow into offsets or bulblets.
Healthy Daffodil Bulbs Should:
- have dry, intact tunics that feel papery and snug against the bulb.
- feel firm and unbruised – soft bulbs are suspect of rot.
- be free of any mold.
In the Daffodil world, big bulbs equal large flowers, so look for sizeable, healthy Daffodil bulbs as they come for sale in late August and early September.
How to Plant Daffodils Step by Step
Planting Daffodils is very similar to planting Tulips. They are similar in size, so the planting dimensions are the same, but Daffodils and Tulips differ in their need for fertilizer.
Do Daffodil Bulbs Need Fertilizer?
Daffodil bulbs aren’t as fond of supplemental fertilizer as Tulips. There are several differing opinions on the subject, from using no fertilizer supplementation to just a little, so let’s talk about that here.
If the Daffodil bulb’s basal plate and roots have direct contact with fertilizer, it can injure them, the roots stop growing, and cause the bulb to rot. Here are a few different recommendations:
- The Missouri University Extension recommends using low NPK ratios like 1:4:4 or 1:3:3 and mixing any fertilizer well into the soil at the base of the planting hole.
- The University of Vermont recommends some light phosphorous supplementation by adding 1/2 tsp of bone meal into the bottom of the hole and mixing it well so the phosphorous doesn’t directly touch the roots.
Ultimately, I encourage you to choose which approach you would like to take and document what you do so you will know what works in your garden space.
Related: How to Understand Fertilizer Labels
Let’s Talk about Planting Daffodil Bulbs:
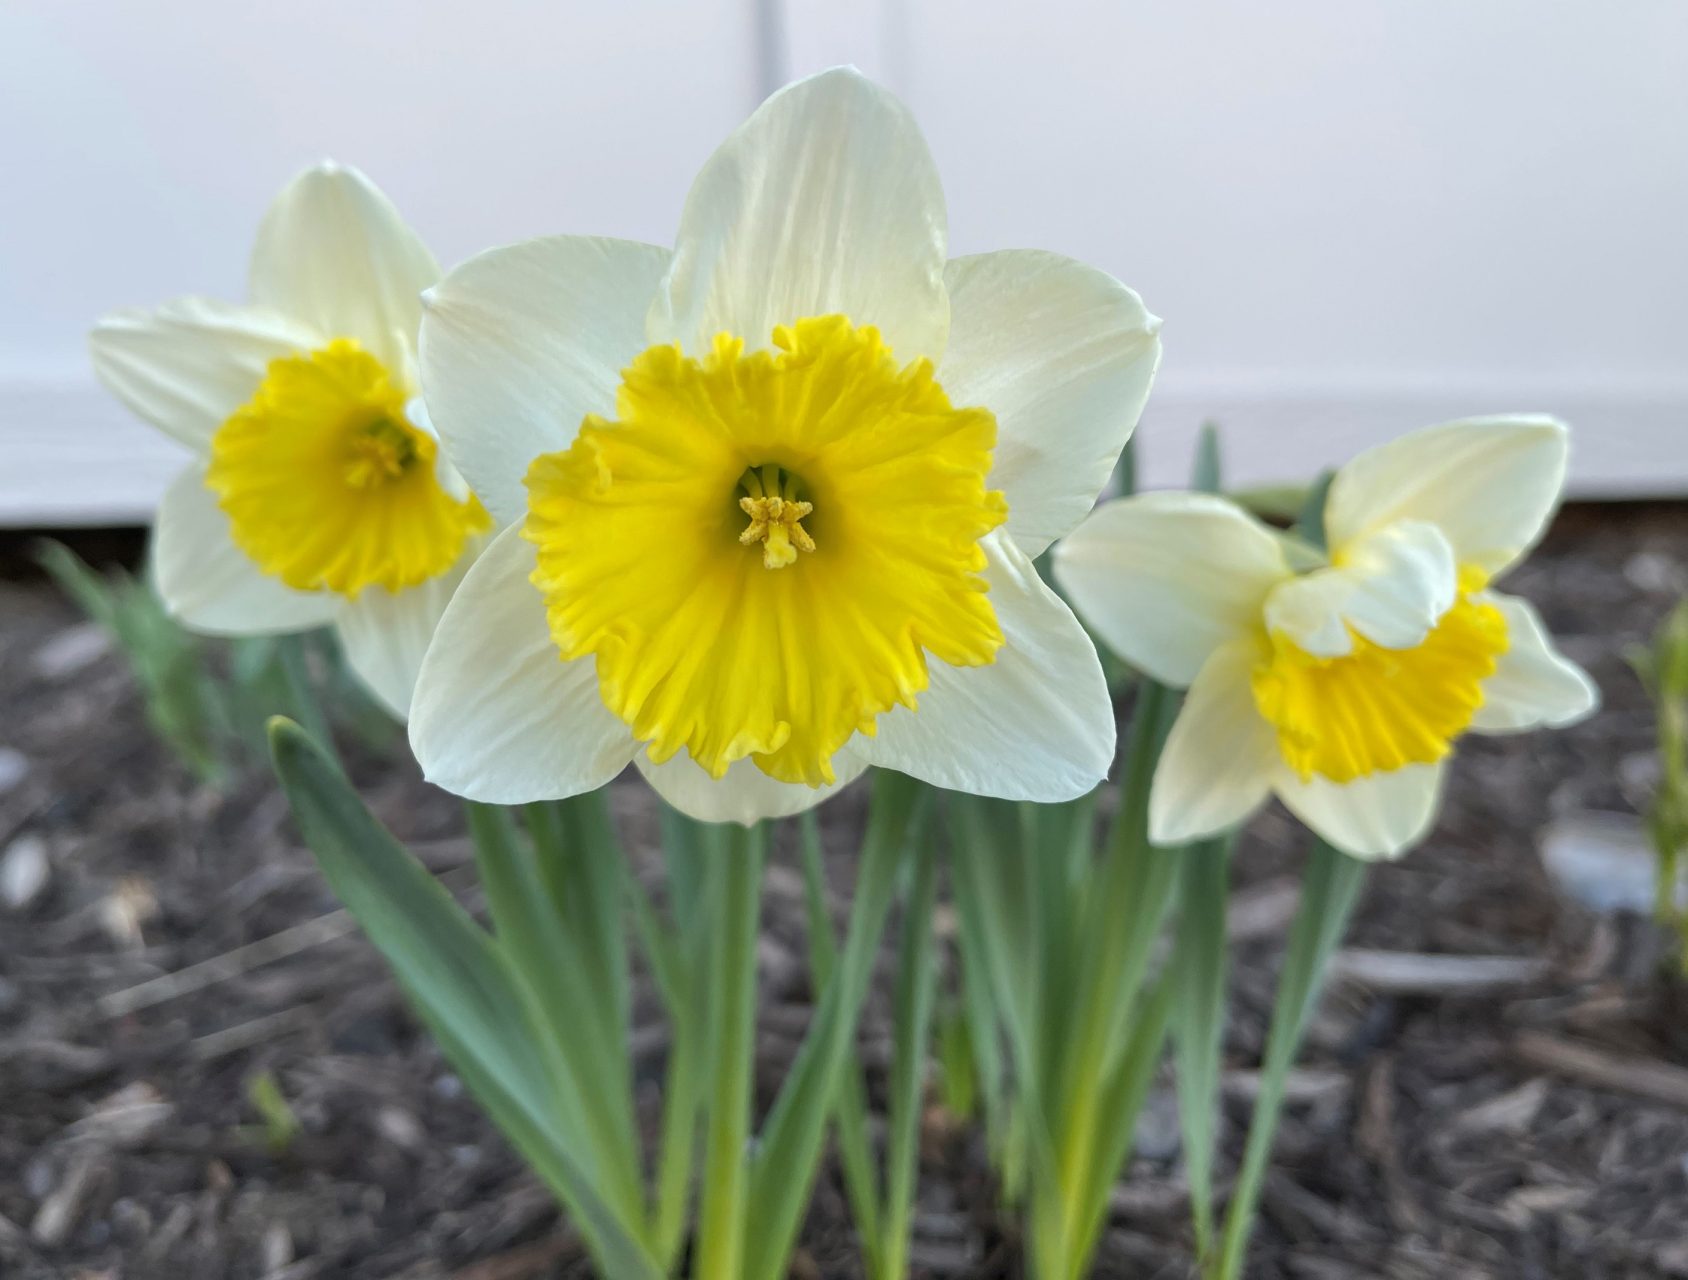
Step 1: Organize the Daffodil bulbs on the soil surface to plan the planting site. Daffodils may be planted in groups or singly. If you are growing in groups, check that you have them placed at the correct distance. Daffodil bulbs should be planted 15 cm (6″) apart.
Step 2: Dig the Daffodil planting hole 20-30 cm (10-12”) deep. Work the soil until it is soft and malleable so the roots will have no difficulty growing deep and wide.
Step 3: Add fresh potting soil to the correct depth for the Daffodil bulbs. Daffodil bulbs should be planted twice as deep as the bulb is wide. That translates to about 15 cm (6″) deep. If you would like to use fertilizer at this point, this is where you would add it and mix it well so that it doesn’t touch the basal plate.
Step 4: Arrange the Daffodil bulbs in the hole as you had planned in step 1, keeping the pointy side up. This structure is the shoot where the leaves and buds will emerge.
Step 5: Cover the bulbs and fill in the hole 1/2 way to the soil surface.
Step 6: Saturate the soil with water until it penetrates to the bottom.
Step 7: Cover over the hole until it is even with the surrounding soil.
Step 8: When the weather starts to cool in zone 3-4, cover this spot with a 10-15 cm (4-6″) layer of mulch for insulation during the winter months. Daffodils need 12-13 weeks of cold to initiate growth in the spring. Mulch also decreases weed competition and keeps soil temperatures and moisture consistent.
Related: What is Mulch? Making Garden Magic with Mulch
Step 9: Remember to label your site, so you know who is growing there next spring!
Caring for Daffodils Through the Growing Season
Daffodils require very little care in the spring, and they are one of the first plants to herald spring’s arrival.
Here’s how to Promote Healthy Daffodil Growth:
Check the soil for moisture and water as needed. Daffodils need water during their bloom season and, for a short time afterwards, to keep them actively growing and developing their bulbs.
Deadhead the old flowers so they can focus on bulb growth following their period of blooming.
Allow the Daffodil leaves to die back naturally so they can continue to photosynthesize to feed and strengthen the bulbs. Cutting off old foliage will decrease nutrients to the bulb.
Once the Daffodil foliage has died back, allow the patch to dry and do water any longer.
Decreased Daffodil blooming and flower size are signs that the Daffodil bulbs are getting overcrowded and need dividing, or they aren’t getting enough sunlight.
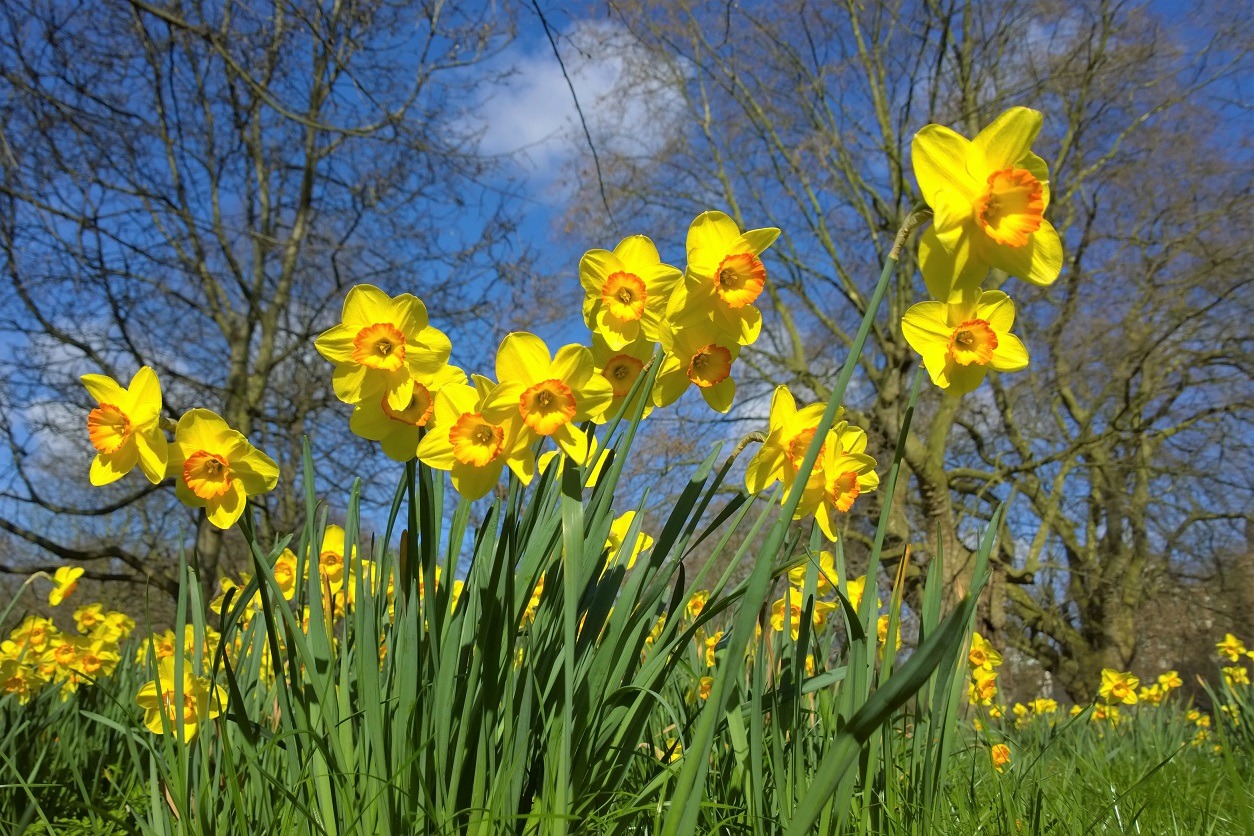
Tips for Dividing Daffodils:
Daffodils don’t like to be crowded, which causes flower size and flowering activity to decrease.
The general recommendation is to divide Daffodil clumps every 5 years.
Divide Daffodils when they are dormant; you know they are dormant by yellowed and dried leaves. Dig up the entire clump and dry them before replanting.
The greatest problem for Daffodil bulbs is rotting, so keep the bulbs cool at 15-20 C (60-68 F) and dry after they have been divided. Do not divide the bulbs at this time. Laying them flat and layering them between pieces of newspaper helps with this.
To the actual bulb division just before replanting in the fall.
Caring for Daffodil Cut Flowers
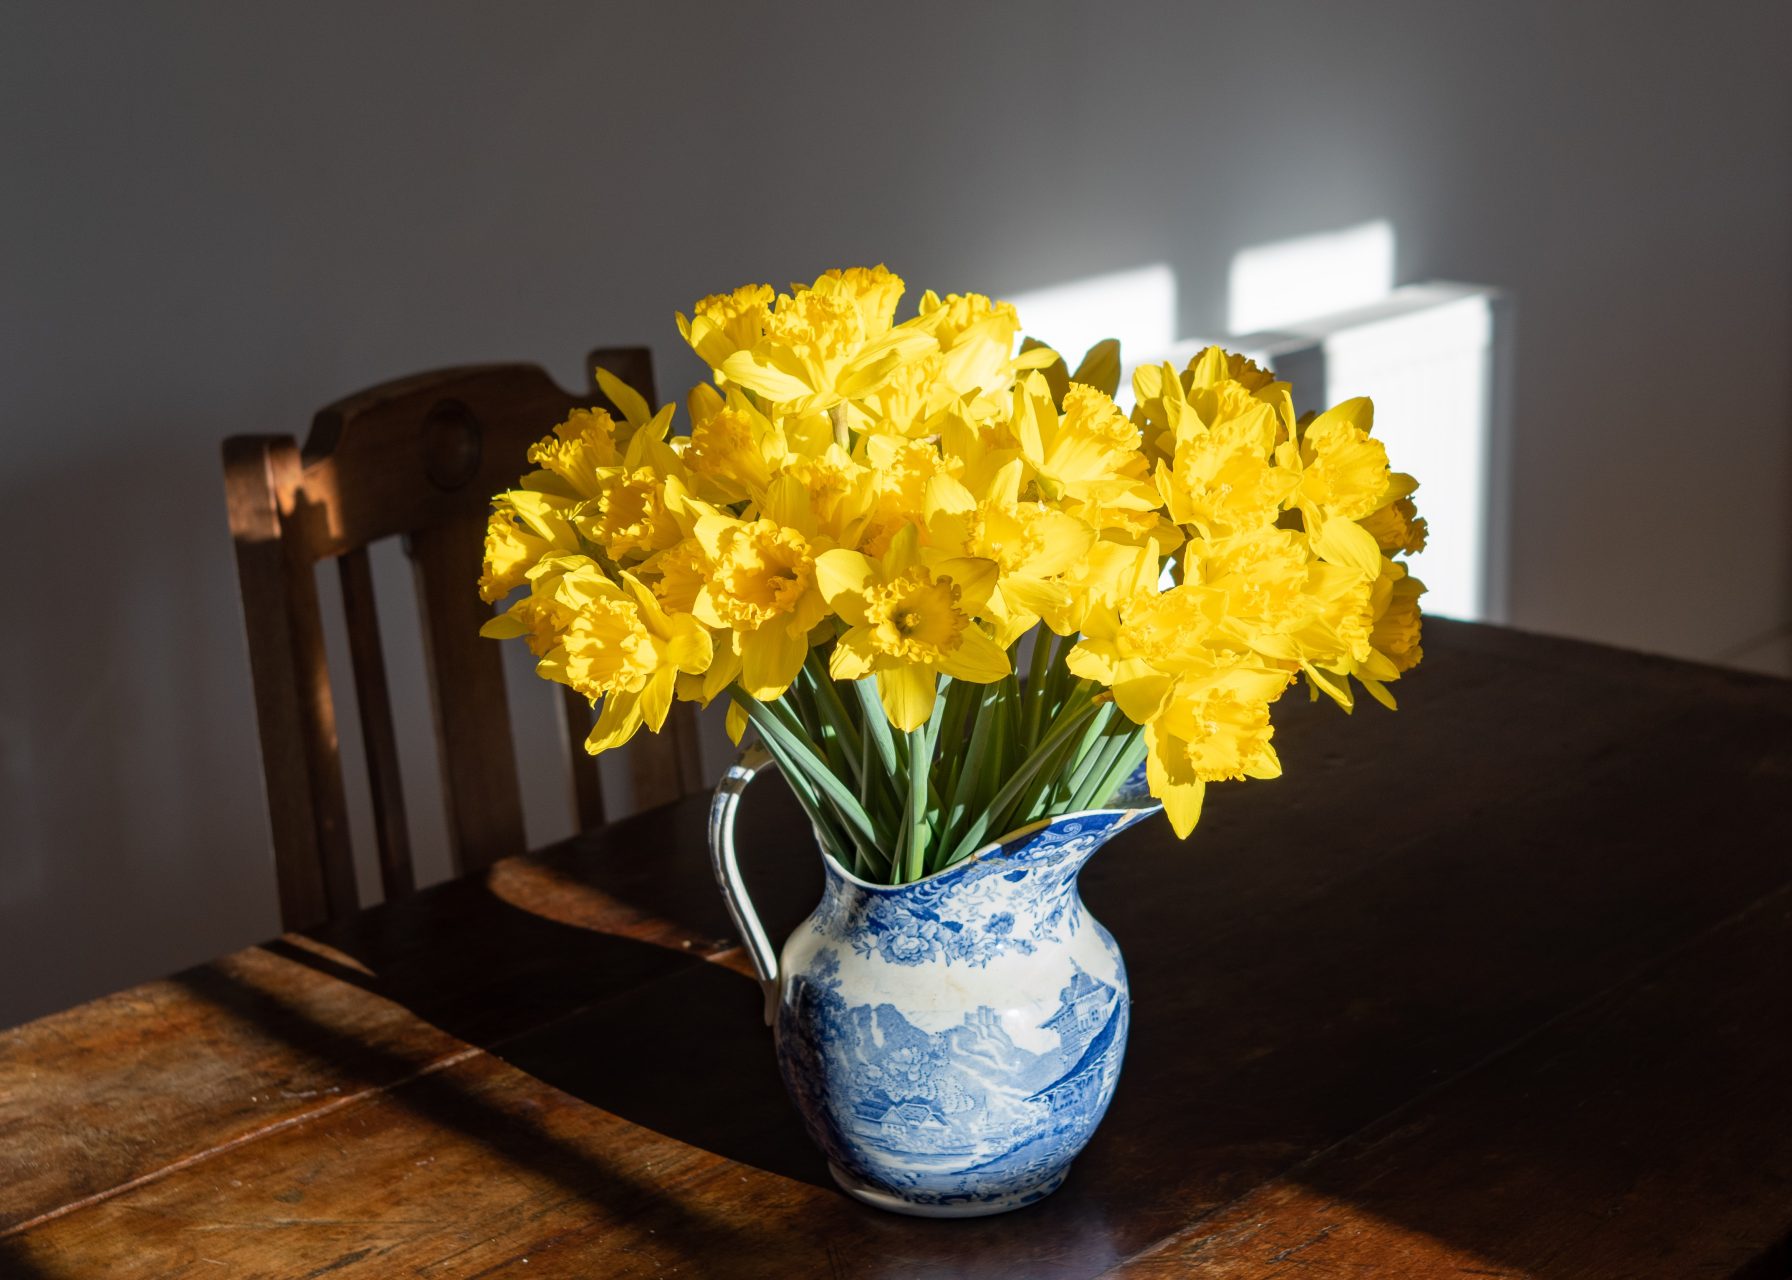
Daffodil flowers make good cut flowers. Although Daffodil cut flower shelf life varies among varieties, here are some tips to maximize the time they look fabulous in a vase.
As always, pick fresh cut flowers early in the morning and use clean, sharp tools, and clear, fresh water.
Related: The Best Secrets to Making Cut Flowers Last
Harvest single Daffodil flowers when they are young and in the ‘gooseneck stage’ when the bud bends down to a 45° angle from being straight upright. The spathe surrounding the flower should be split with the tips of the tepals just starting to emerge.
- If they are harvested earlier, in the ‘pencil stage’, when the bud is in line with the stem and the spathe hasn’t split, they may not open.
Double Daffodils are picked a little differently, it is best to wait until they are halfway open.
Daffodil sap is harmful to other cut flowers, so Daffodils need a special treatment, called conditioning, before adding them to a vase of mixed cut flowers.
Place newly cut Daffodils separately from other flowers in a vase of cool, clean water for a few hours as the sap releases from the stem. Once they are done conditioning, rinse off the stems with fresh water and the Daffodils may now be added alongside other blossoms. Discard the Daffodil water and wash the vase well to prevent any contamination later.
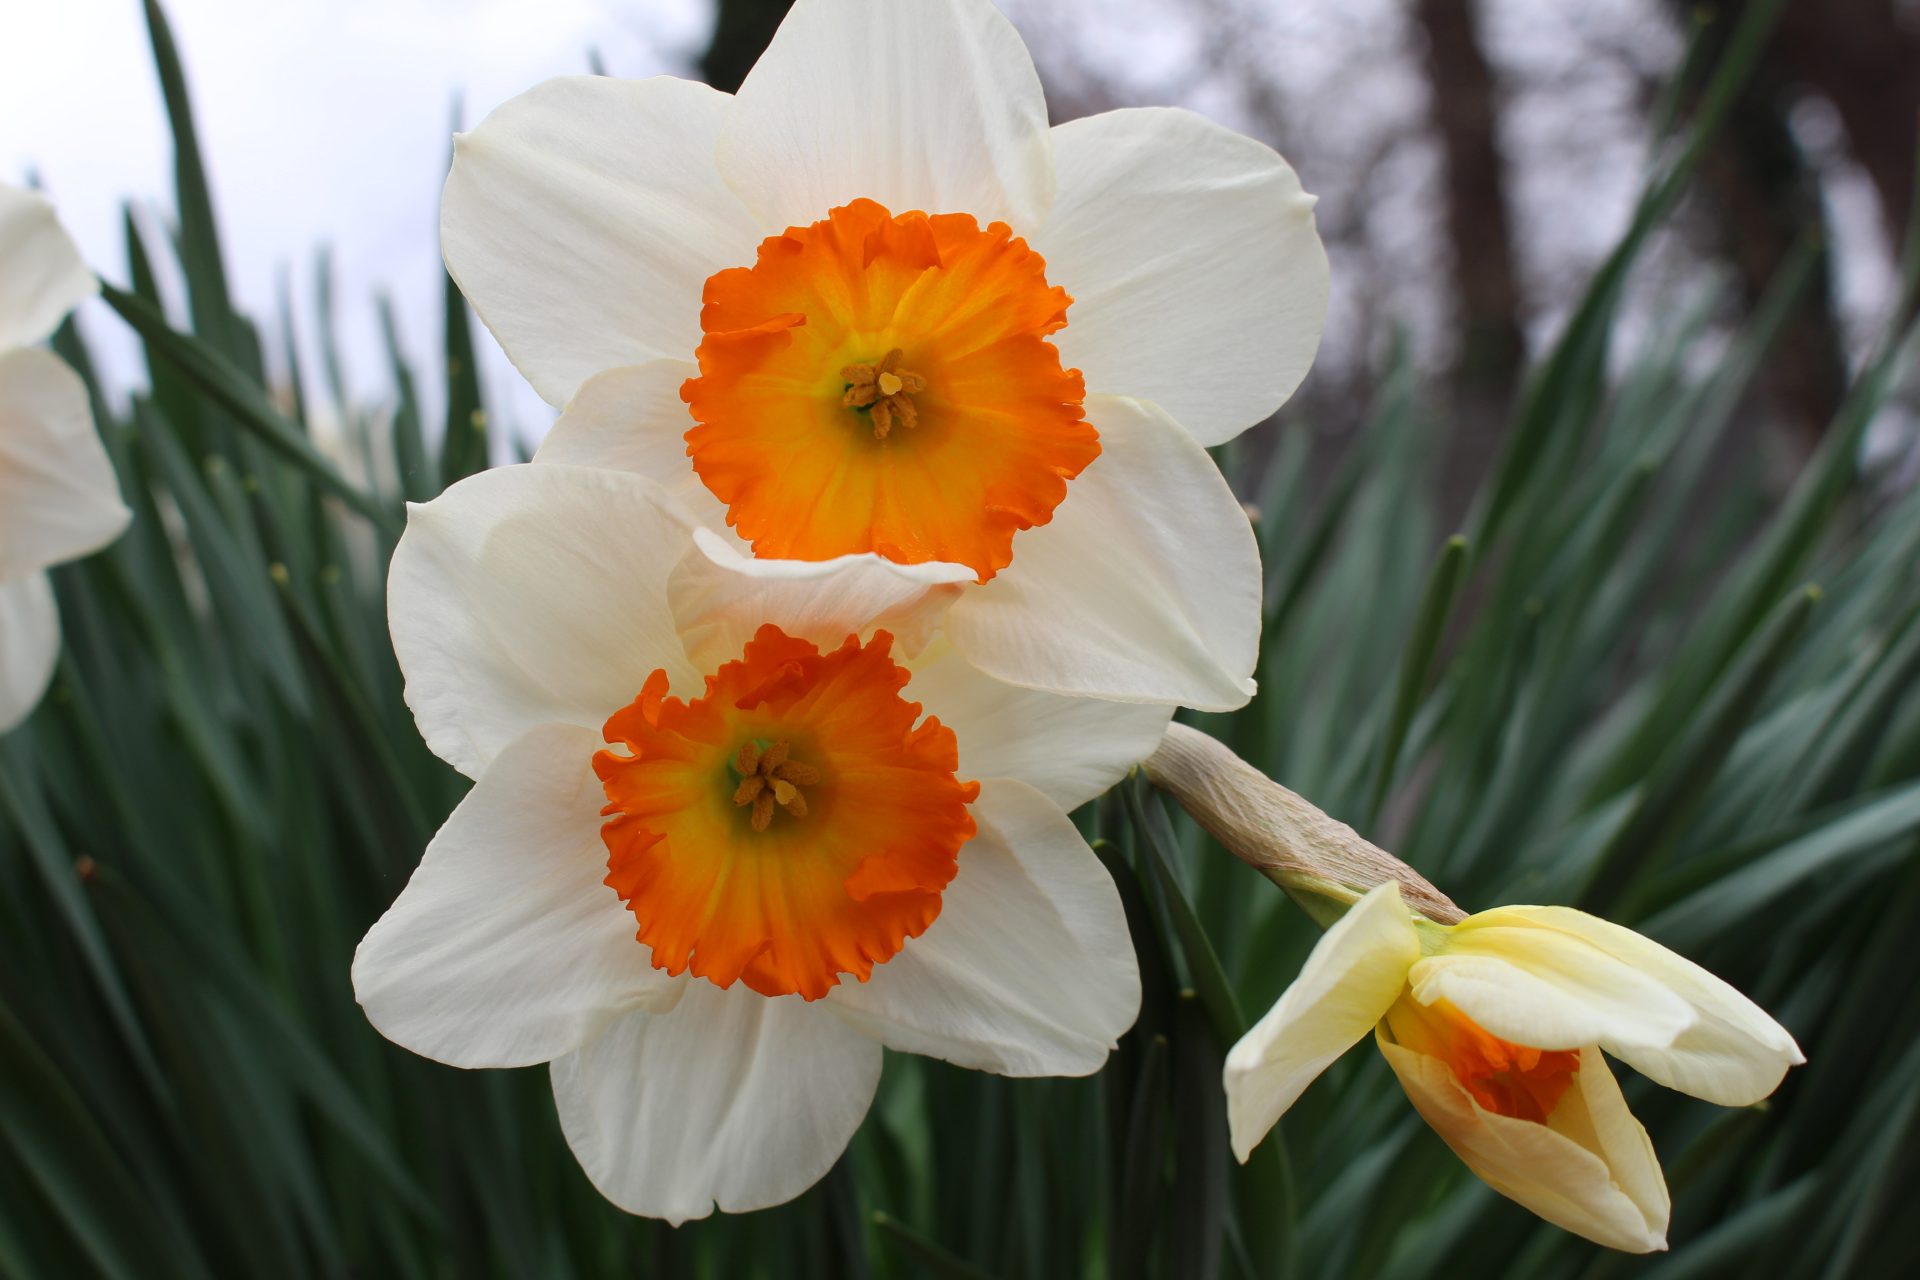
Have You Tried Growing Daffodils?
Each fall I tuck a new Daffodil variety into my garden and each year I learn more about growing them. I encourage you to give it a whirl and discover new, fun, and delightful Daffodil varieties that will grow in your location!
©Sharon Wallish Murphy ©Gardening with Sharon


