Garlic has become a trending staple for many home gardeners because of its simplicity to cultivate, its health benefits, and its role as a natural garden pest repellant — plus it’s delicious!
While garlic is simply to cultivate, there are some things that can be tricky when harvesting and curing it. If you want to ensure that your homegrown garlic has the best flavour and longevity, here are some tips on how and when to harvest and cure your garlic.
When to Harvest Garlic
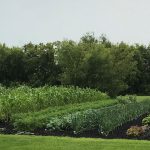
Garlic is a long-season crop that is planted in the fall to make its first roots. It pauses its growth as it overwinters in the soil, sprouts again in the spring, and develops its cloves to be harvested in mid-August.
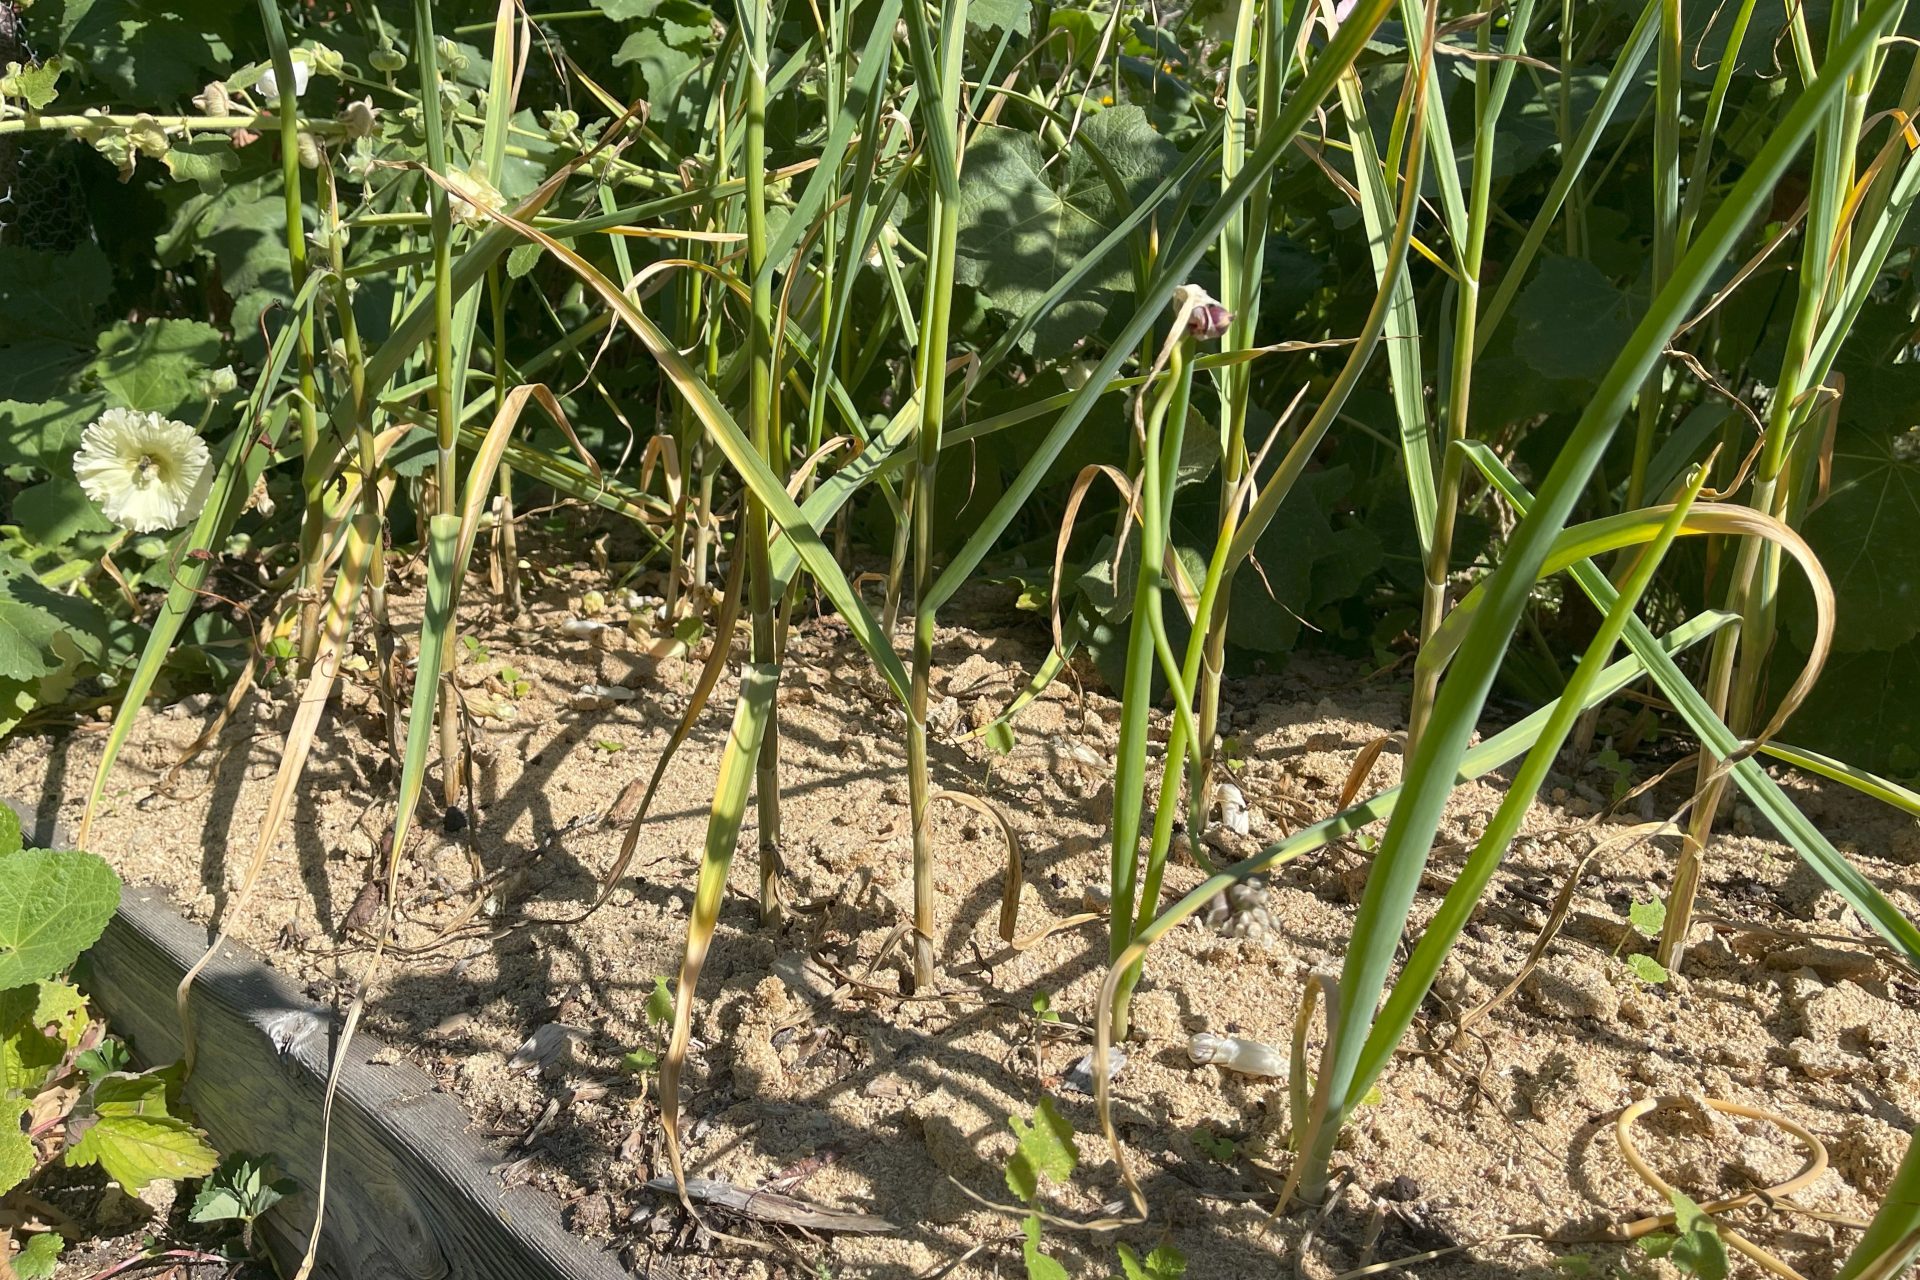
Garlic is typically ready to be harvested when half of the lower leaves are dried, usually around 3-5 weeks after the scape has emerged and been removed.
What is a garlic scape?
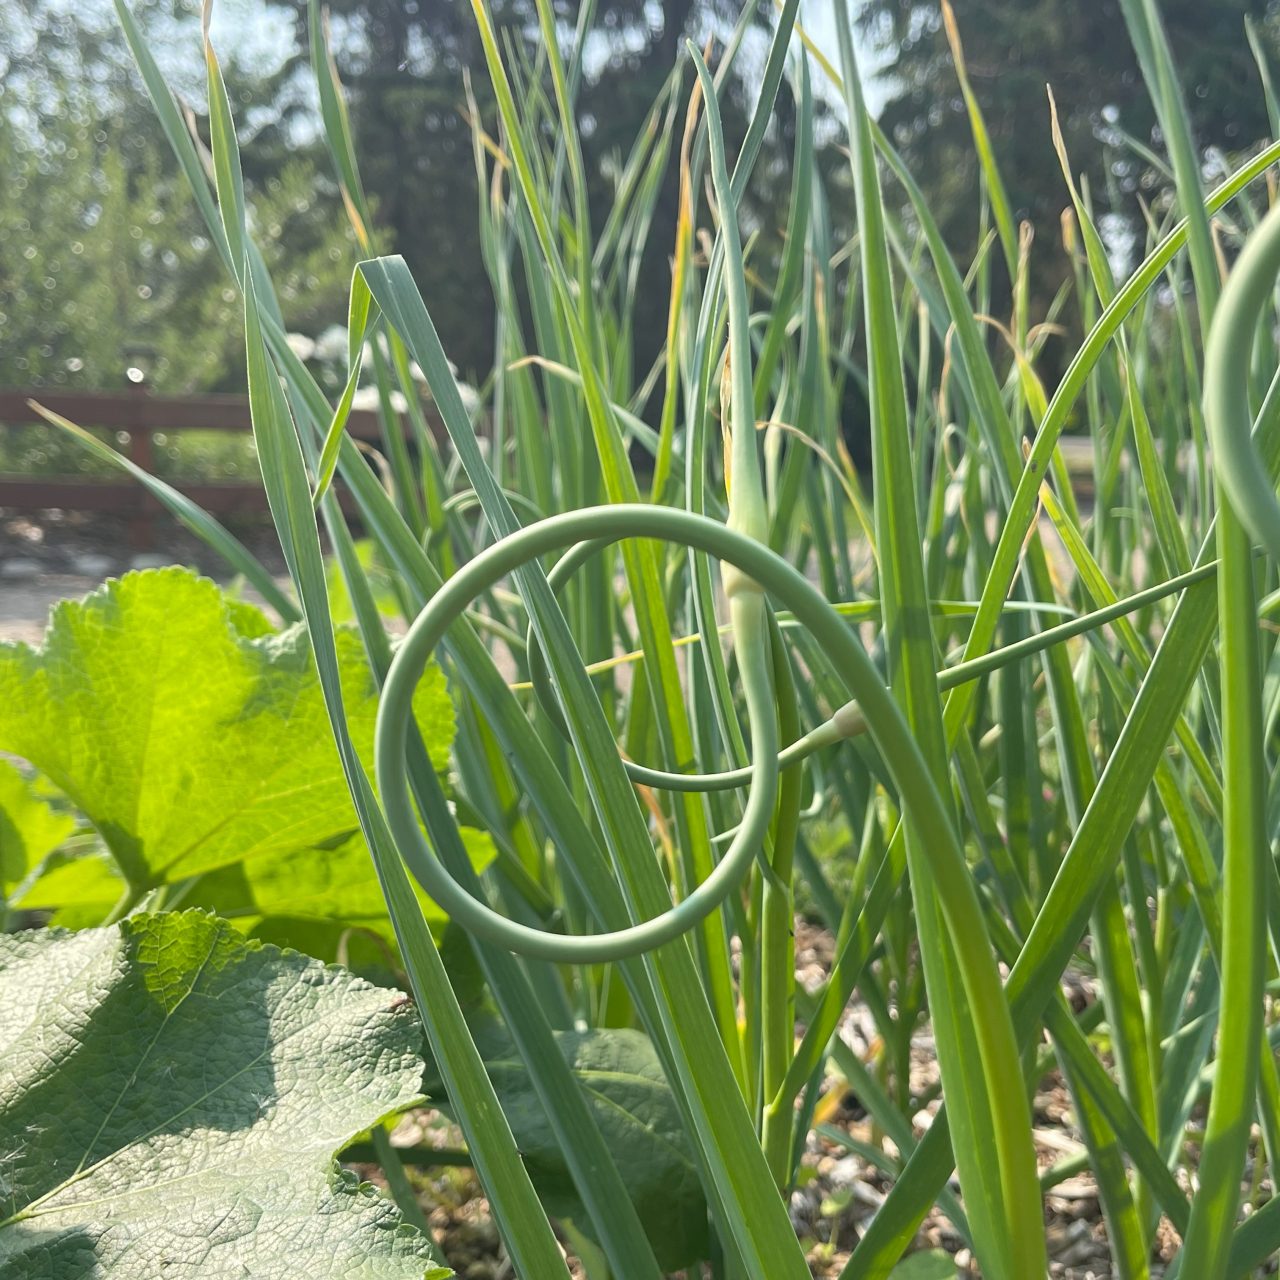

- Garlic scapes are the curly, green shoots that emerge from a garlic bulb as it grows. Snip these off to allow the garlic plant to send its energy to form the bulb.
- Garlic scapes are packed with flavour and offer a milder, sweeter taste compared to traditional cloved garlic.
- They can be used in a variety of dishes, such as pestos, stir-fries, or simply roasted as a side dish.
- They also can be used fresh in salads or as a garnish for a pop of flavour.

Each growing season is a little different, and sometimes garlic crops can be a mixed bag. Some stalks can be completely dried while other stalks can have leaves with just a few dried leaf tips.
Last year, I harvested my garlic in mid-summer, but I decided to wait a little longer until the end of August, and it paid off because I have some really lovely cloved heads!
If you wait too long to harvest, the outer skin, called the tunic, may slacken, and garlic bulb tunics play a critical role in long-term storage.
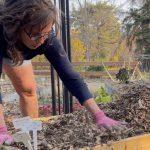
How to Harvest Garlic Bulbs From the Garden
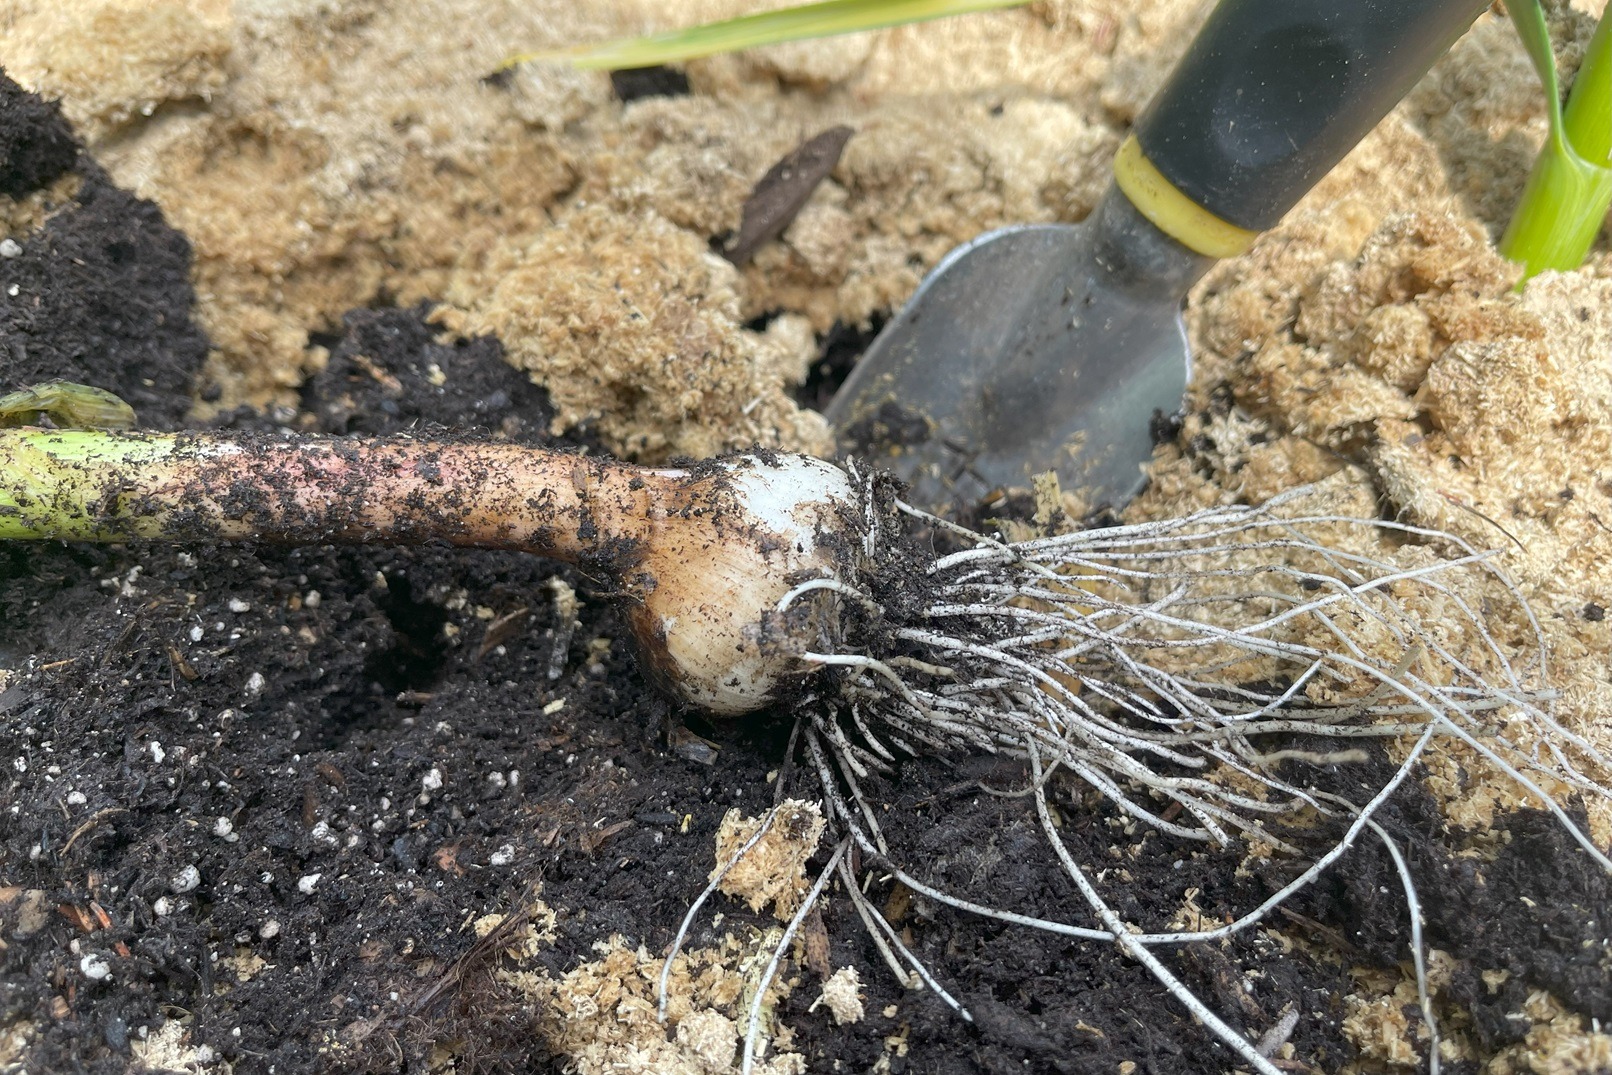
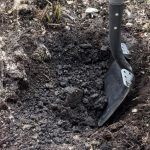
Garlic grows deep, so use a trowel or small garden fork to gently break up the soil around the bulb, being careful not to damage the tunic or scrape the bulb.
The roots that extend from the bulb are quite lengthy, so if they aren’t loosened, they may break off the necks.
Grasp the garlic stalk and pull the bulb straight out of the soil. Avoid any twisting to prevent damage.
Shake off excess dirt from the bulb, and NEVER wash the garlic you intend to store, as the moisture can lead to rot during curing.
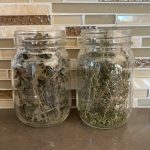
How to Cure Garlic
The next step is to dry the garlic, which is called ‘curing’.
Curing garlic is a game-changer for a few reasons:
- Cured garlic develops a mellow, milder, sweeter flavour and smooths the bite garlic offers when taken directly out of the garden.
- This transformation makes it perfect for a variety of dishes, from roasted vegetables, garlic confit, pasta sauces, and dressings.
- Proper curing improves garlic’s storage shelf life. By allowing garlic to cure, it can be stored for several weeks or months, depending on your climate.
- Cured garlic has a more pleasant, smoother texture.
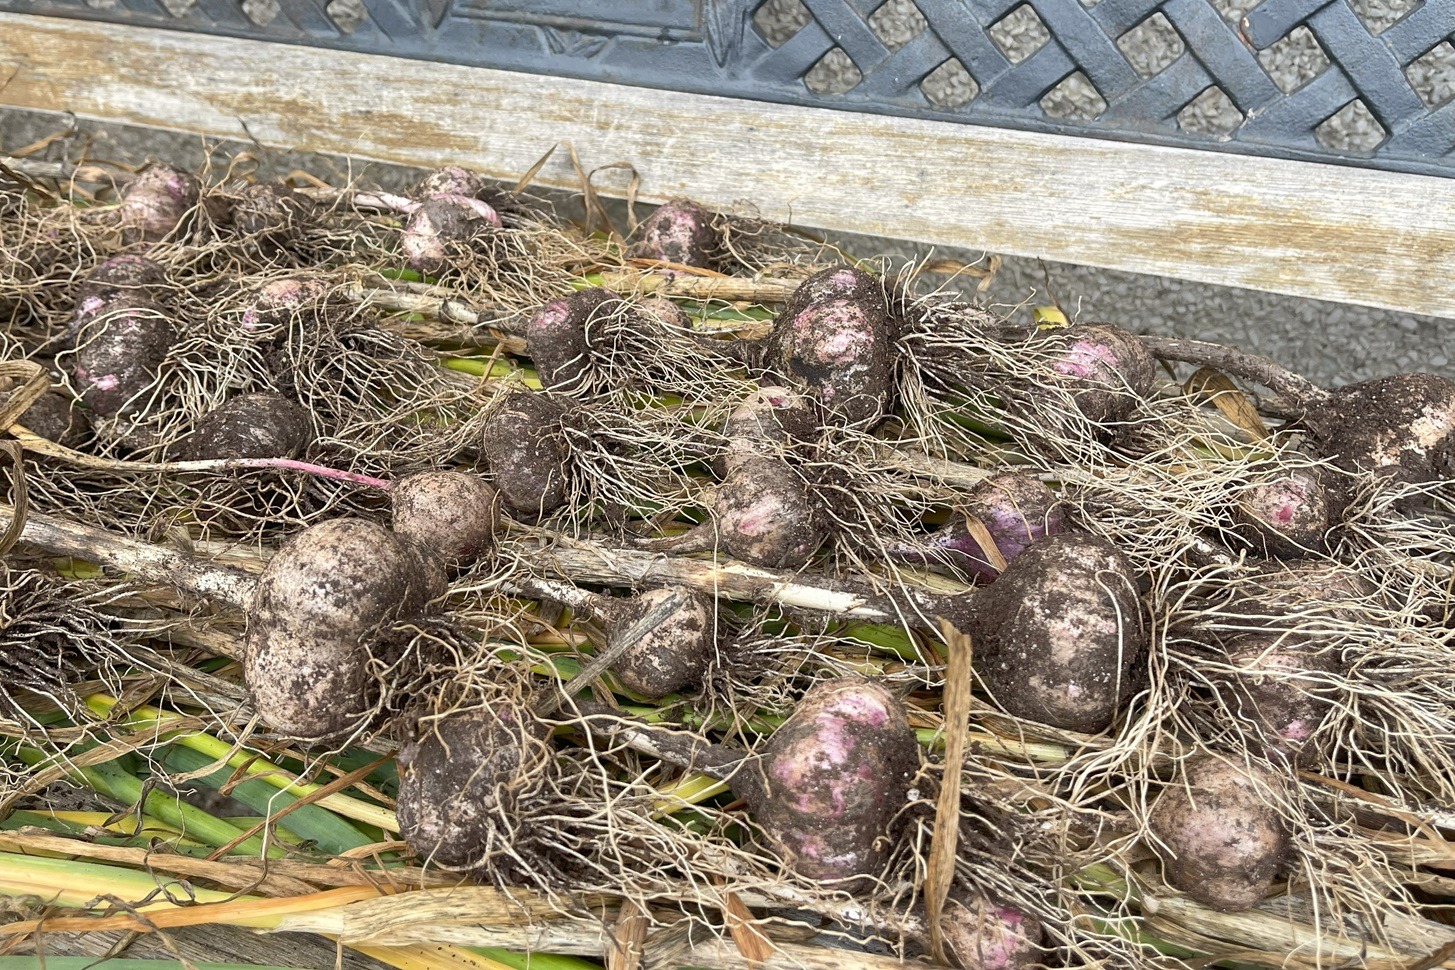
Find a sheltered spot with good air circulation to cure garlic in a spot that hovers around 20 C (68-70 F).
I have an outdoor bench with slats offer good air circulation next to my house that stays out of the rain to start the curing process. I then place the garlic in rows, layering it on top of each other.
When the soil on the garlic dries, I take them downstairs, where it is dark and dry and the temperature is stays as recommended above.
It should take 2-3 weeks for the roots, necks, and sheaths around the bulbs to dry.
Once cured, I will trim the roots and tops and store the garlic heads in a cool, dark place.
The Circle of Garlic Life Continues
Make sure to keep the best cloved heads to replant in a few weeks for next year’s garlic crop, and the rest I’ll enjoy in my kitchen—homegrown garlic is so tasty!
By following these tips for harvesting and curing garlic, you’re sure to enjoy delicious garlic for months to come! If you have any other questions about harvesting and storing for winter, be sure to sign up for my newsletter for more information!
More to Explore
- When to Plant a Successful Vegetable Garden in Alberta and any other Zone 3-4 Growing Zone
- The Ultimate Vegetable Companion Planting Guide
- How to Grow Garlic in Alberta and on the Prairies
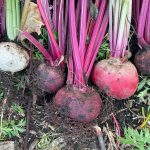
- How to Grow Beets in Alberta
- How to Grow the Best Tomatoes in Alberta
- What to do with Tomato Suckers
- Determinate vs Indeterminate Tomatoes: A Guide to Pruning
- How to Prune Tomato Plants in August
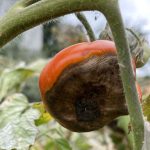
- 3 Strategies to Deal with Tomato Blossom End Rot
- How to Grow Great Onions in Alberta and on the Prairies
©Sharon Wallish Murphy ©Gardening with Sharon