Planter box designs can be intimidating, especially if you’re not sure where to start.
But fear not!
In this blog post, I am excited to share some of my tried and true container planter box design techniques with you. Planter boxes can be all shapes and sizes, and if you’re looking to liven up your space with beautiful planter box designs, here is the place to start!

Want the inside scoop on more gardening tips? Get early access to all my blogs and exclusive content by signing up for my newsletter!
Find a Plant that Inspires You
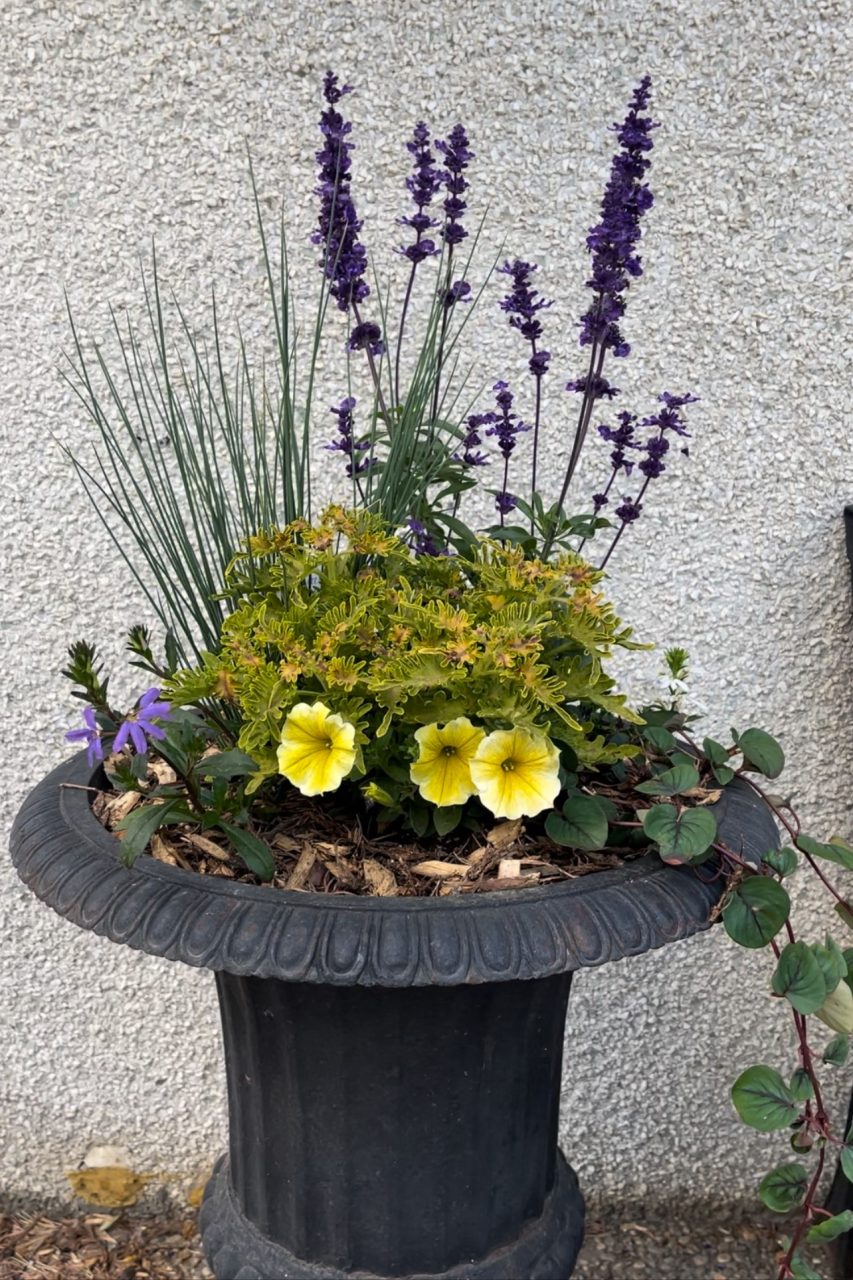
One of my go-to methods is to find a plant that I absolutely love, and I use it as the anchor for my design.
This plant could be a foliage plant or a flowering plant.
From there, I build the colour scheme and overall design, pulling out complementary colours from the plant to create a stunning, eye-catching display.
As you make your plant pairing choices, be sure to find plants that share the same growing environments.
The plant that I use for the design idea could be the centerpiece; it could be placed slightly to the side as a filler, or it could even be a spiller over the side of the planter.
Let me share a few examples with you below.
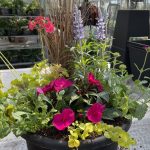
Example 1: Mixed Geranium Container
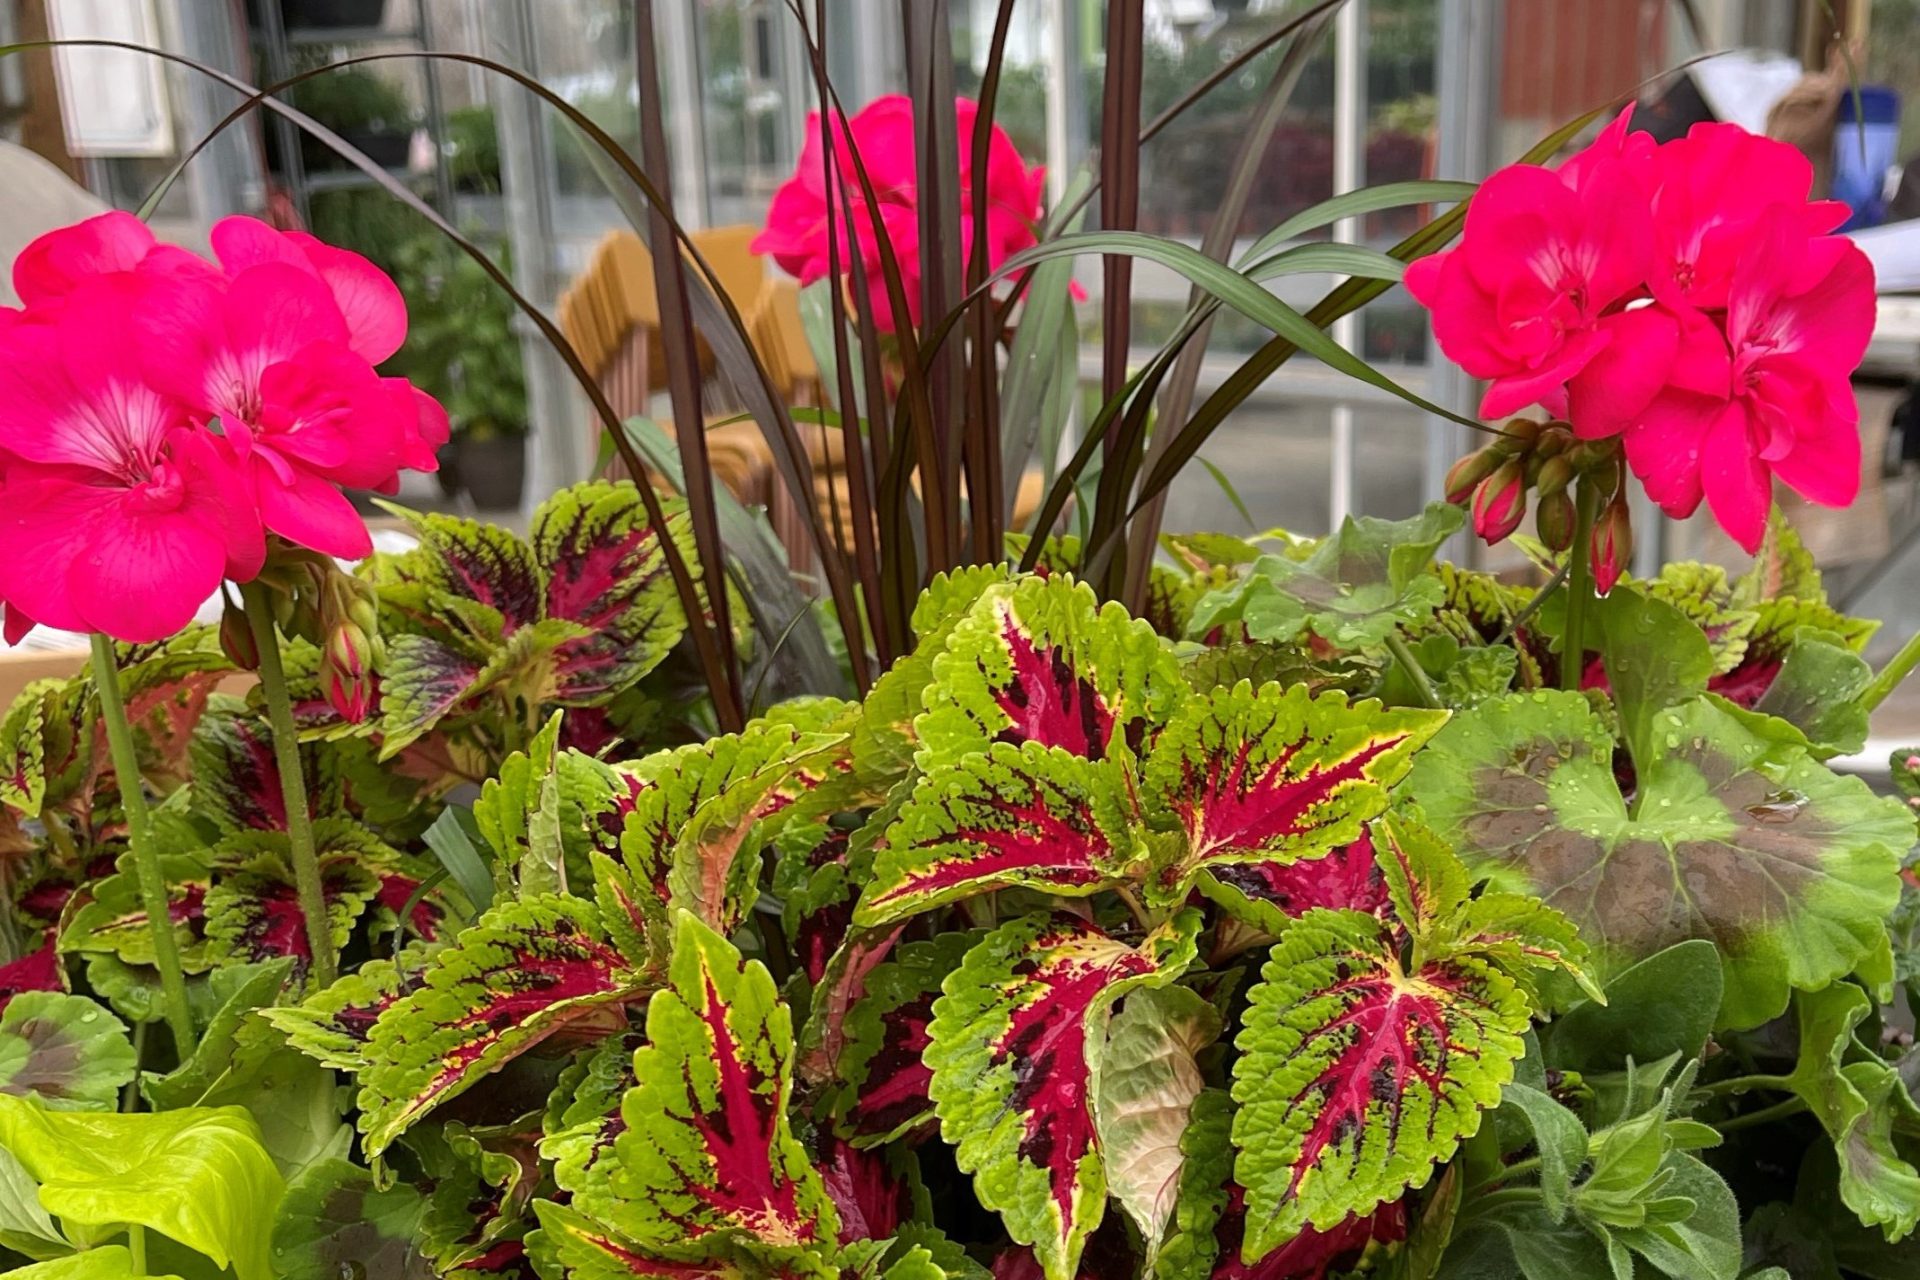
For example, the plant I used as inspiration is a Coleus variety called ‘French Quarter’ with stunning pink and lime green tones.
Then I paired ‘Watermelon’ Geraniums to pull out the pink hues and Lime Heart Ipomoea to highlight the lime colours.
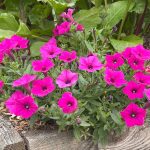
Then, I added pink Petunias and Pink Verbena to add more pink shades and texture.
Example 2: A Mixed Plant Window Box
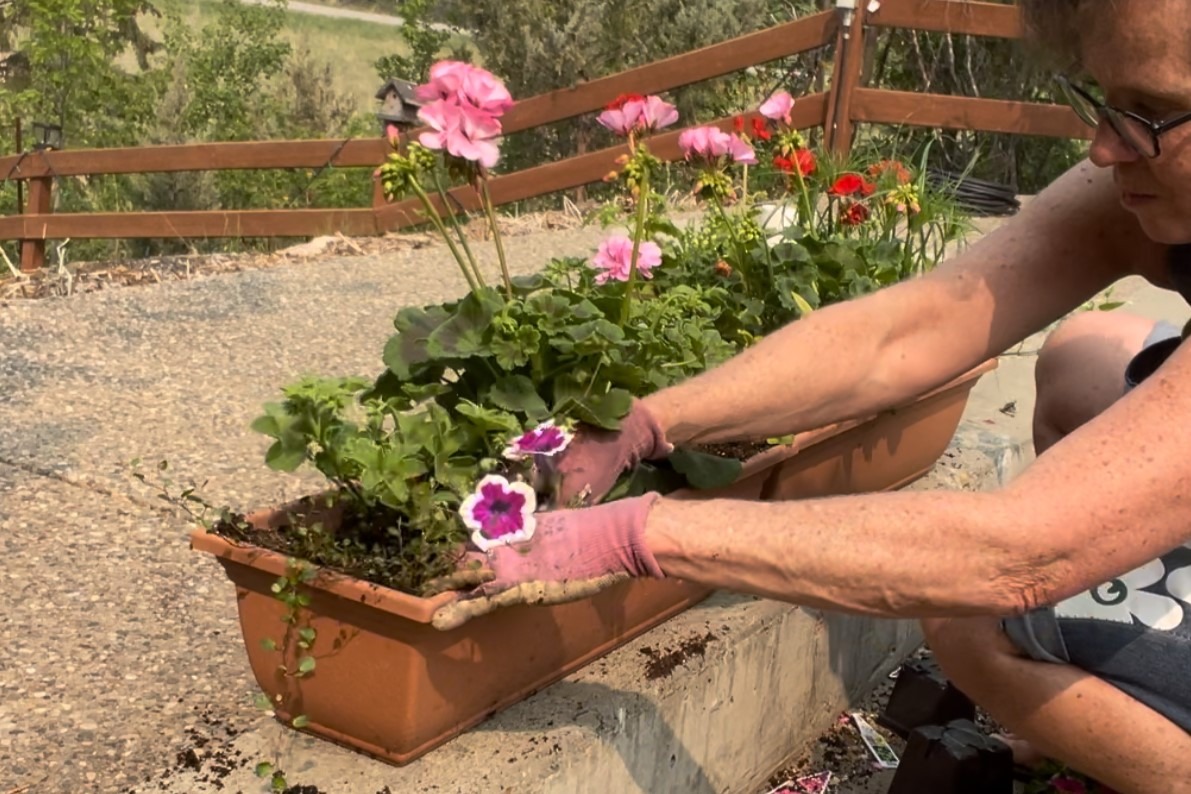
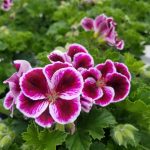
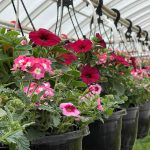
In the case of the window boxes, I wanted to feature a taller pink Geranium called Big Eeze Pink with some Precision Pink Ivy Geraniums to cascade on the side.
To those, I combined some new plants I received from Proven Winners to field test, specifically ©Provenwinners Supertunia varieties Saffron Vivid Orchid, Tiara Pink, and Safari Dusk South African Phlox.
I added foliage for texture, including Variegated Creeping Jenny, Silver Frost Lamiastrum, and Meuhlenbeckia, aka Creeping Wire Vine.
The Beauty of Simplicity

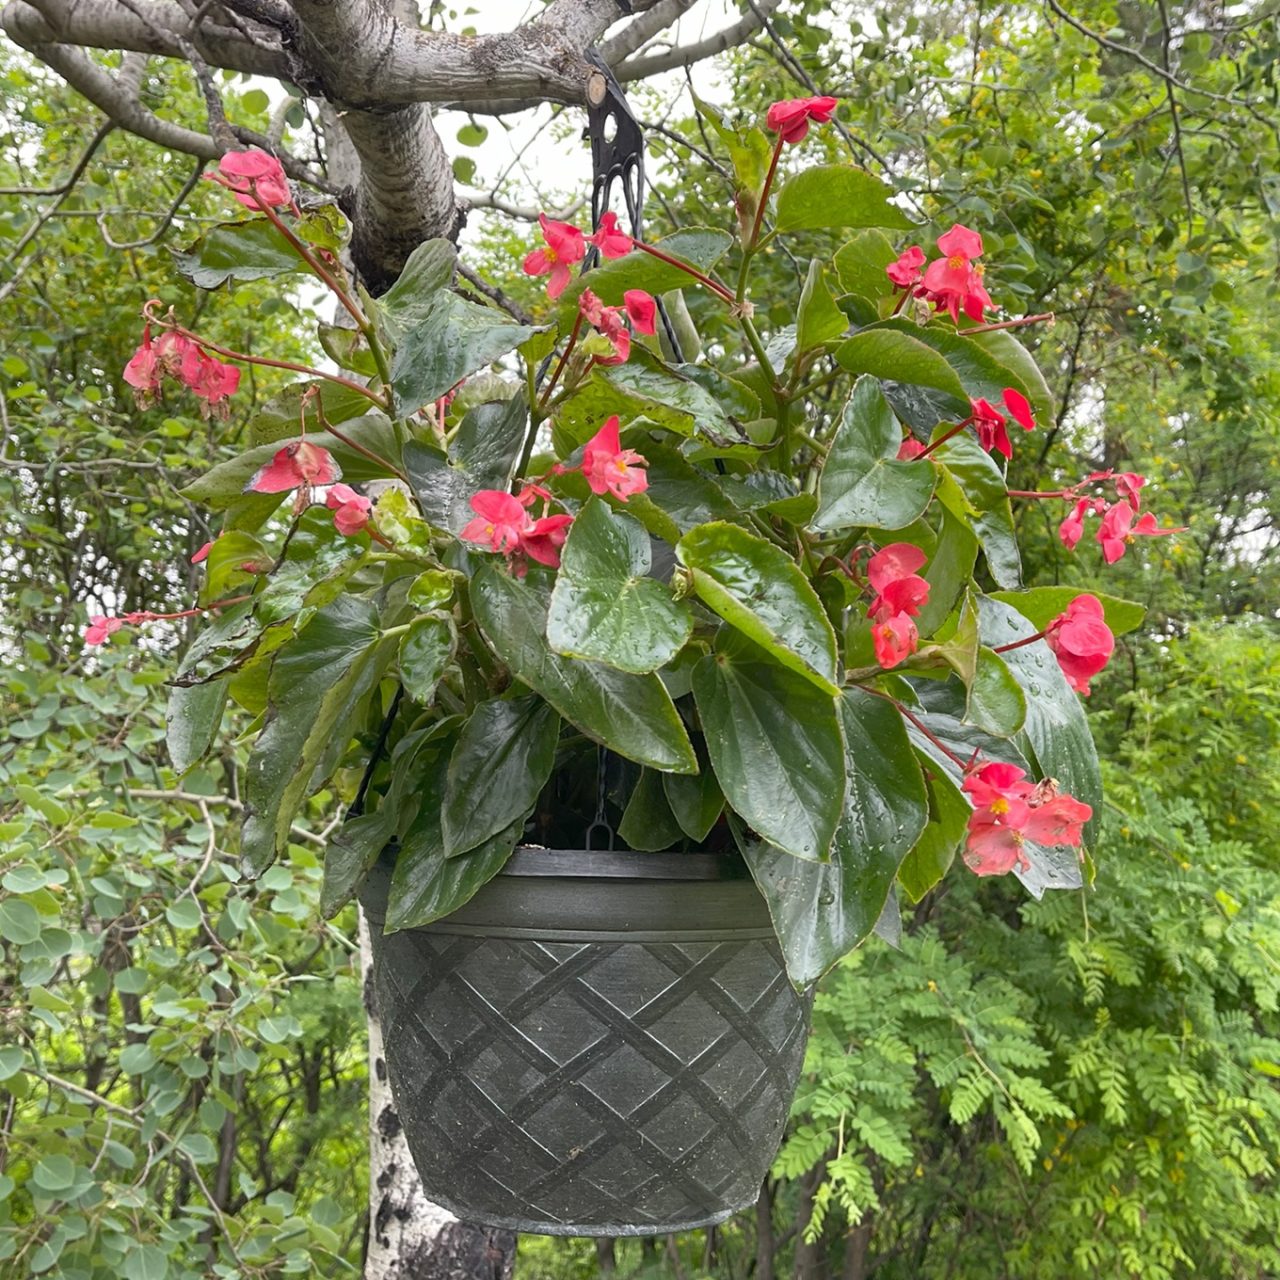
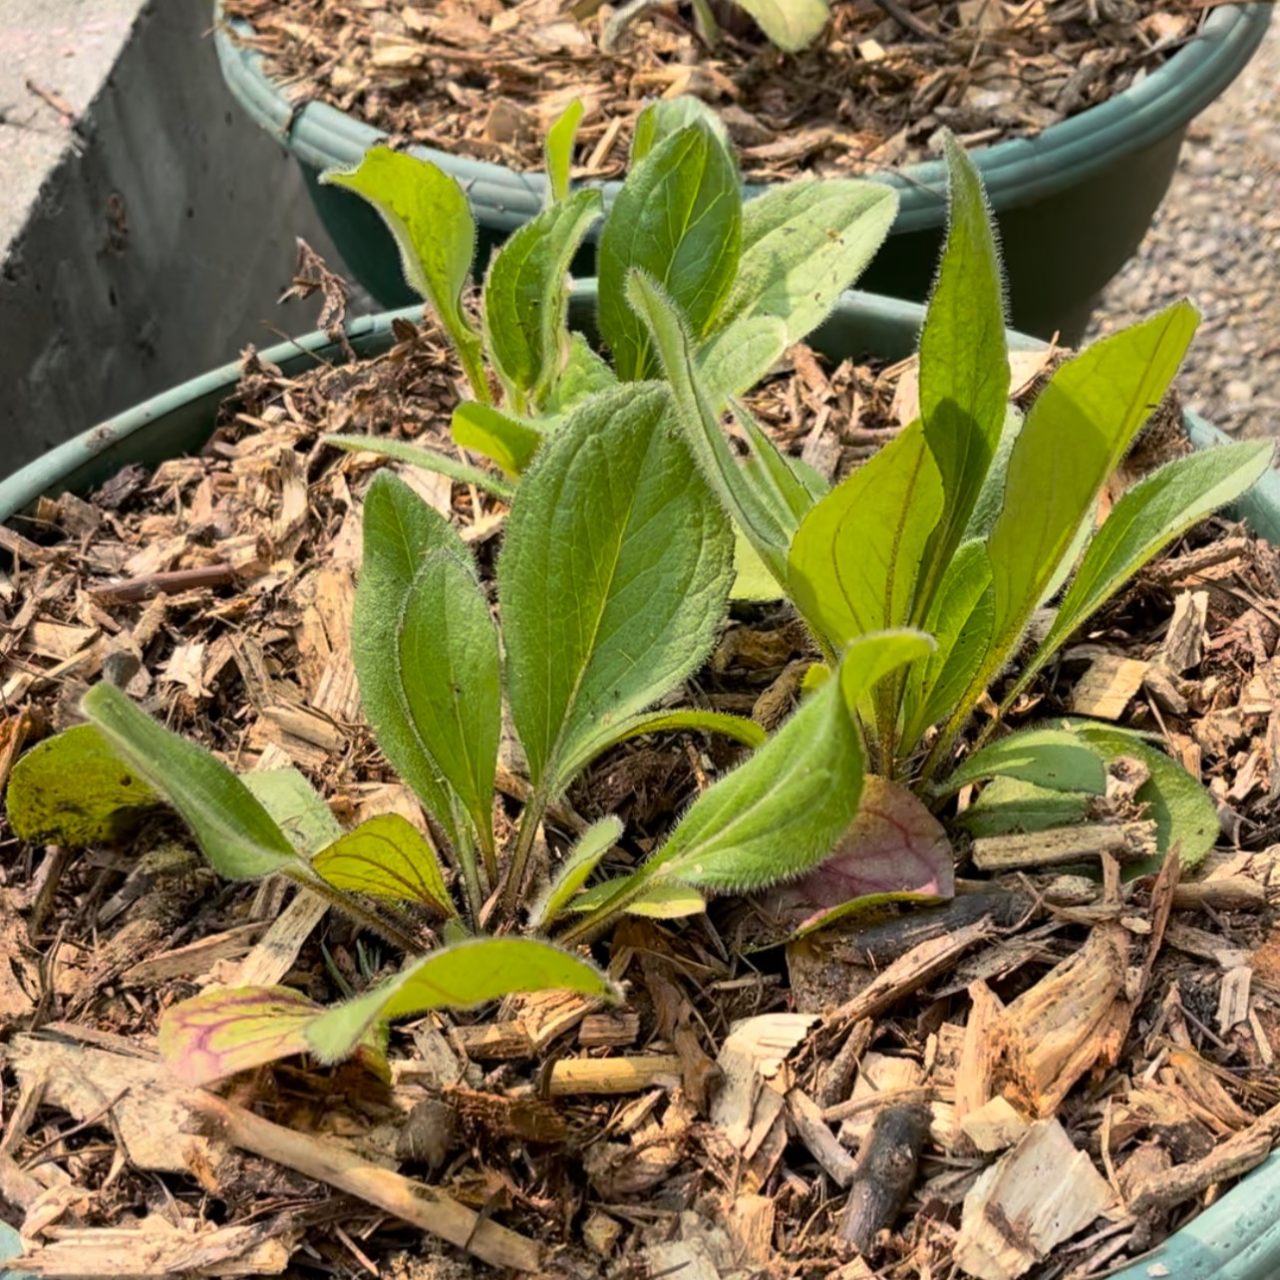
Another approach to planting containers is to fill a planter box with multiple seedlings of the same plant for a colourful, uncomplicated display.
Some of my favourite plants are ‘Indian Summer’ Rudbeckia, Stocks ‘Vintage Mix’, and Dragon Wing Begonia ‘Red’, or ‘Canary Wings’.
I love to plant 3 antique cream cans of Rudbeckia to add height and its brilliant shade of yellow in my otherwise pink summer blooming perennial garden.
I place a pot of fragrant ‘Vintage Mix’ Stocks to enjoy on my front step, one of my favourite places to unwind during the summer.
And cascading Dragon Wing Begonias light up an otherwise shady spot next to the staircase to my backyard.
Try Testing Plants You’ve Never Grown Before
It can be easy to plant the same pots each year.
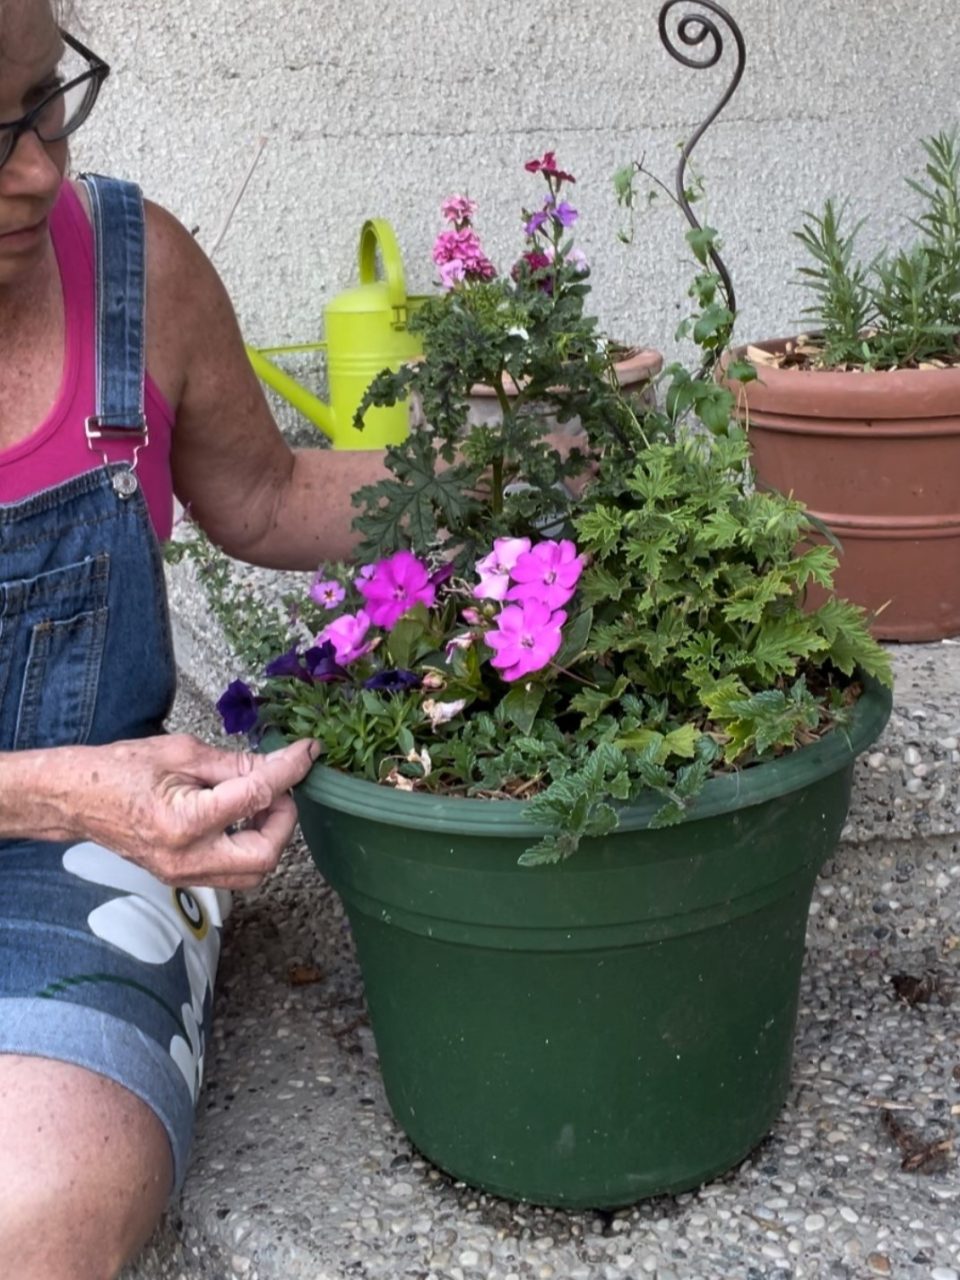
In this example, I intentionally created a Citronella planter to test some new plant releases and learn about their growth habits.
In the container to the right, I tested out 3 different Citronella plants to learn about their growth habits and flowering patterns.
Next, I paired a collection of new plants by ©Provenwinners, namely, Superbena ‘Cherry Burst’, and ‘Safari Dusk’ South African Phlox.
I popped in a Compact Lilac Sunpatiens, and a Lemon Vebena, too.
A full pot? Yes!
Building the Container Design Before Planting
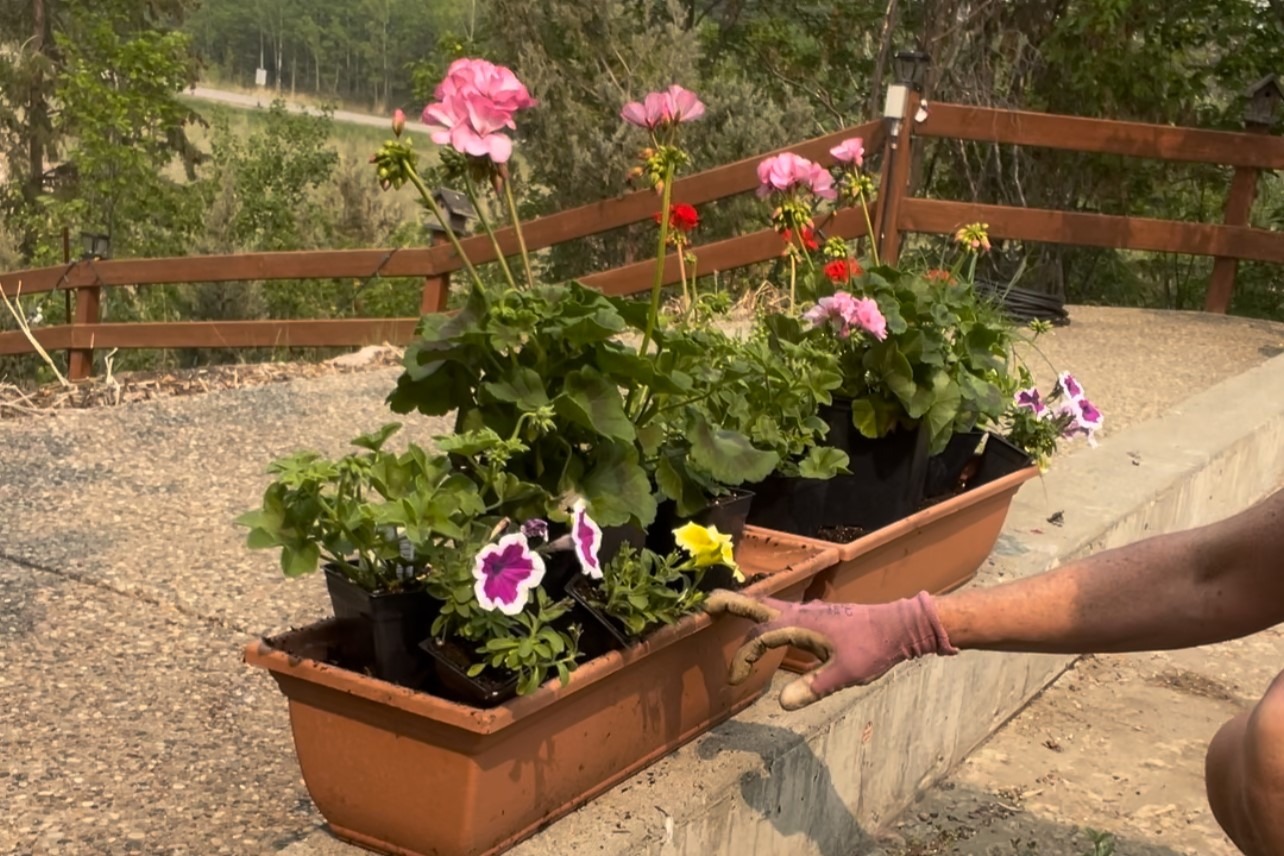
I construct my planter designs by first arranging the potted plants on top of the soil while they are still in their pots.
This is a tidy and safe way to give me a concrete visual without destroying the roots by planting, unplanting, and replanting them, and I can freely make all the adjustments I need.
Once I’ve settled with a design, I deconstruct the arrangement and plant them as planned into premoistened soil.

Want the inside scoop on more gardening tips? Get early access to all my blogs and exclusive content by signing up for my newsletter!
Planting the Container

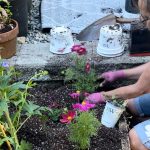
For each plant, I dig a hole larger than the root ball, loosen the roots, place the root ball so that the top of it is level with the top of the soil, and backfill lightly without compacting the roots when all the plants are in place.
As always, plants need to be watered immediately whenever roots are disturbed to diminish stress.
If the soil sinks below the top of the rootball, add more potting soil to fill it in.
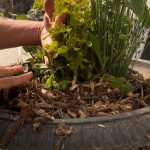
I like to top off my containers with mulch to help with moisture retention and then put them in place to grow.
Related blog topics that you may find helpful:
- What is Mulch? Making Garden Magic with Mulch
- 6+ Front Door Planter Ideas to Make Your Entrance Shine
- Wondering about how to care for these newly planted containers? How to Keep Hanging Baskets & Flower Containers Thriving All Season can help!
- Free Downloadable Chart: Plant Pairings for Containers in Sunny & Shady Growing Spaces
Now It’s Your Turn!
It’s my dream that this post inspires and sparks you to design your containers with confidence. Planter box designs can be tricky at first, but as you play around with different colours, textures, and plat types, you’re sure to find success!
With the right strategies, you can design beautiful planter boxes and enjoy a fun and rewarding experience.
If you have any questions or would like further design tips, please don’t hesitate to reach out.
Happy planting!
Photo and plant credits: All plant products shown were grown @Theilsgreenhouses & photographed with permission, and thank you to @nordicnurseries for their Proven Winner samples.
©Sharon Wallish Murphy ©Gardening with Sharon


